Create a new project
You can add a project in SuperOffice CRM using the New button on the top bar. Watch this video or follow the steps below to learn how to create a project:
(video length - 2:49)
Steps
Click New on the top bar and select Project.
Enter a project name (mandatory, marked in red).
If the project name is a duplicate, the Duplicates dialog will appear, helping you avoid creating redundant records.
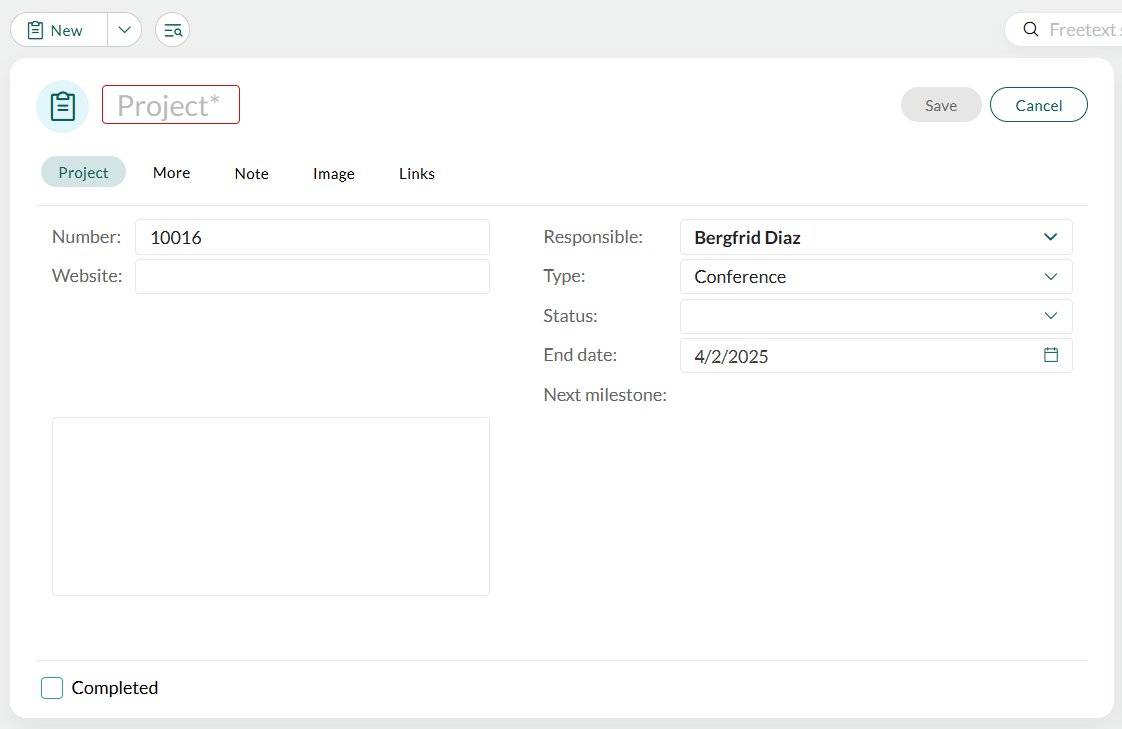
Use the large text box to provide a detailed overview or summary of the project. This is the Description field.
Choose the Type of the project (mandatory). Values are predefined and set up in Settings and maintenance.
Optional: Provide additional information in the Project tab:
- Add a Website address and title.
- Select a Responsible user for the project.
- Choose the Status of the project. Values are predefined and set up in Settings and maintenance.
- Set an End date using the calendar picker.
Add more details:
- Go to the More tab to enter custom fields.
- Go to the Image tab to upload and set a project image.
- Go to the Note tab to add notes.
- Go to the Links tab to connect activities, sales, documents, or websites to the project.
Click Save to store the project details. You are now ready to add project members.
Key fields explained
The following fields are available in the Project card. Some fields are filled automatically, while others require input.
Note
Fields and layout may vary based on Screen designer configurations and other UI customizations.
- Project name: The main identifier for the project. This is a mandatory field.
- Number: Auto-generated as the next available project number if configured in Settings and maintenance. You can edit this manually if required.
- Website: Add web addresses with brief descriptions. Click outside the table or press TAB to close the input table.
- Description: Summarize the project's goals, scope, or purpose. Optional but useful for tracking objectives.
- Responsible: Assign an associate responsible for the project.
- Type: Predefined project types. Some types may be linked to a project guide.
- Status: Track the project's current stage (such as, Planned, In Progress, Completed). If the project guide is linked, statuses specific to the guide will appear in the list.
- End date: Specify when the project should end. Can be adjusted as needed.
- Next milestone: If the project is linked to a guide, this field shows the date of the next scheduled follow-up. The date is automatically calculated based on linked activities or the project guide. If no project guide is linked, the project end date is displayed. Dates prior to today are highlighted in red.
Three of the user-defined fields from the More tab may also be displayed here, as defined in Settings and maintenance. The fields displayed can vary from user group to user group.
Duplicate detection
If the project name matches or is similar to an existing record, the Duplicates dialog helps you avoid duplication. Review the suggestions and proceed as needed.