Add or change a project image
Audience:
•
Version: 10.3.10
Some tooltip text!
• 1 minute to read
• 1 minute to read
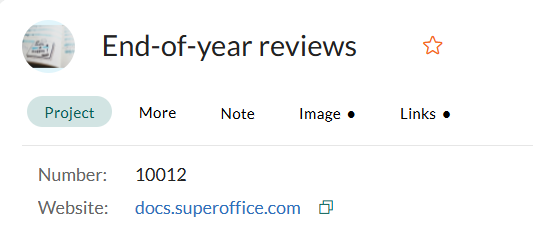
The Image tab allows you to upload and manage images for a project.

Steps to add a project image
Open the Project screen, go to the Image tab.
Click to enter edit mode.
Click Add photo.
Upload or drag-and-drop an image file:
- Drag the image file into the upload area.
- Or, click Upload file to browse and select an image from your computer.
Once uploaded, the image preview appears on the right.
Select an image:
- Click on an uploaded image from the list to preview it on the right.
Click OK to set the selected image for the project.
Click Save to apply your changes or Cancel to discard them.
Steps to change or reset the project image
Open the Image tab and click .
To remove the current image, click Delete.
After deleting, you can:
- Click OK and Save to reset to the default image.
- Or, upload/select a new image, then click OK and Save to apply the changes.