Create a SuperOffice CRM changed trigger
Use a changed trigger when you want your Zap to start whenever an existing record is updated in SuperOffice CRM.
Each record type (such as Appointment, Company, or Sale) has its own change event.
Use the tabs below to view the specific steps and screenshots for each trigger type. All other steps on this page are identical for every event.
Note
To create Zaps, you must connect a SuperOffice CRM account that has General Administrator user rights.
Steps
On the Zaps page, click Create.
Click the Trigger step to open a window for selecting the application to use.
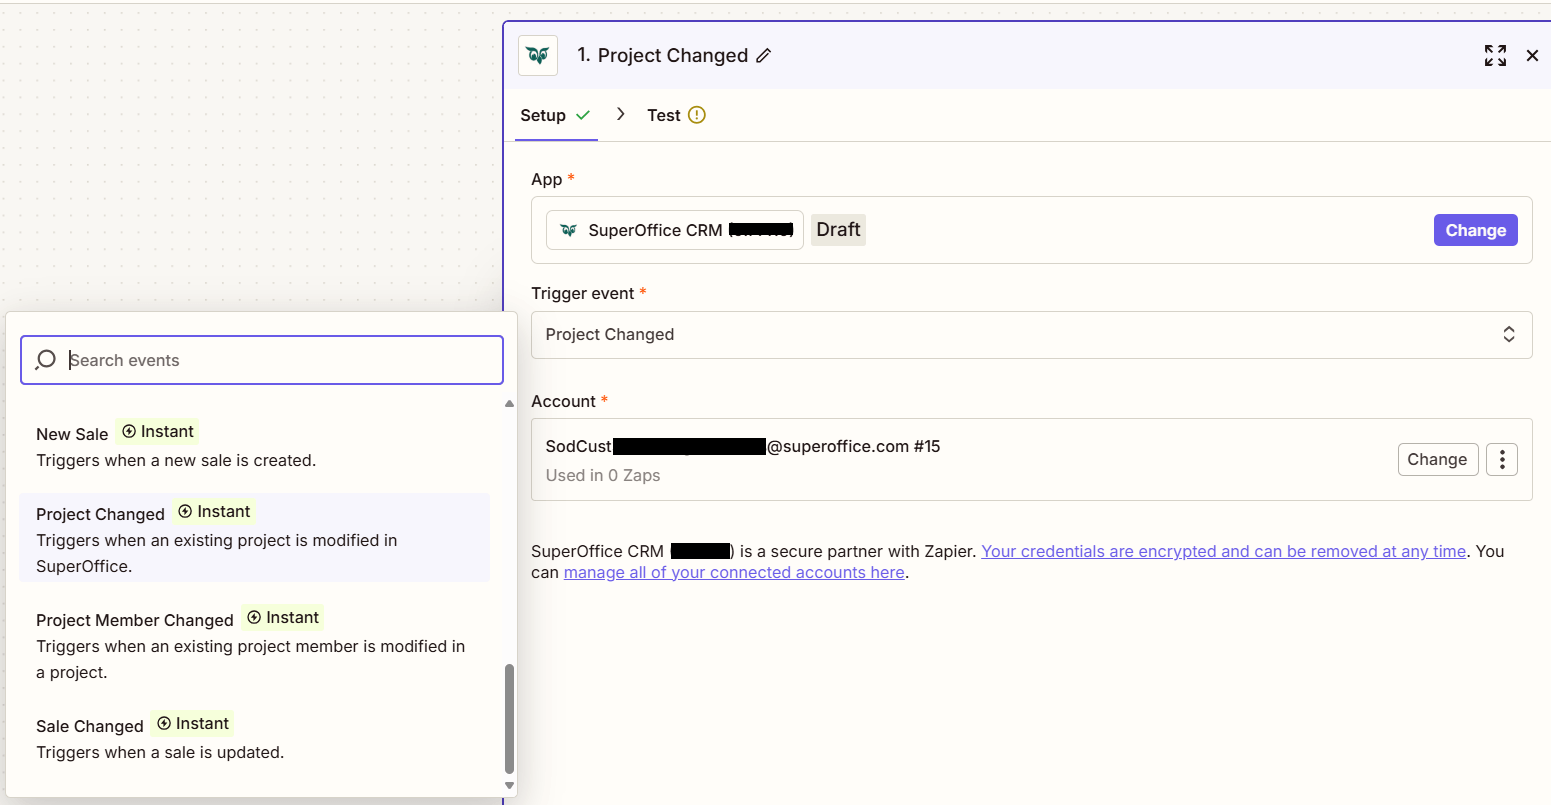
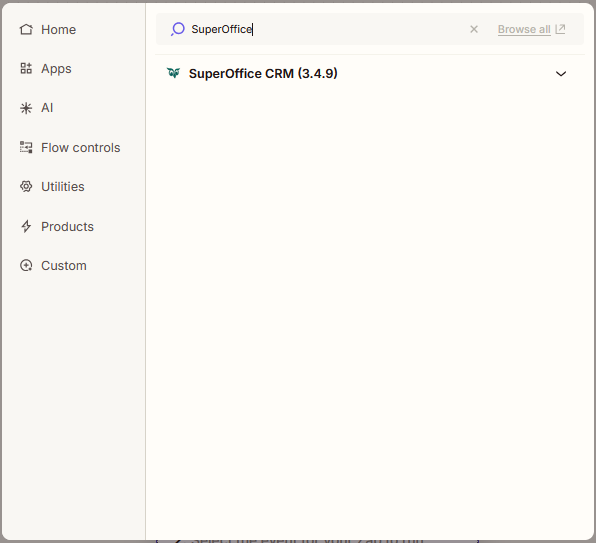
Search for and click on SuperOffice.
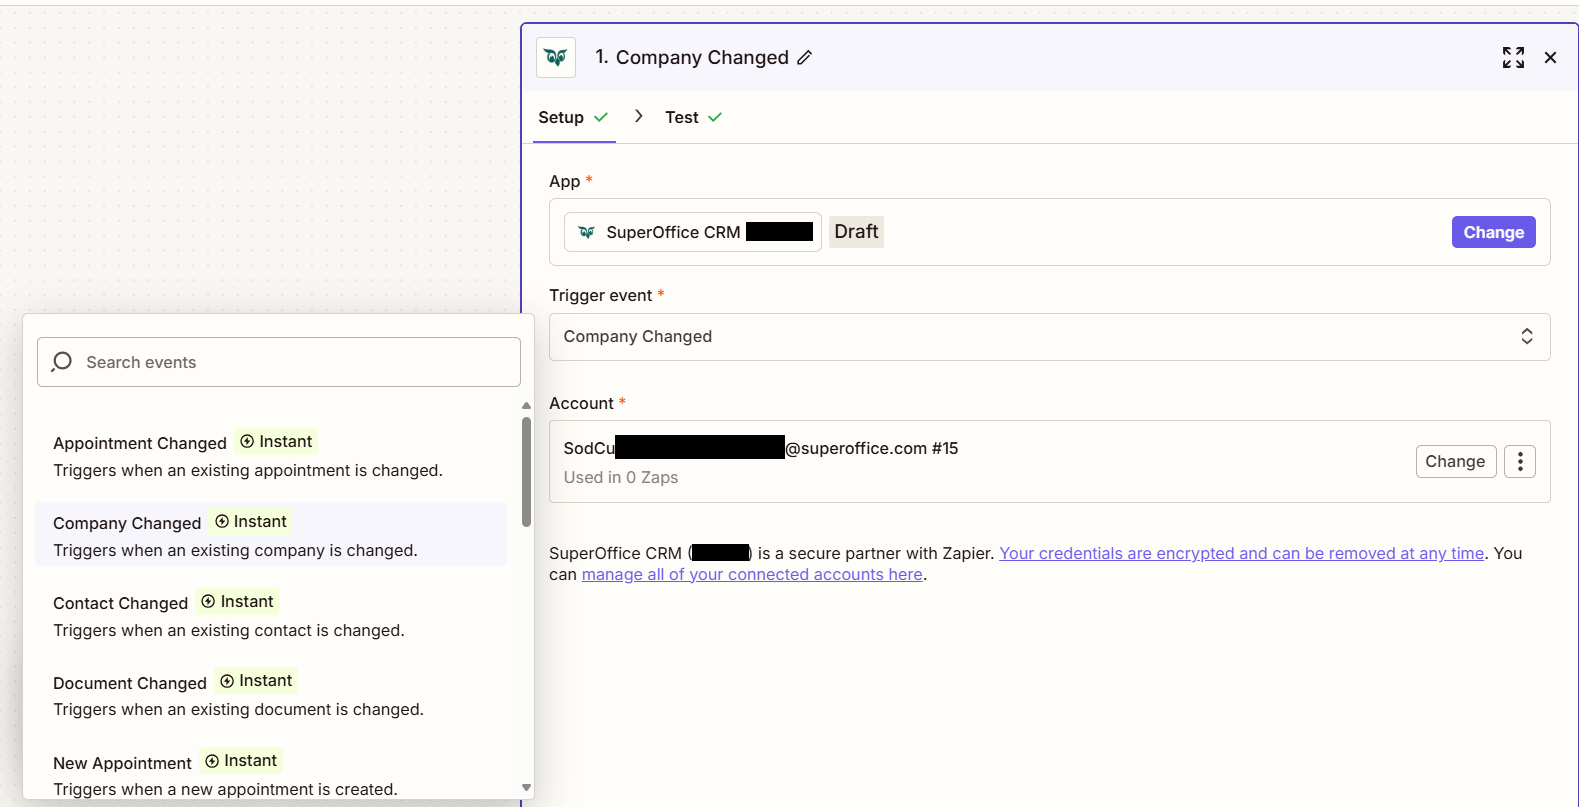
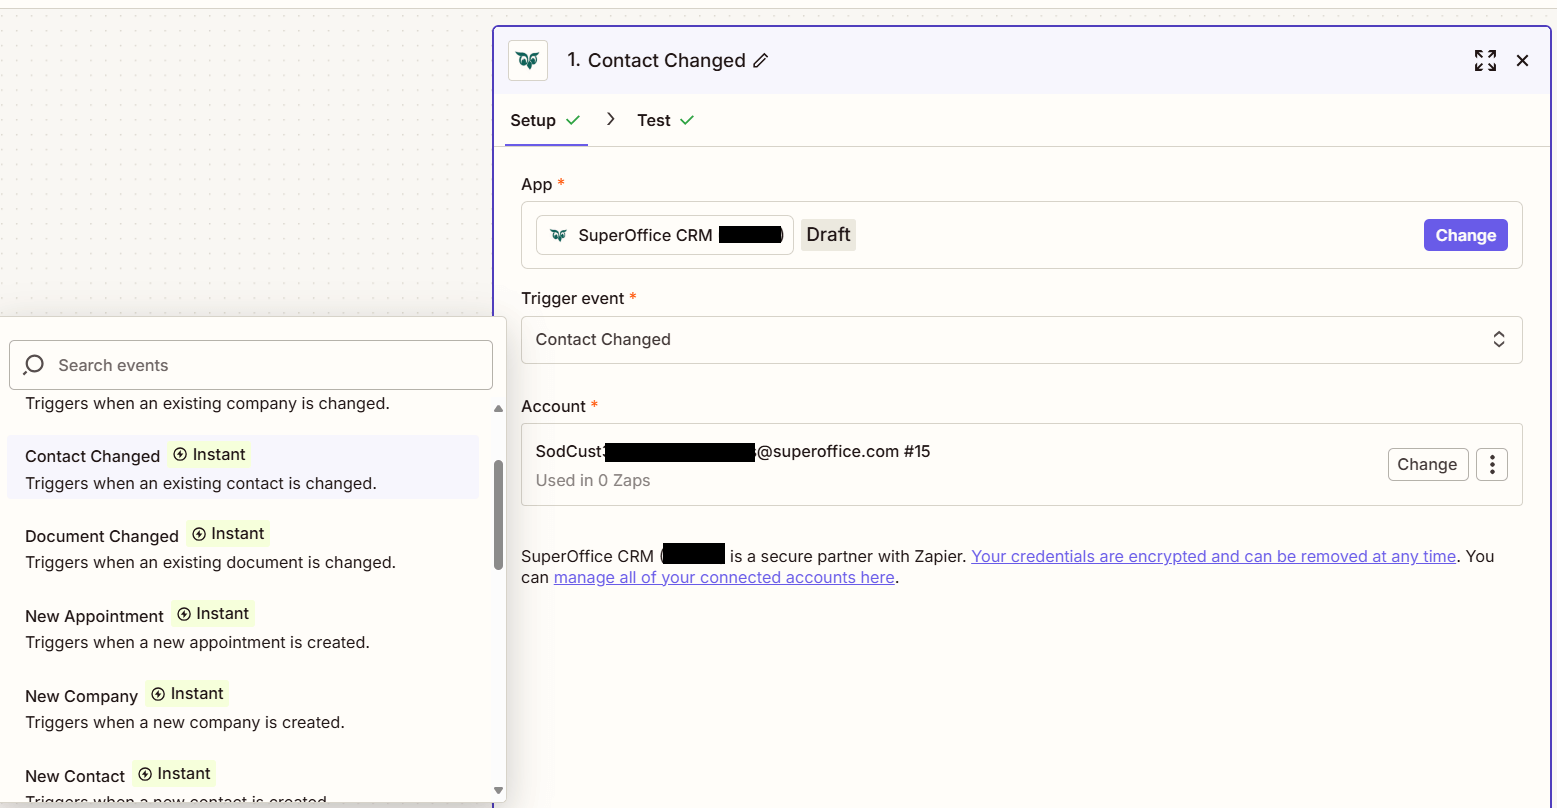
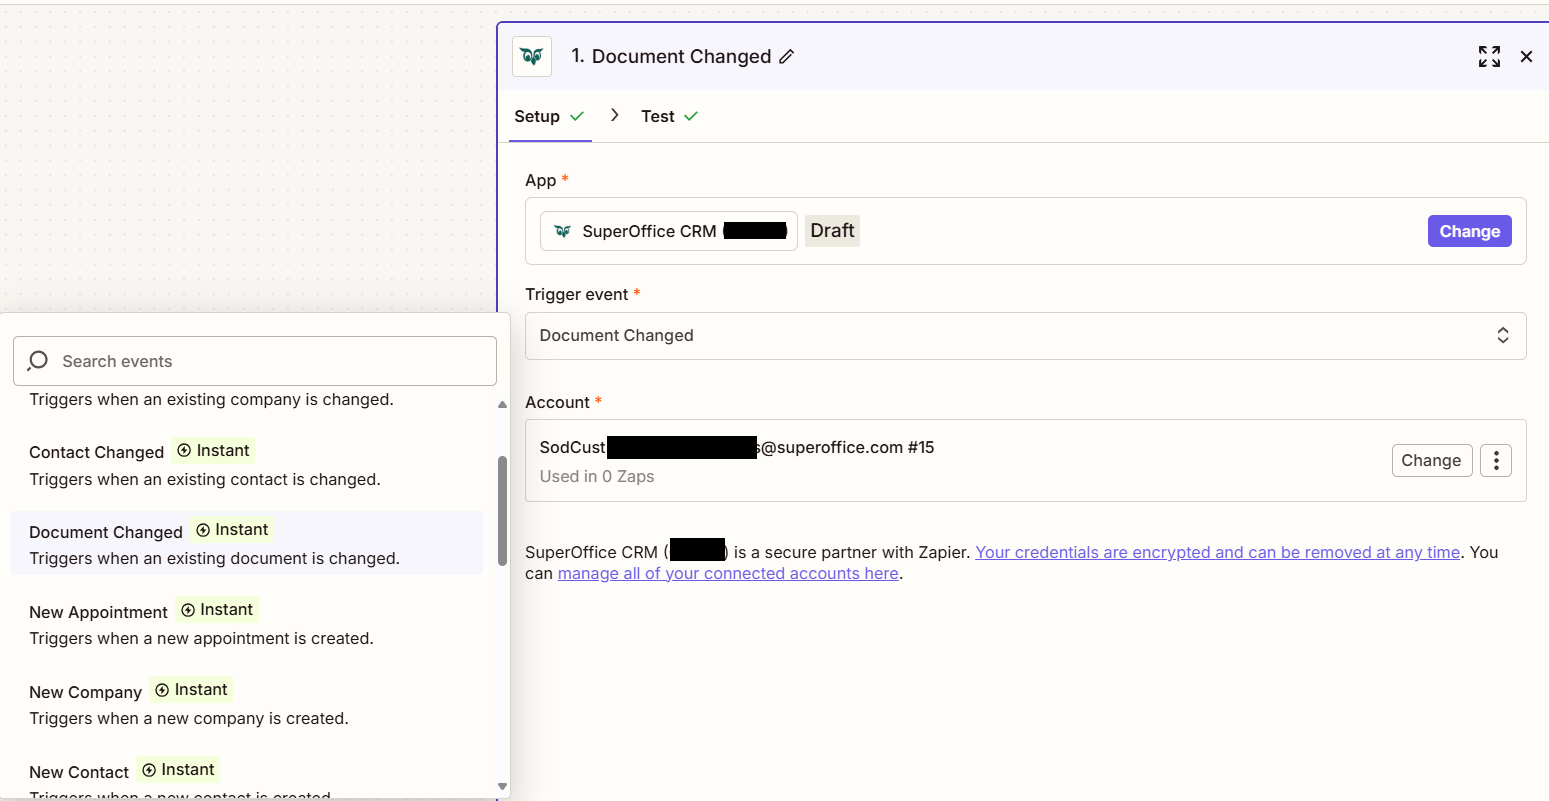
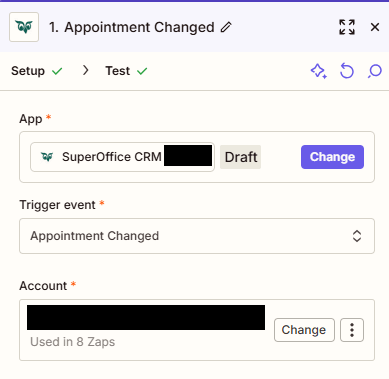
A side menu opens. In the Trigger event section, select the event to listen for. For example, Appointment Changed or Sale Changed.
Click the Account section and log in using a SuperOffice account.
-
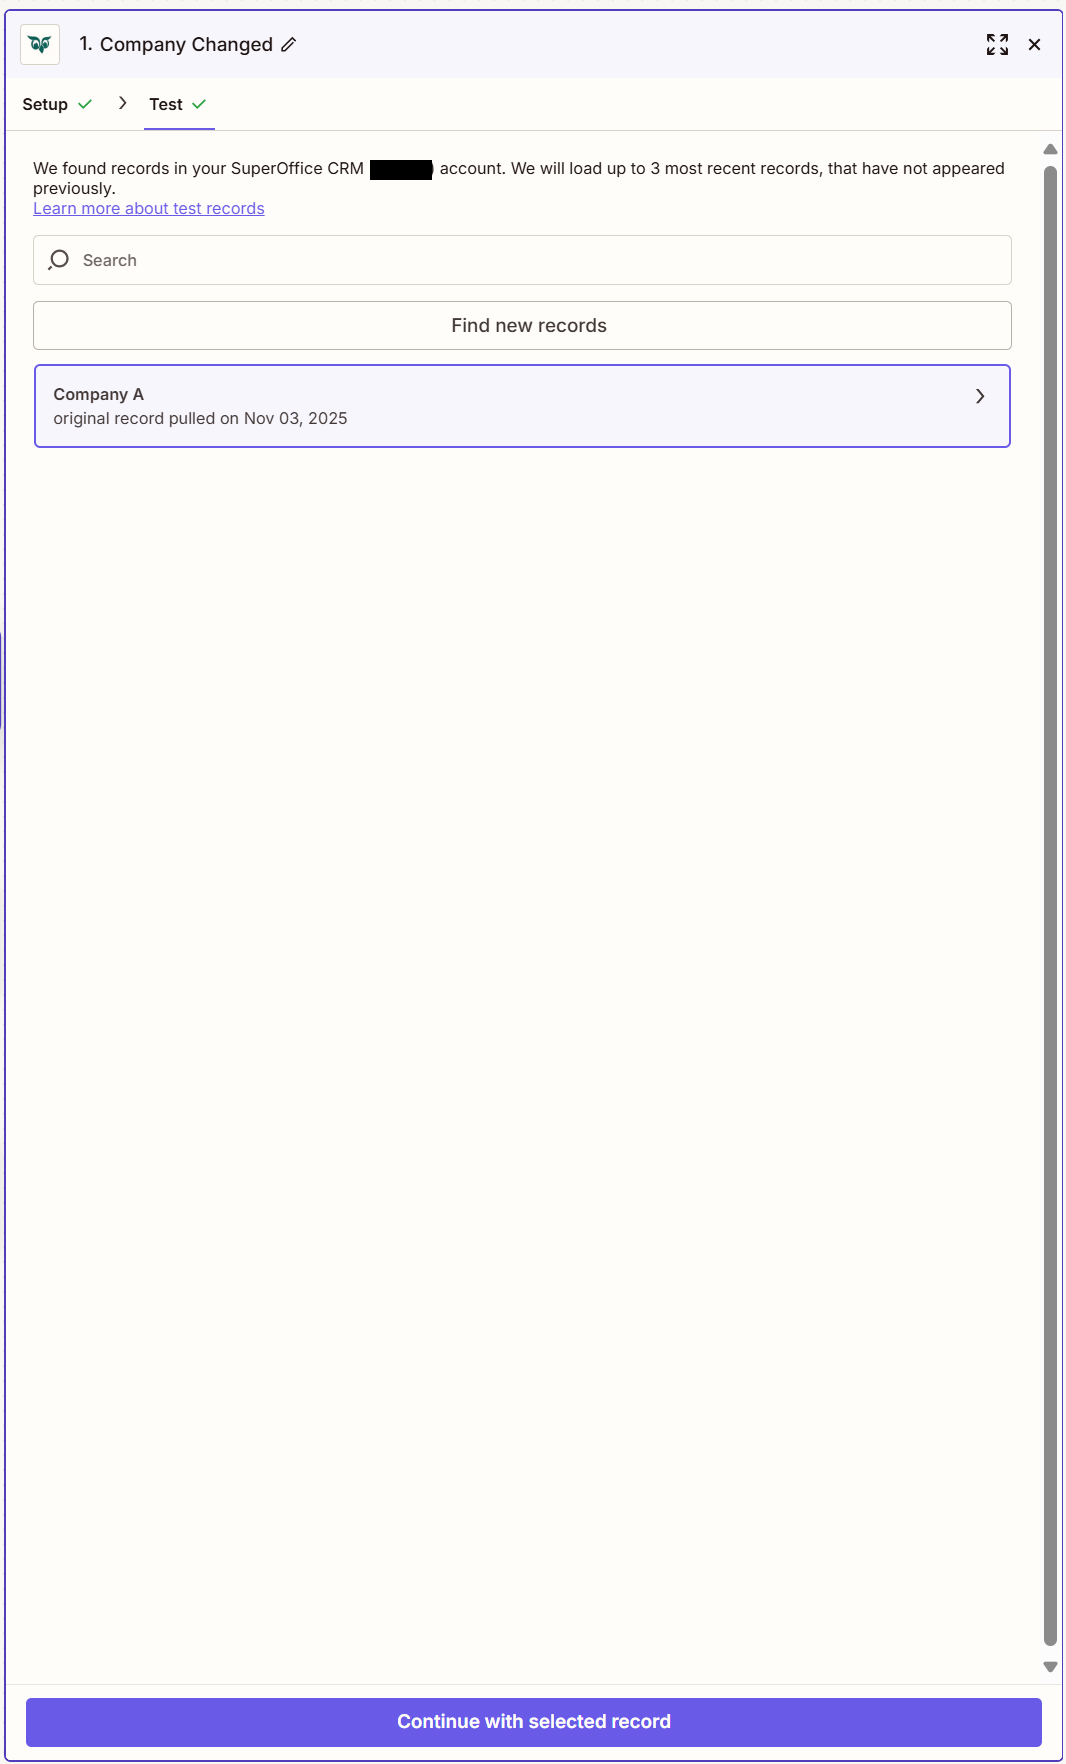
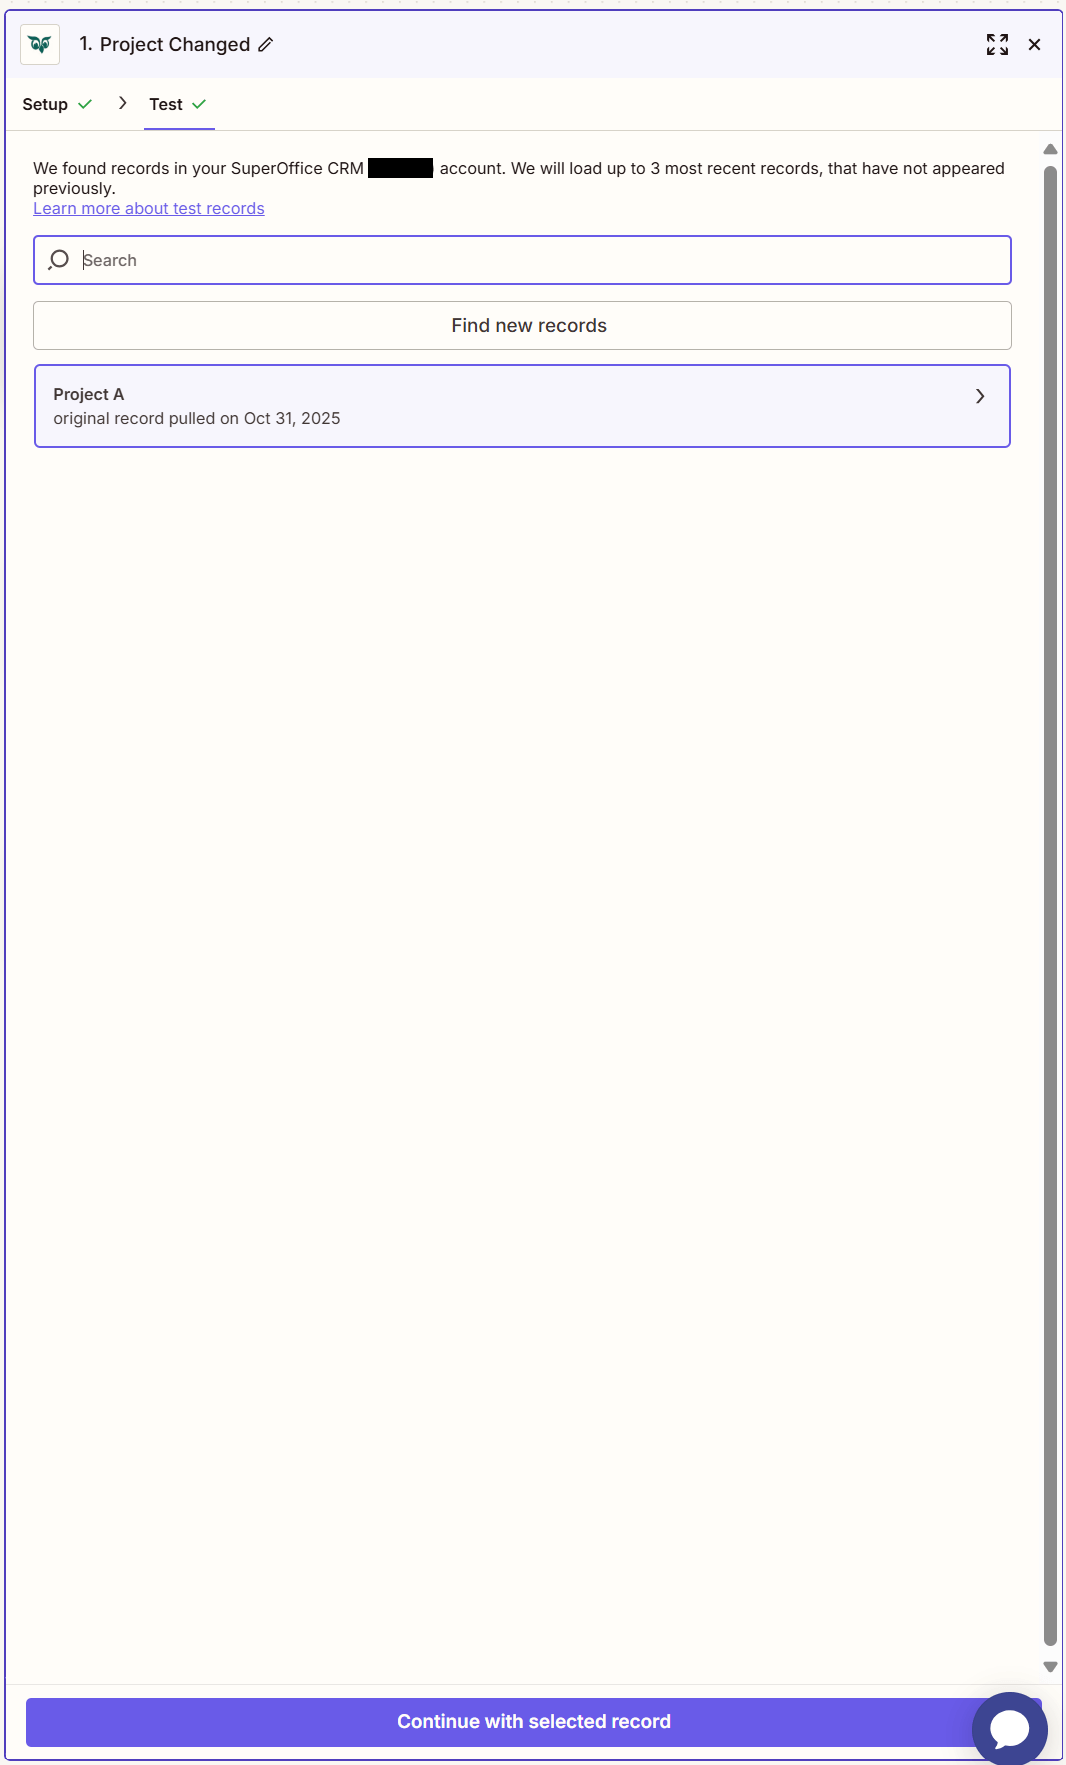
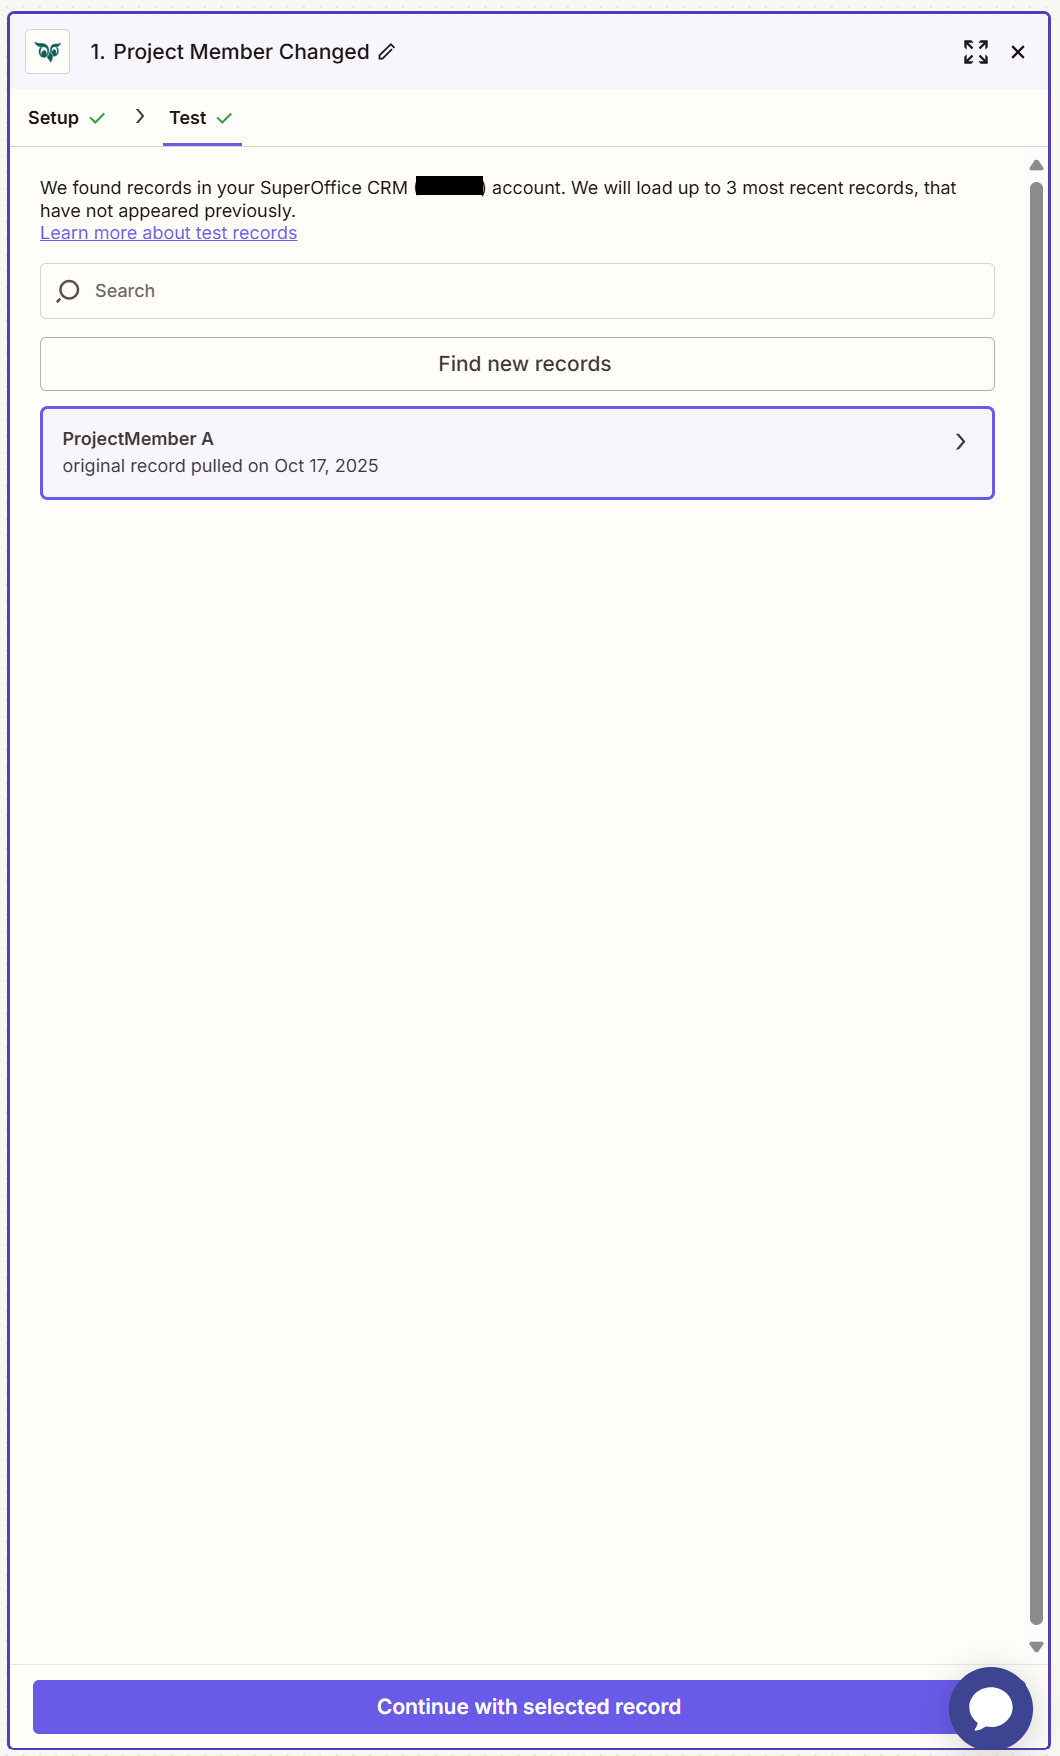
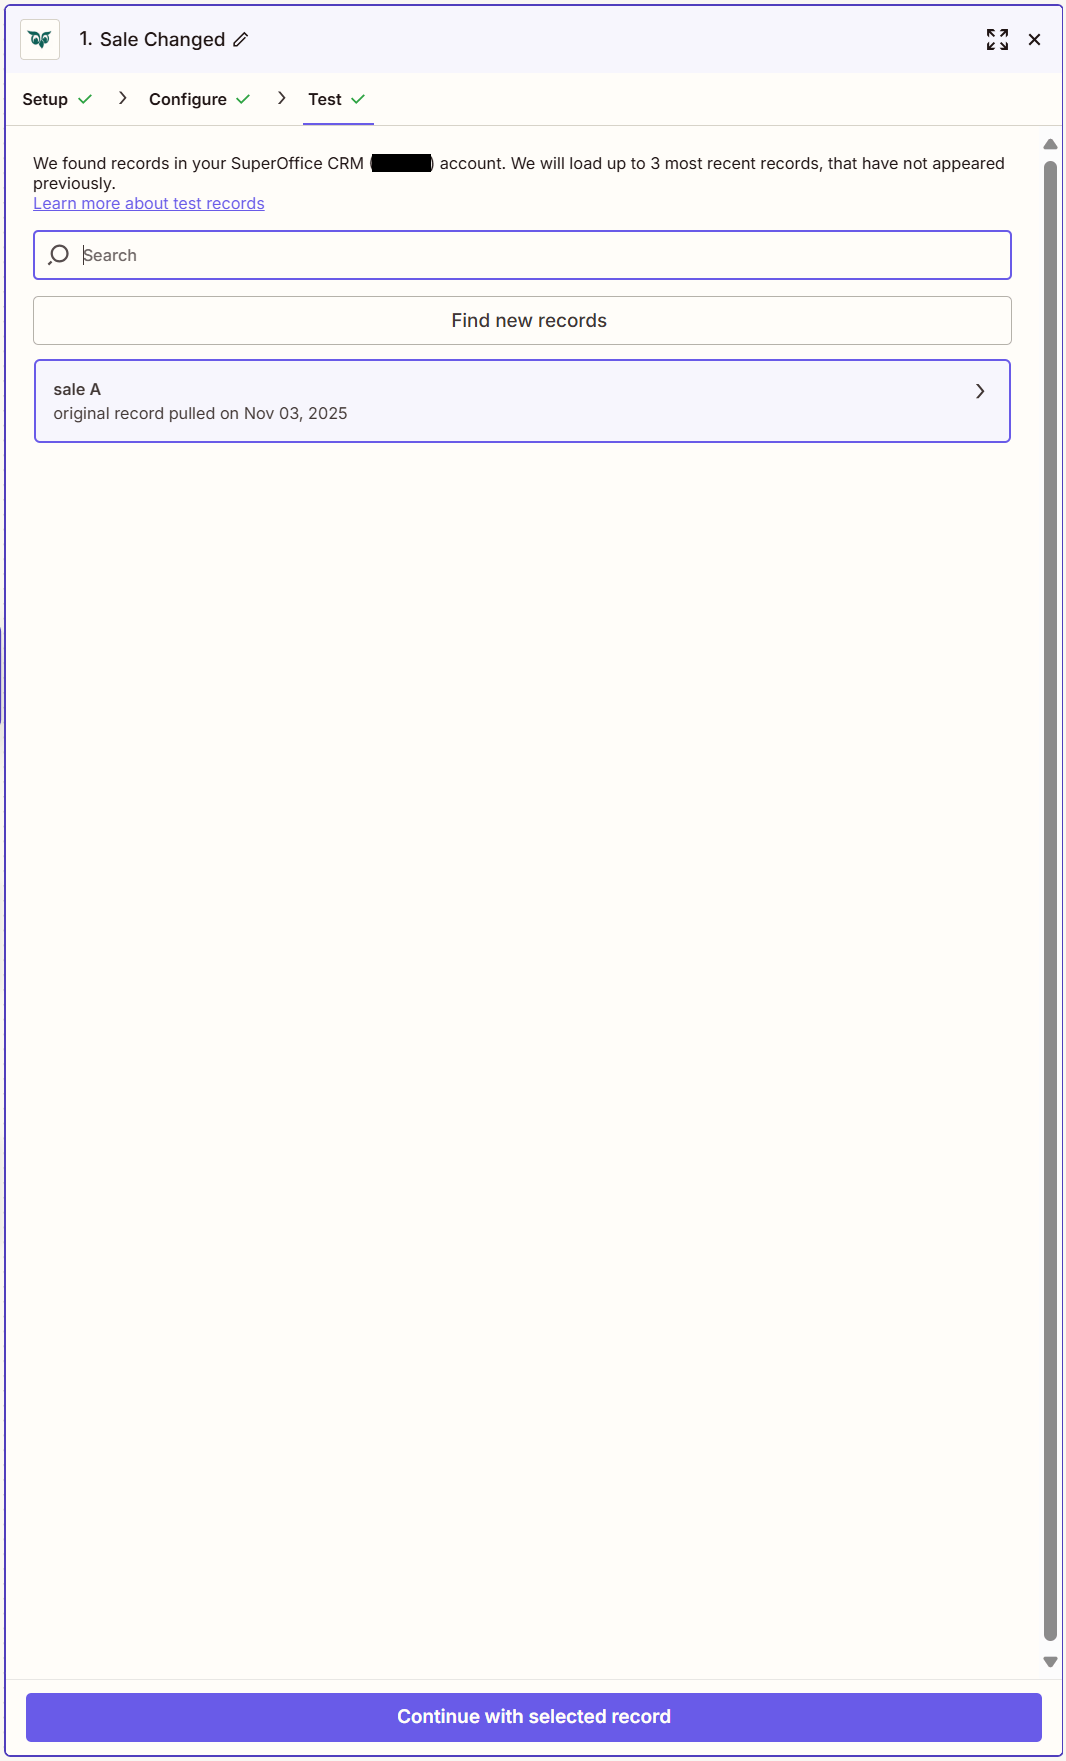
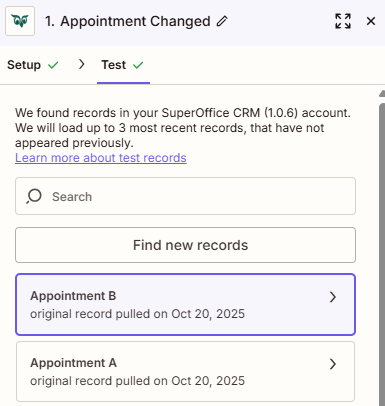
Click the Continue button at the bottom of the side panel to proceed to the Test step, where the trigger can be verified by selecting Continue with selected record.
-
Click the Action step to open a window for selecting the application to use. This can be an action in Gmail, another external system, or a SuperOffice action.

- Appointment Changed
- Company Changed
- Contact Changed
- Document Changed
- Project Changed
- Project Member Changed
- Sale Changed
In the Trigger event section, select Appointment Changed.
Verify the trigger:
When the Appointment Changed trigger runs in SuperOffice CRM, the chosen action executes automatically.
Related actions and triggers: