Update SuperOffice CRM Project action
Some tooltip text!
• 1 minute to read
• 1 minute to read
Steps
-
On the Zaps page, click Create. Then click on the Trigger step and choose the event that will start a Zap.
Click on the Action step to set up app, event, and account:
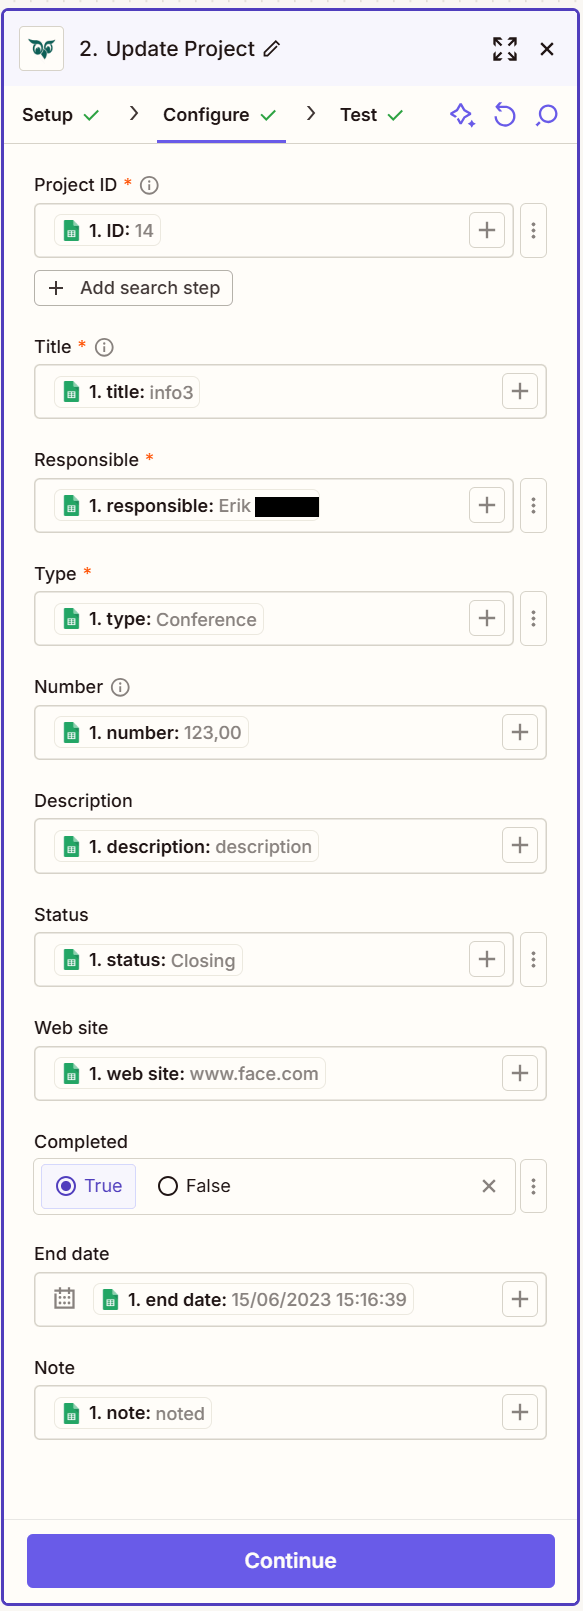
- In the Action event section, select Update Project

Click Continue.
Fill out the mandatory fields Project ID, Title, Responsible, Type and optionally other fields.
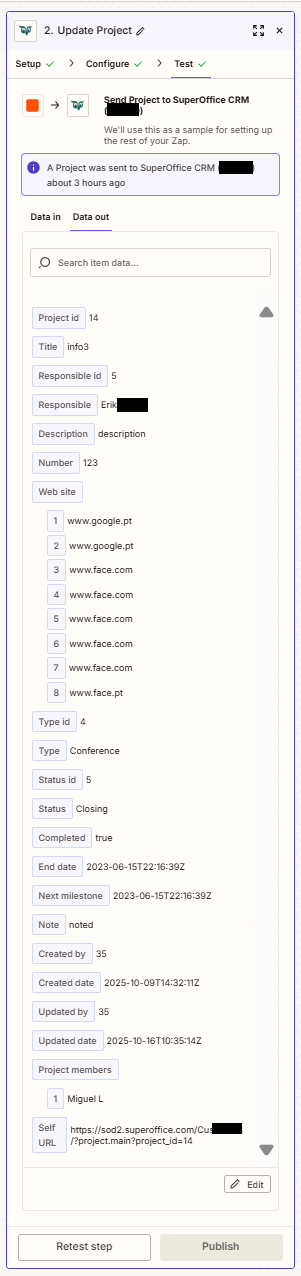
Click Test step to check that the action works.
If the above steps were configured correctly, the response should consist of Project id, Title, Responsible id, Responsible, Description, Number, Web site, Type id, Type, Status id, Status, Completed, End date, Next milestone, Note, Created by, Created date, Updated by, Updated date, Project members, Self URL.