Create a SuperOffice CRM Contact action
Steps
-
On the Zaps page, click Create. Then click on the Trigger step and choose the event that will start a Zap.
Click on the Action step to set up app, event, and account:
- In the Action event section, select Create Contact
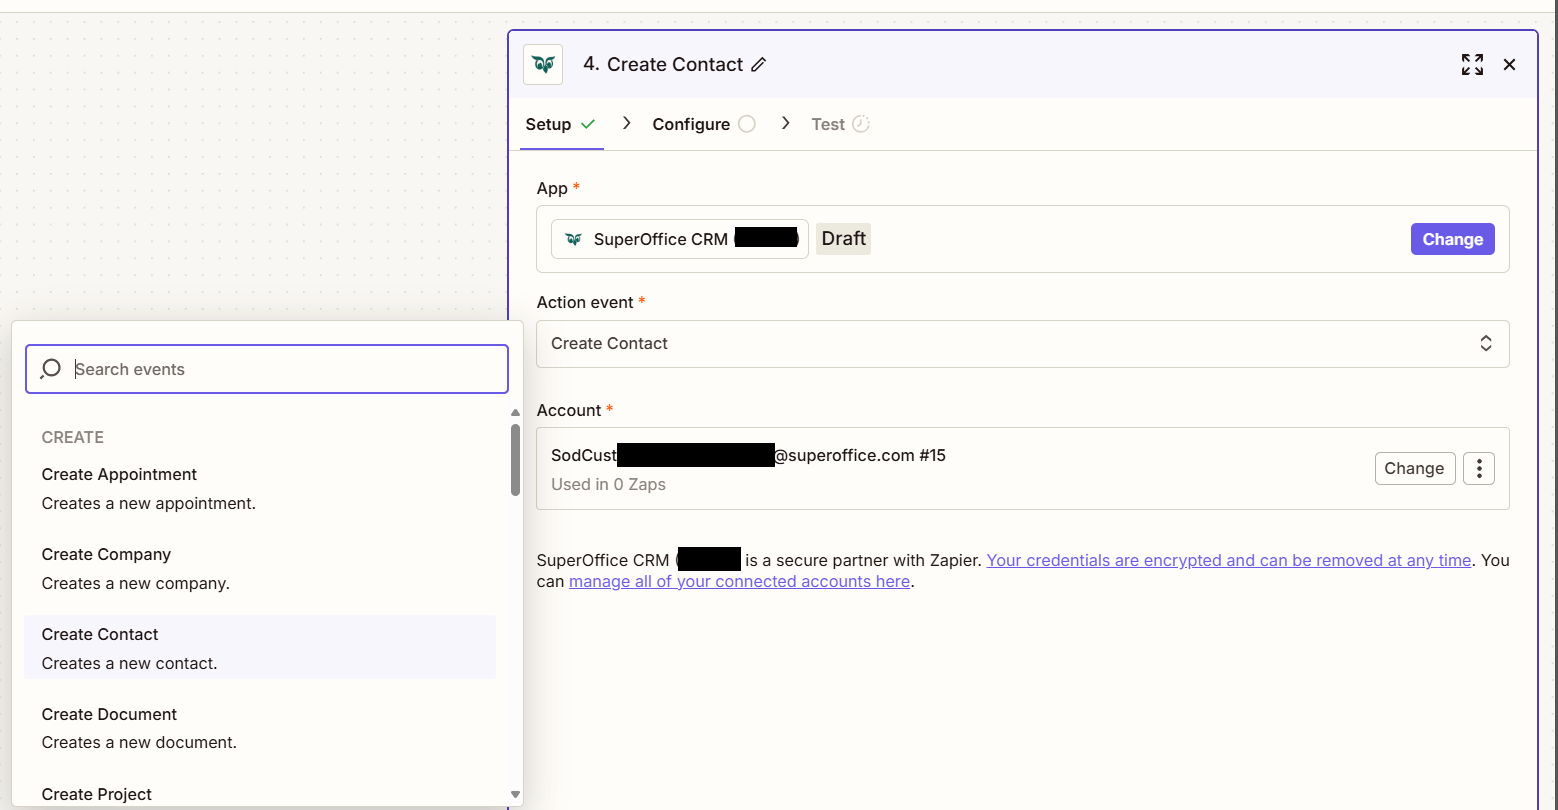
Click Continue.
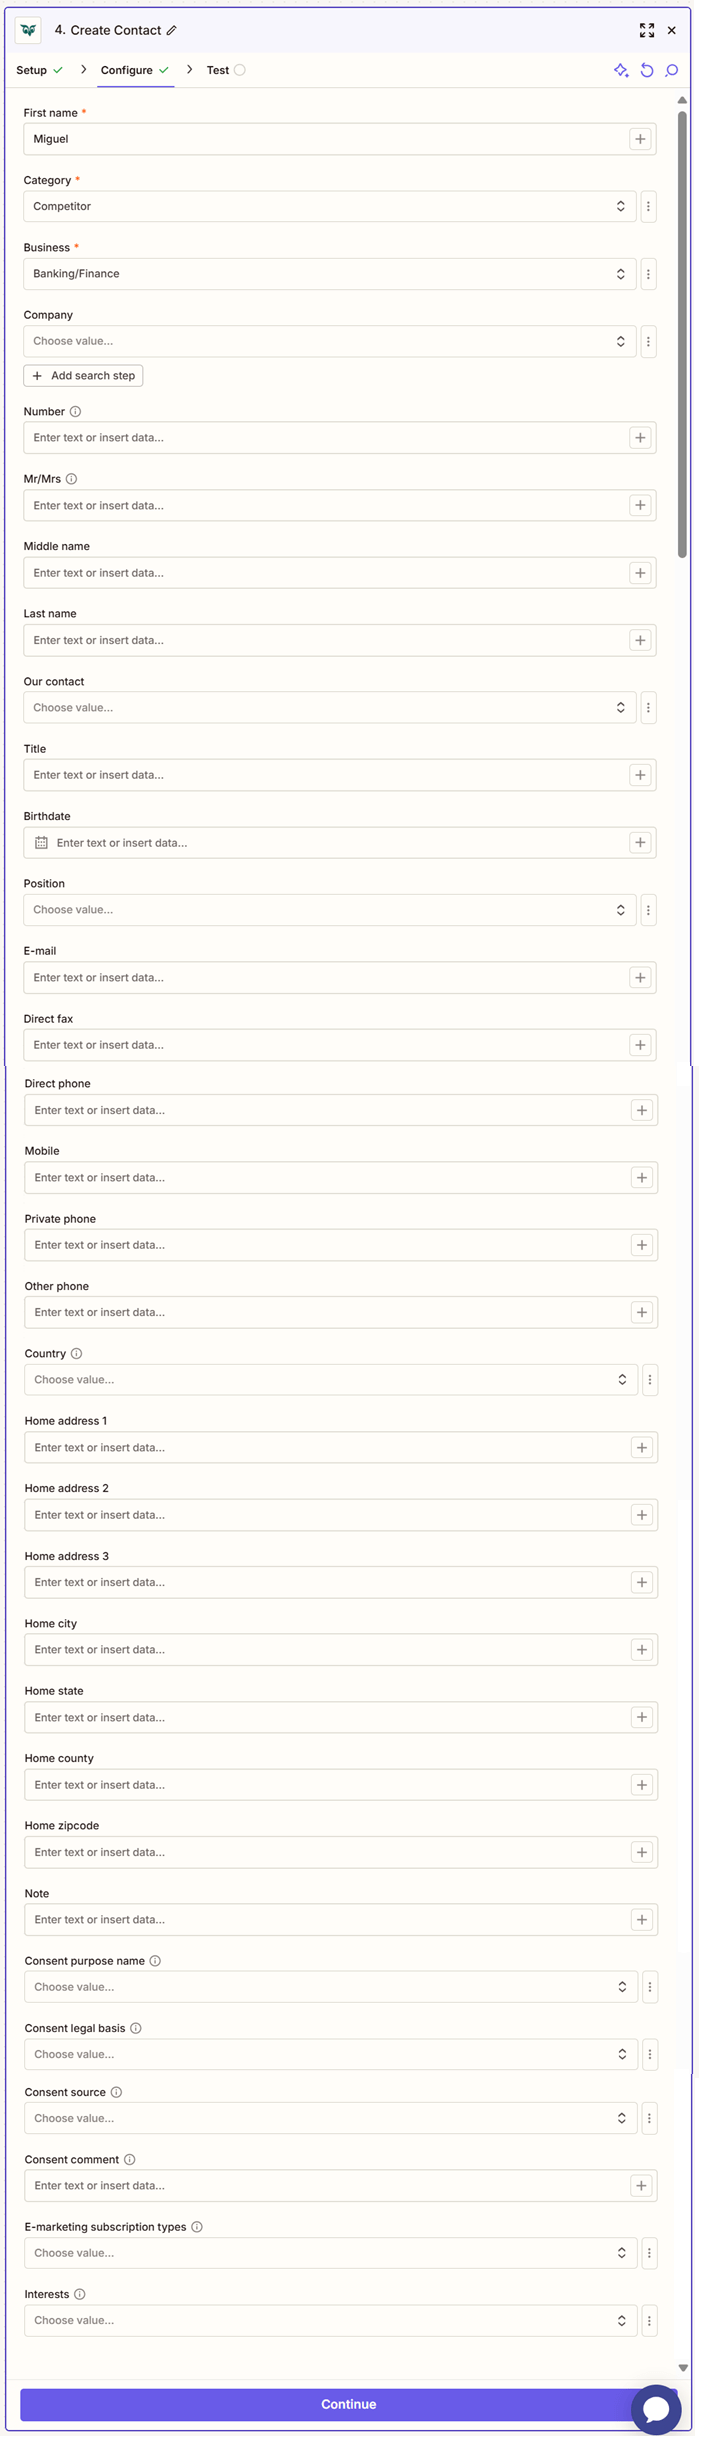
Fill out the mandatory fields First name, Category, Business and optionally other fields.
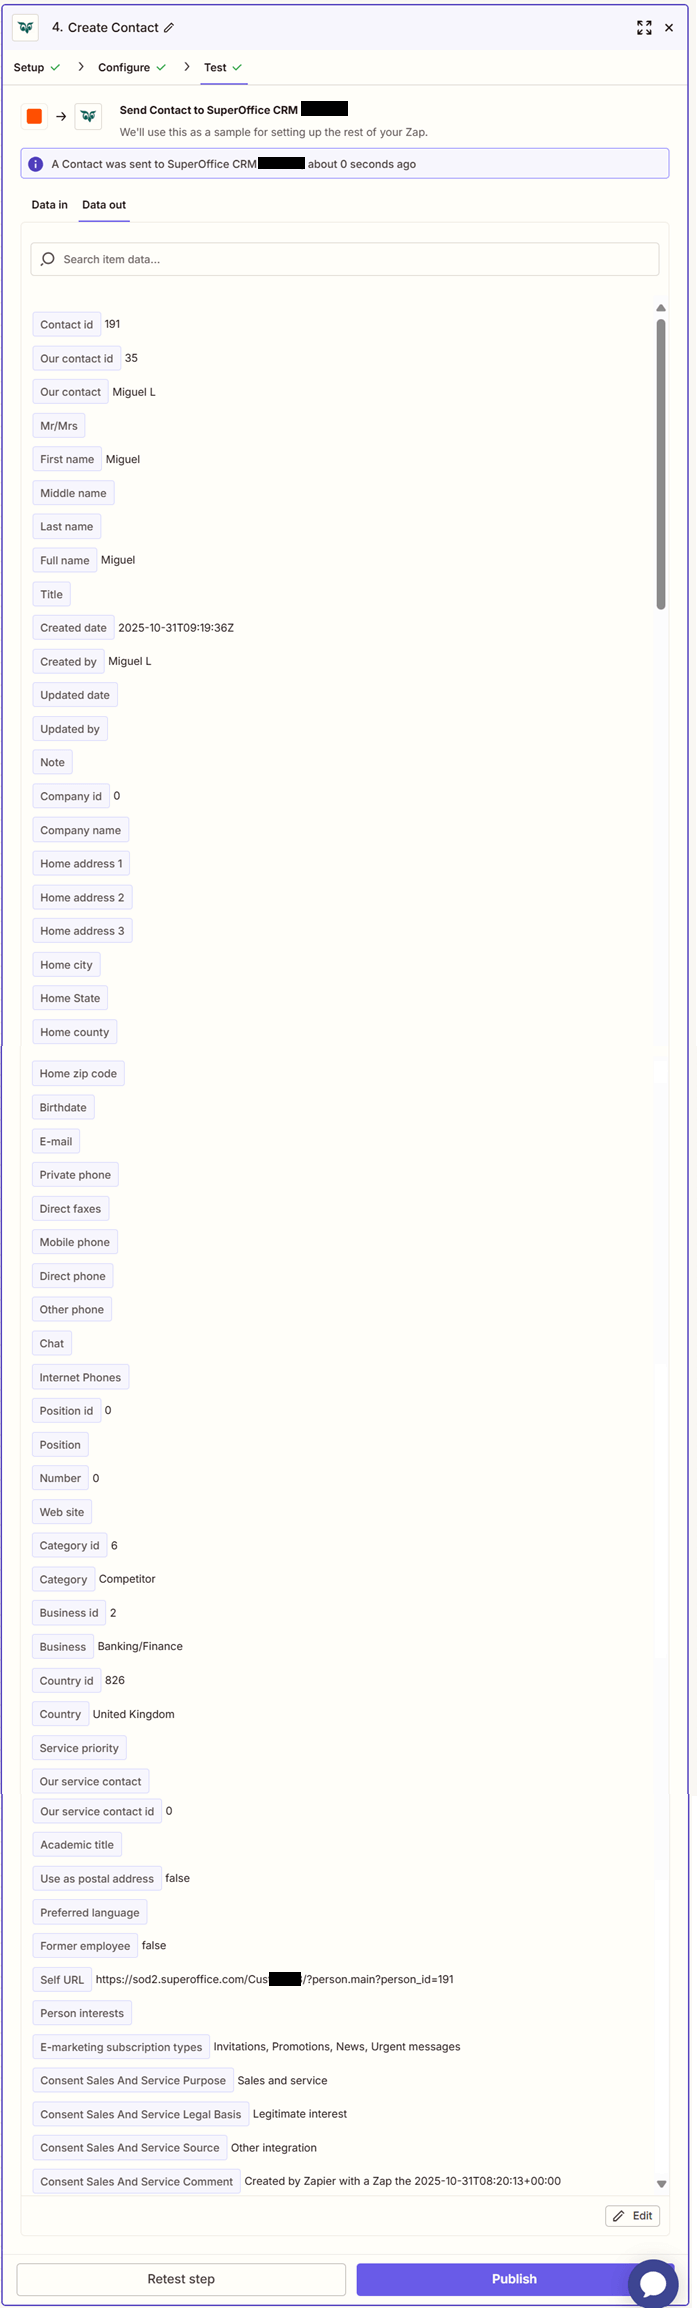
Click Test step to check that the action works.
If the above steps were configured correctly, the response should consist of Contact id, Our contact id, Our contact, Mr/Mrs, First name, Middle name, Last name, Full name, Title, Created date, Created by, Updated date, Updated by, Note, Company id, Company name, Home address 1, Home address 2, Home address 3, Home city, Home State, Home county, Home zip code, Birthdate, E-mail, Private phone, Direct faxes, Mobile phone, Direct phone, Other phone, Chat, Internet Phones, Position id, Position, Number, Web site, Category id, Category, Business id, Business, Country id, Country, Service priority, Our service contact, Our service contact id, Academic title, Use as postal address, Preferred language, Former employee, Self URL, Person interests, E-marketing subscription types, Consent Sales And Service Purpose, Consent Sales And Service Legal Basis, Consent Sales And Service Source, Consent Sales And Service Comment.