Create a Zap with SuperOffice CRM
This example demonstrates how to create a Zap that triggers when a sale is marked as sold in SuperOffice CRM.
Note
To create Zaps, you must connect a SuperOffice CRM account that has General Administrator user rights.
Define trigger
On the Zaps page, click Create. You will be taken to a new Zap creation window.

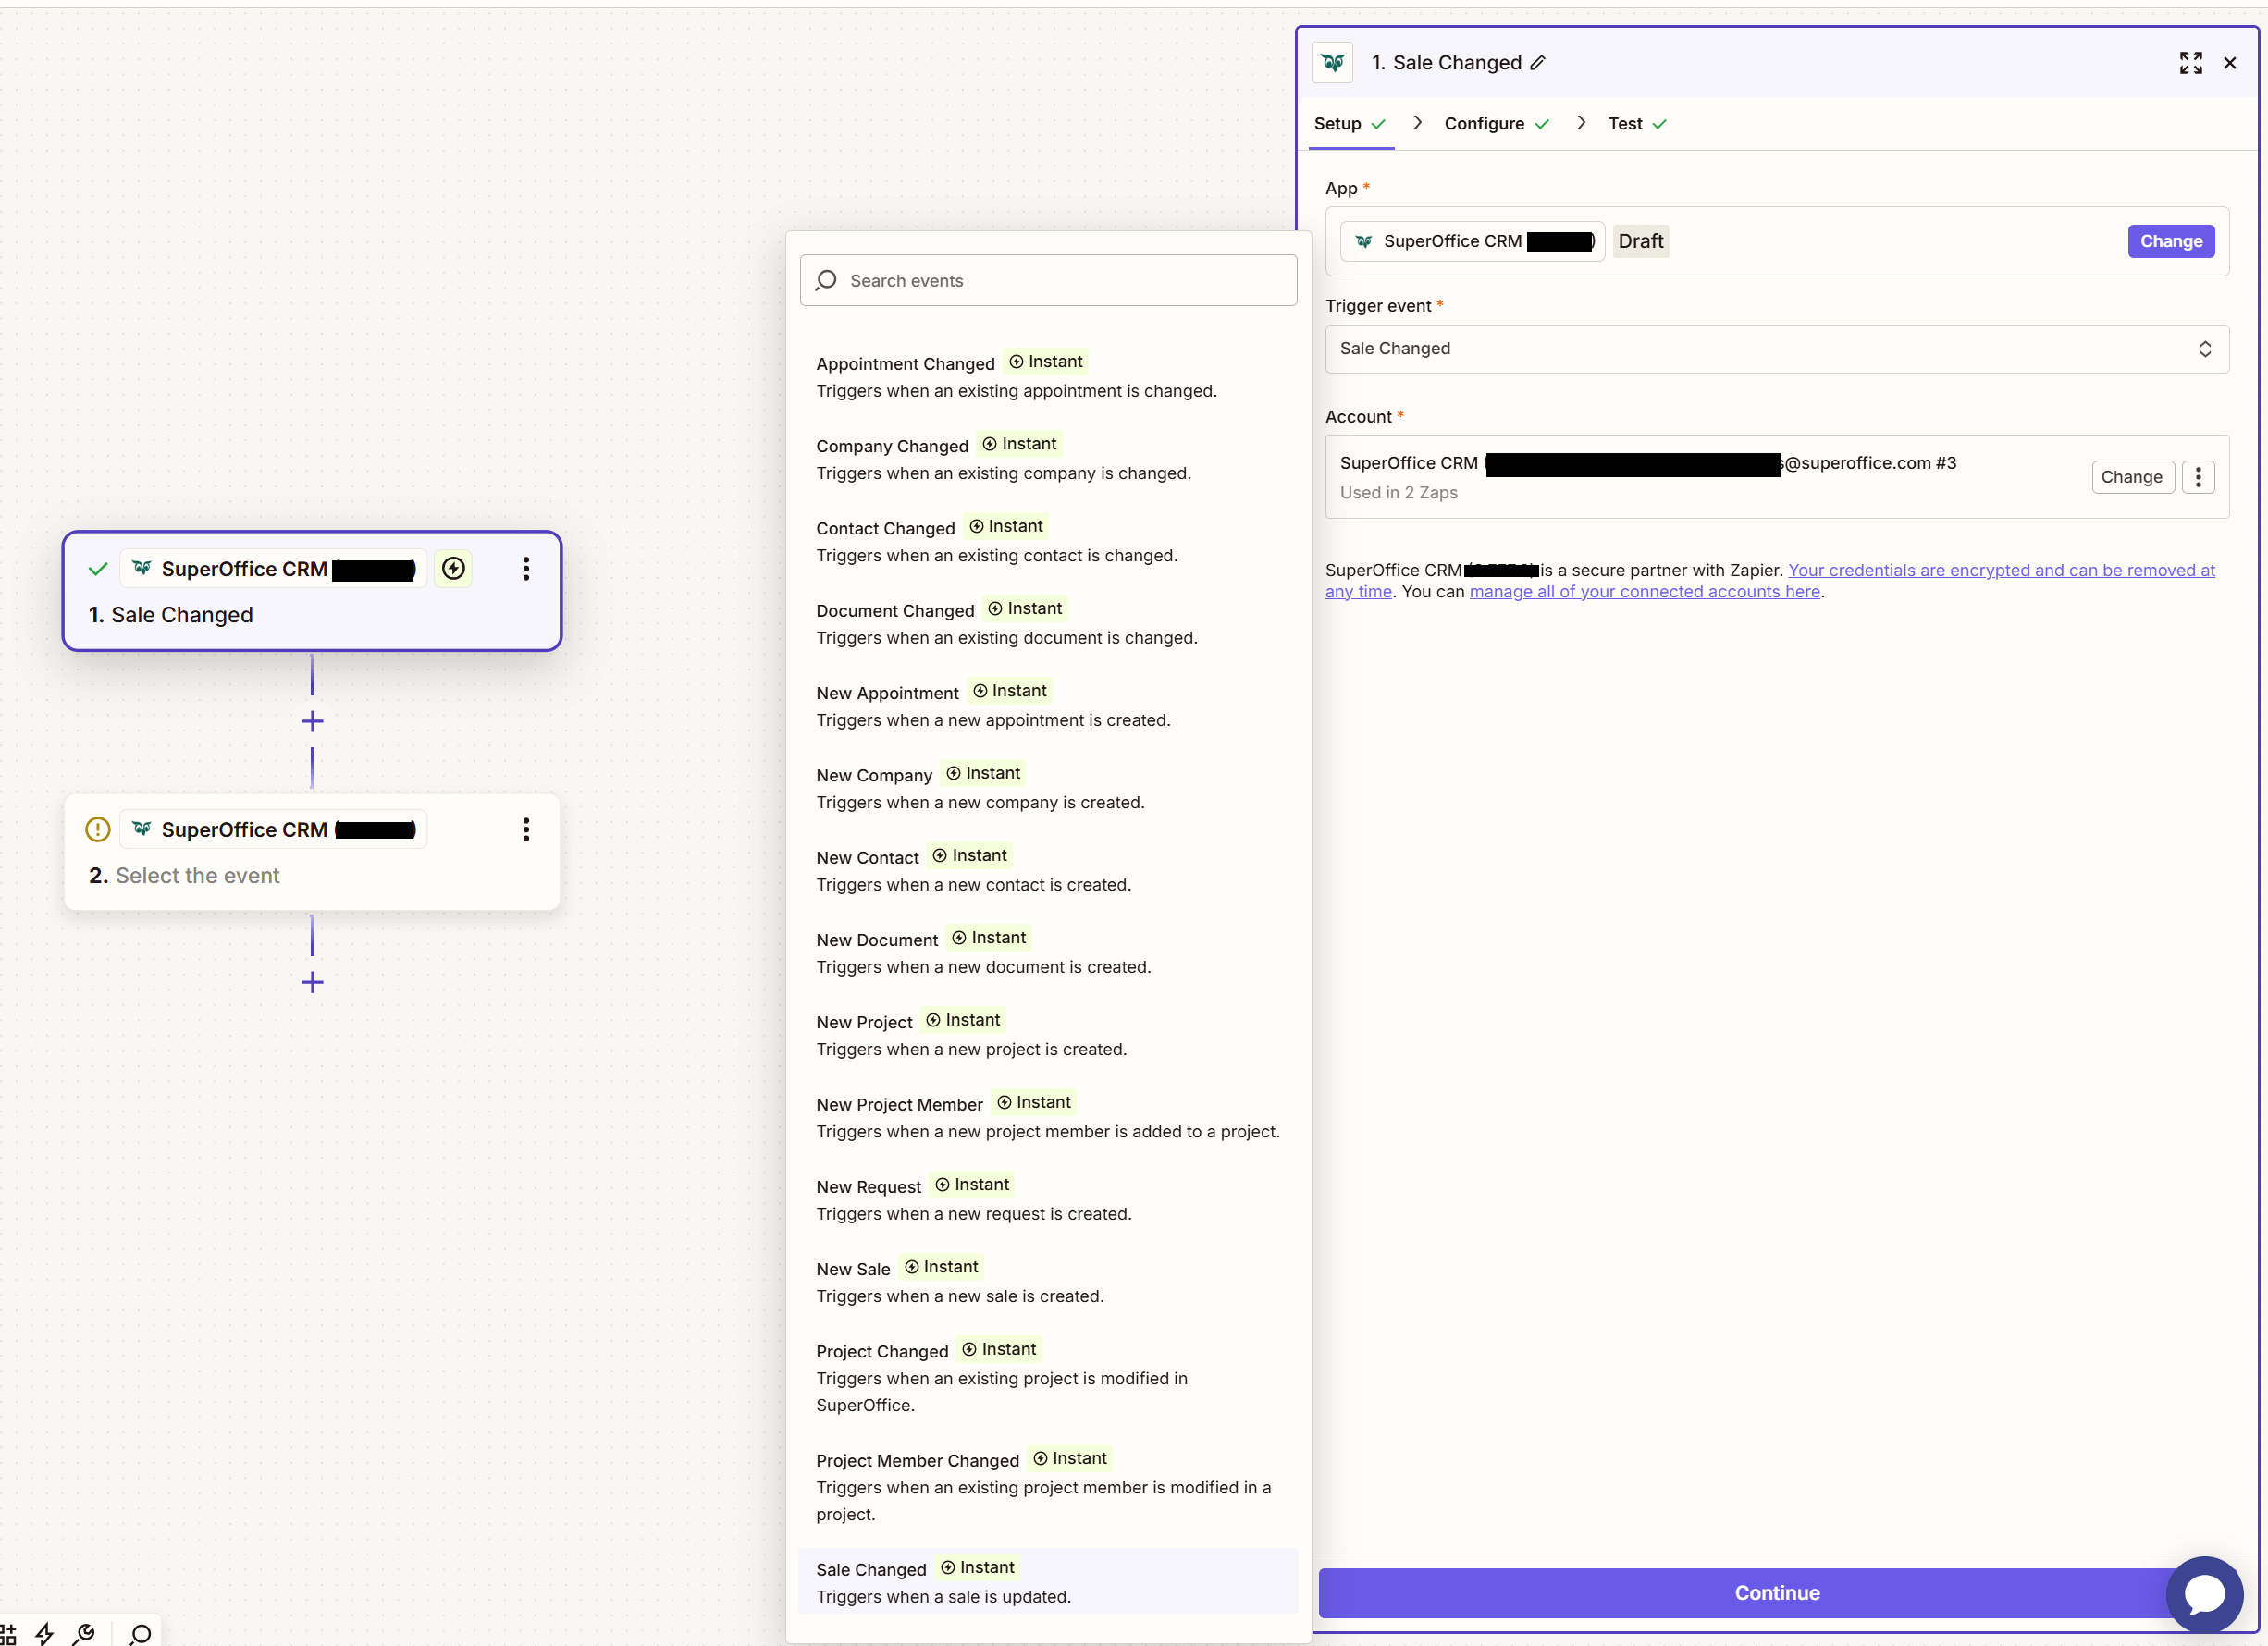
In the Trigger step, select SuperOffice CRM as the trigger application.
Choose a trigger and select Save + Continue.
For this example, select Sale Changed.
Select the tenant (database) to link:
- Choose one of the listed accounts, or
- Select Connect a Connect a new Account to link another tenant.
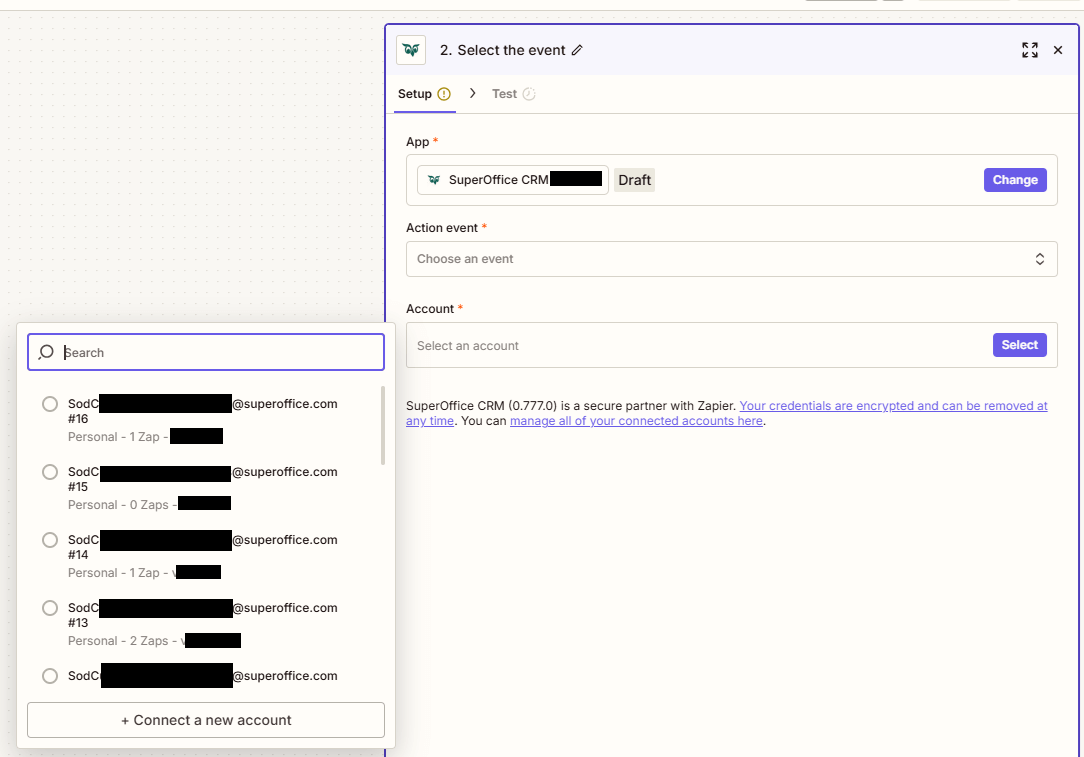
Select Save + Continue.
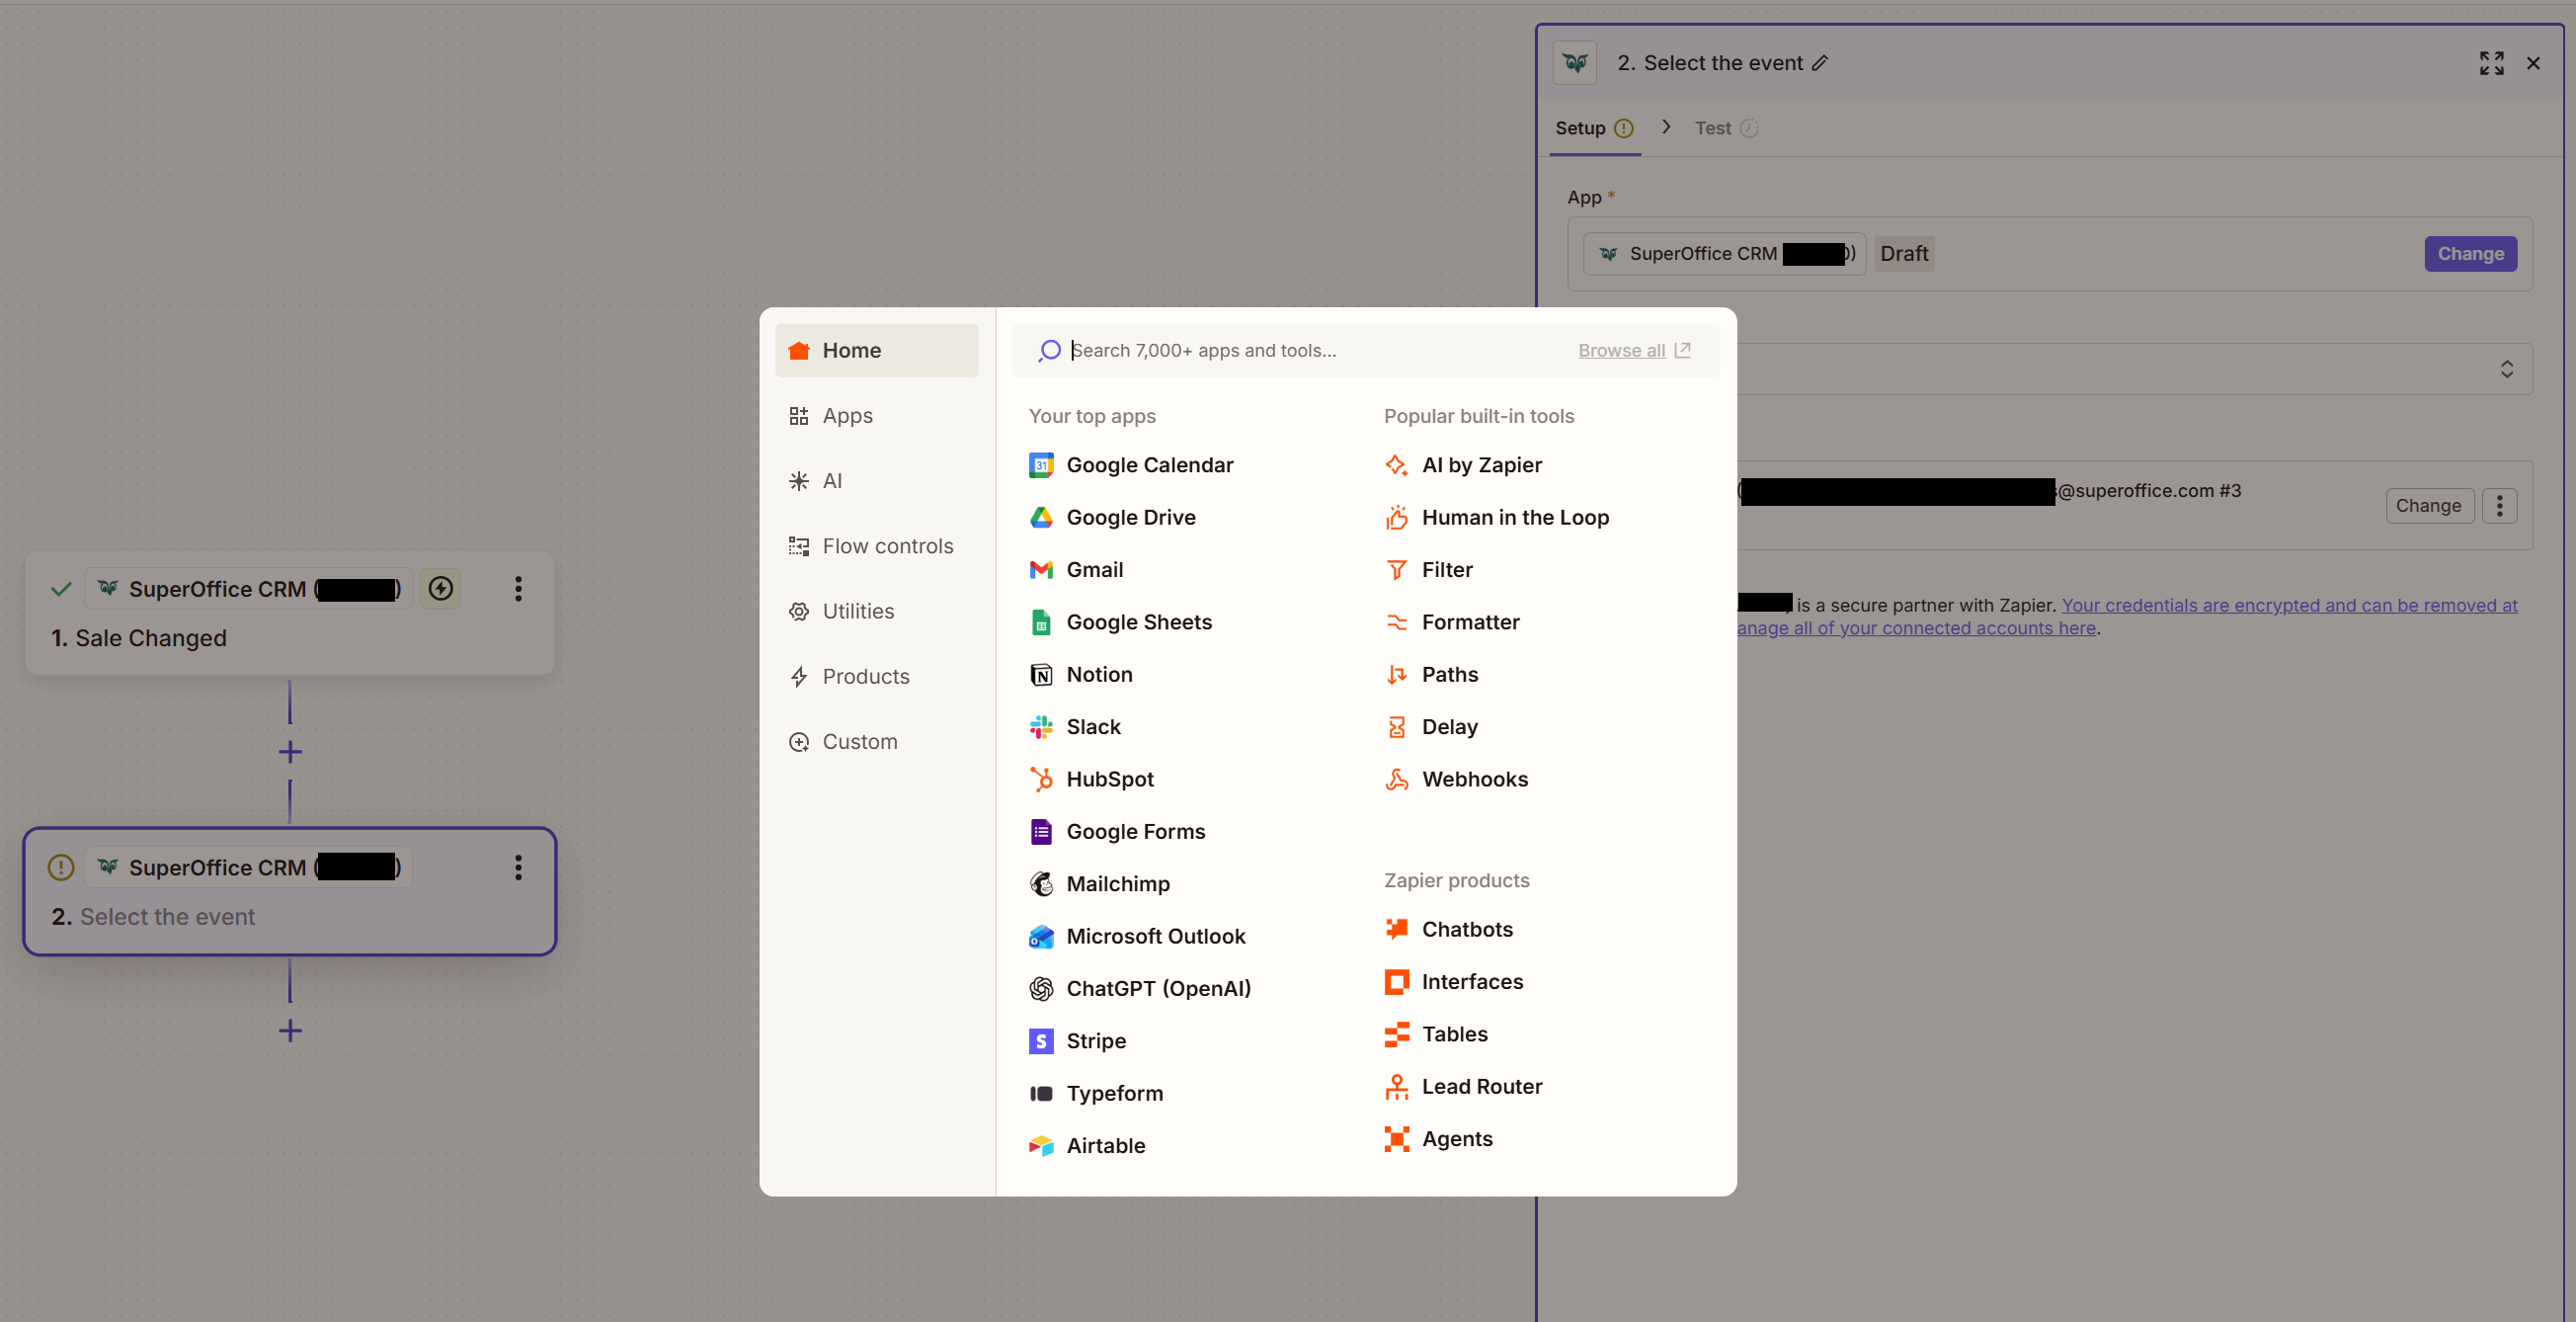
Define the change (event) that should trigger the Zap. The available options depend on the previously selected trigger.
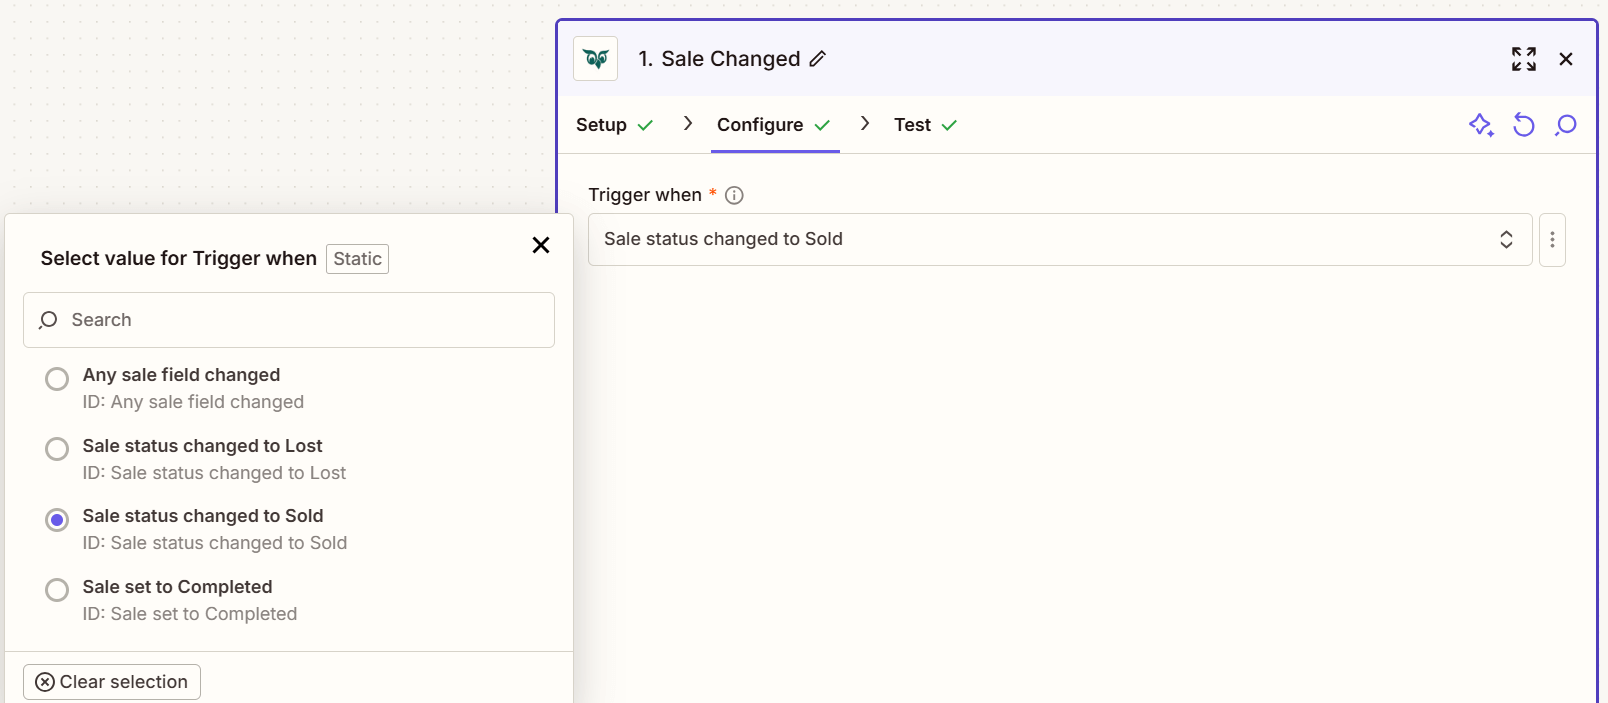
For this example, select Sale Status Changed To Sold.
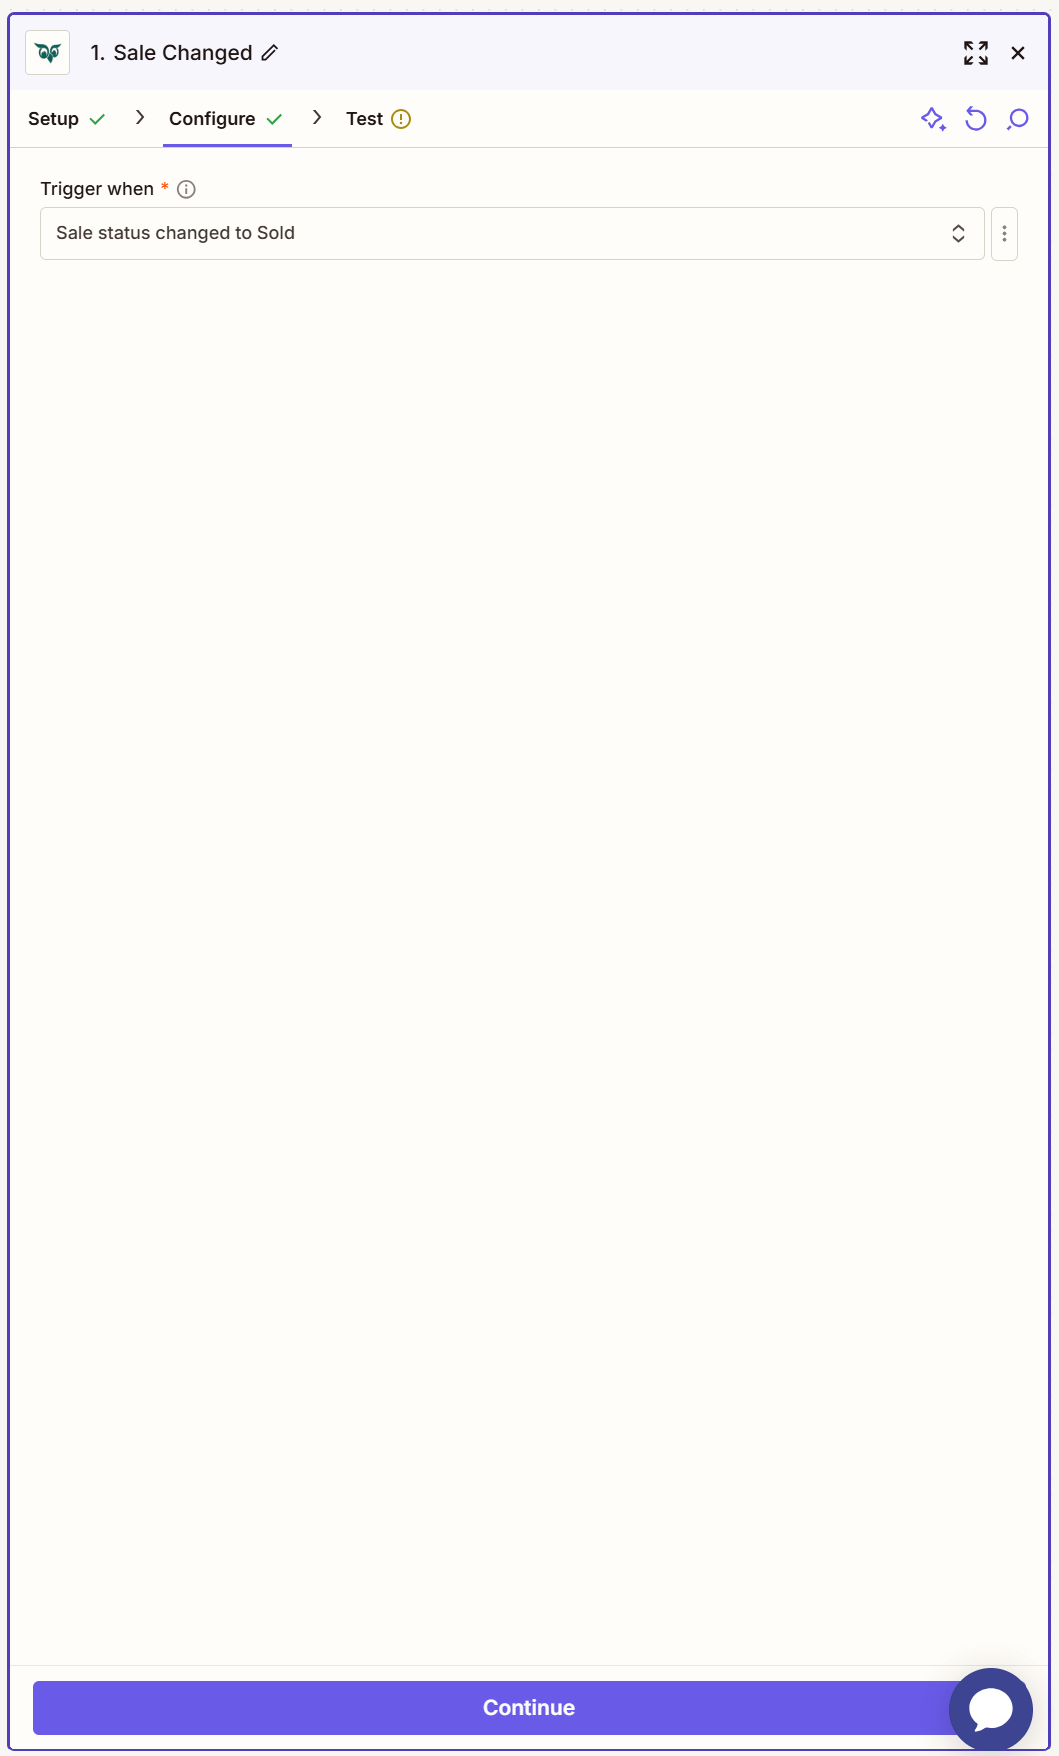
Select Continue.
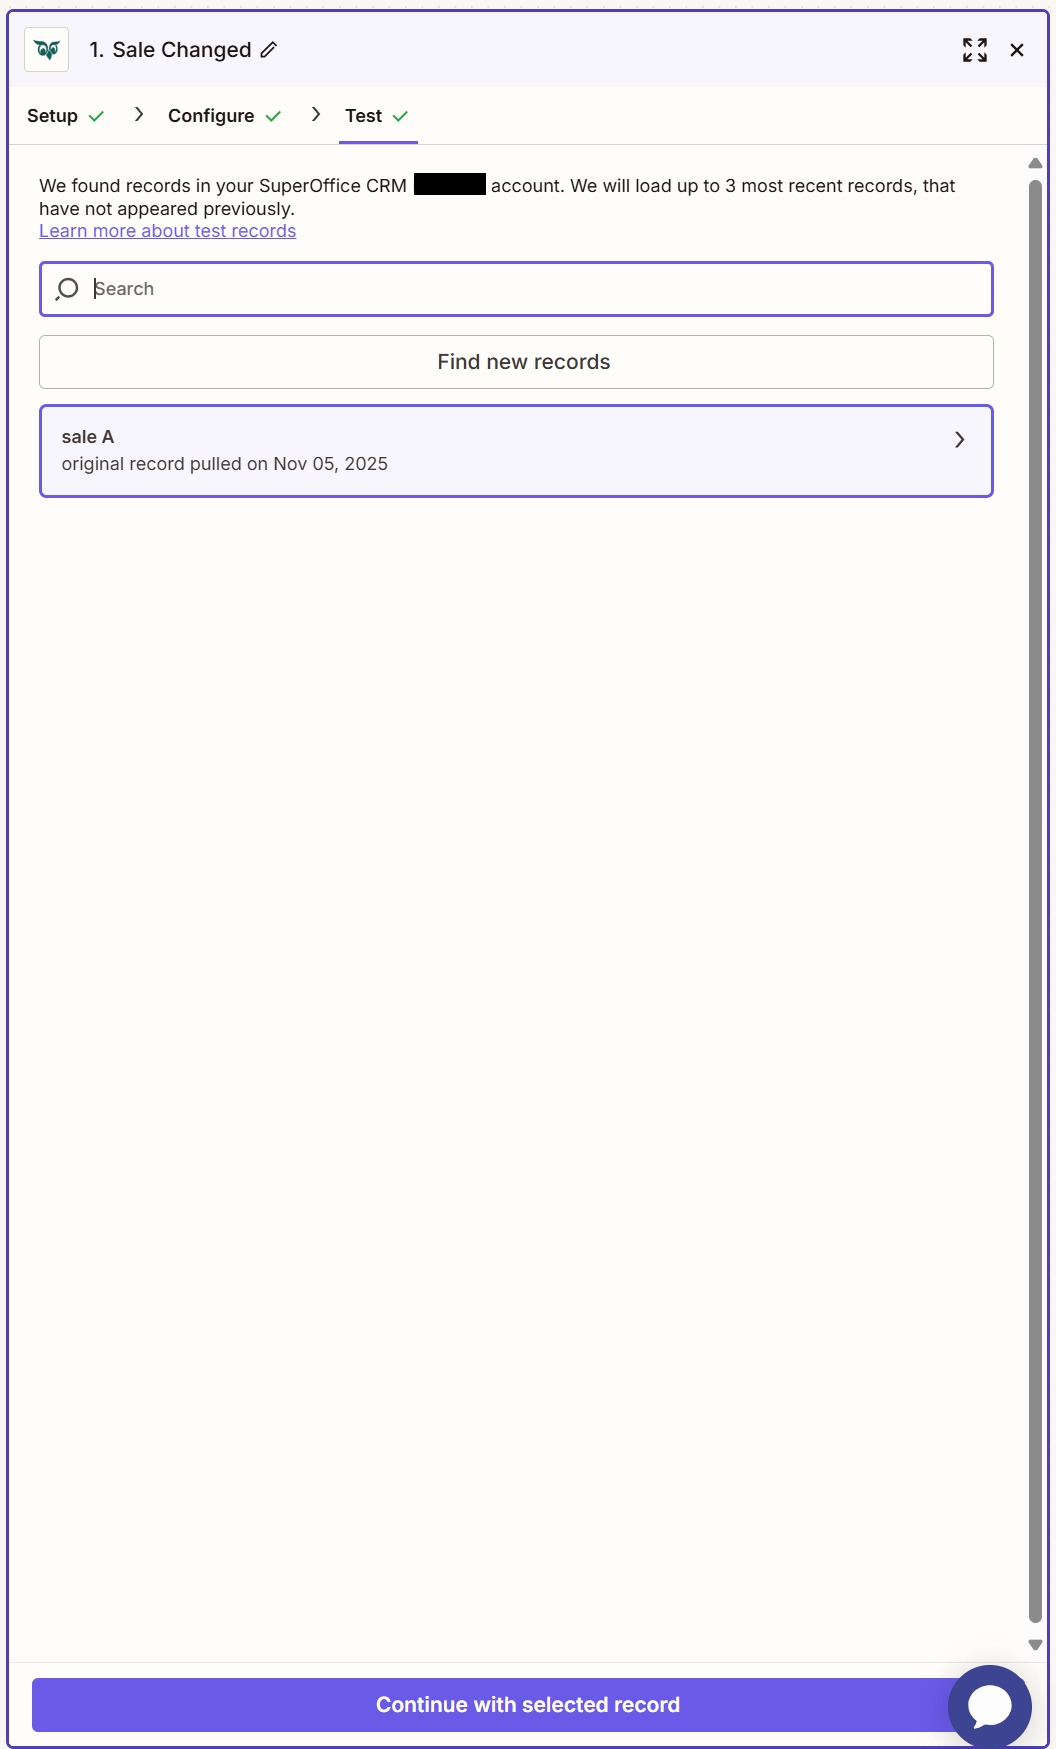
Review the selected record. Select the record entry to display additional information.

Continue by selecting Continue With selected record.
The Trigger step is now complete. Continue to the Action step to define the target location for the updated sale information.
Define action
Select an Action step to determine where the updated sale data from SuperOffice CRM will be sent.
Troubleshooting
Issues When Retrieving Data Samples
If connecting to SuperOffice and retrieving data samples fails, the issue may be caused by insufficient administrator permissions for the connected account. These permissions are required to use triggers, actions, and searches.
Workaround: Connect using an account with the necessary administrator rights to the SuperOffice tenant.
Caution
Zaps can modify SuperOffice data extensively. For instance, misconfigured Zaps can create duplicate records. Proper configuration helps prevent such issues.