Add layout
Note
This feature requires a license for Development Tools. This is an additional cost per site.
Whether you add a personalized view for a selected user group or design a layout optimized for specific project, sales, and request, and follow-up types or document templates, start by adding a new layout for a screen in the Screen Designer.
With custom screen layouts for each of your teams, finding customer data will be easier than ever. The most relevant data will always be available and visible. Remove, move or hide irrelevant or less important data to unclutter the screens. Add customized archives with the most relevant data for your teams. The result will be a cleaner and more tidy screen for your teams to work in.
Watch this video and find out how add a new layout or follow the step-by-step guide below (the video will start at 5:37):
Create new layout
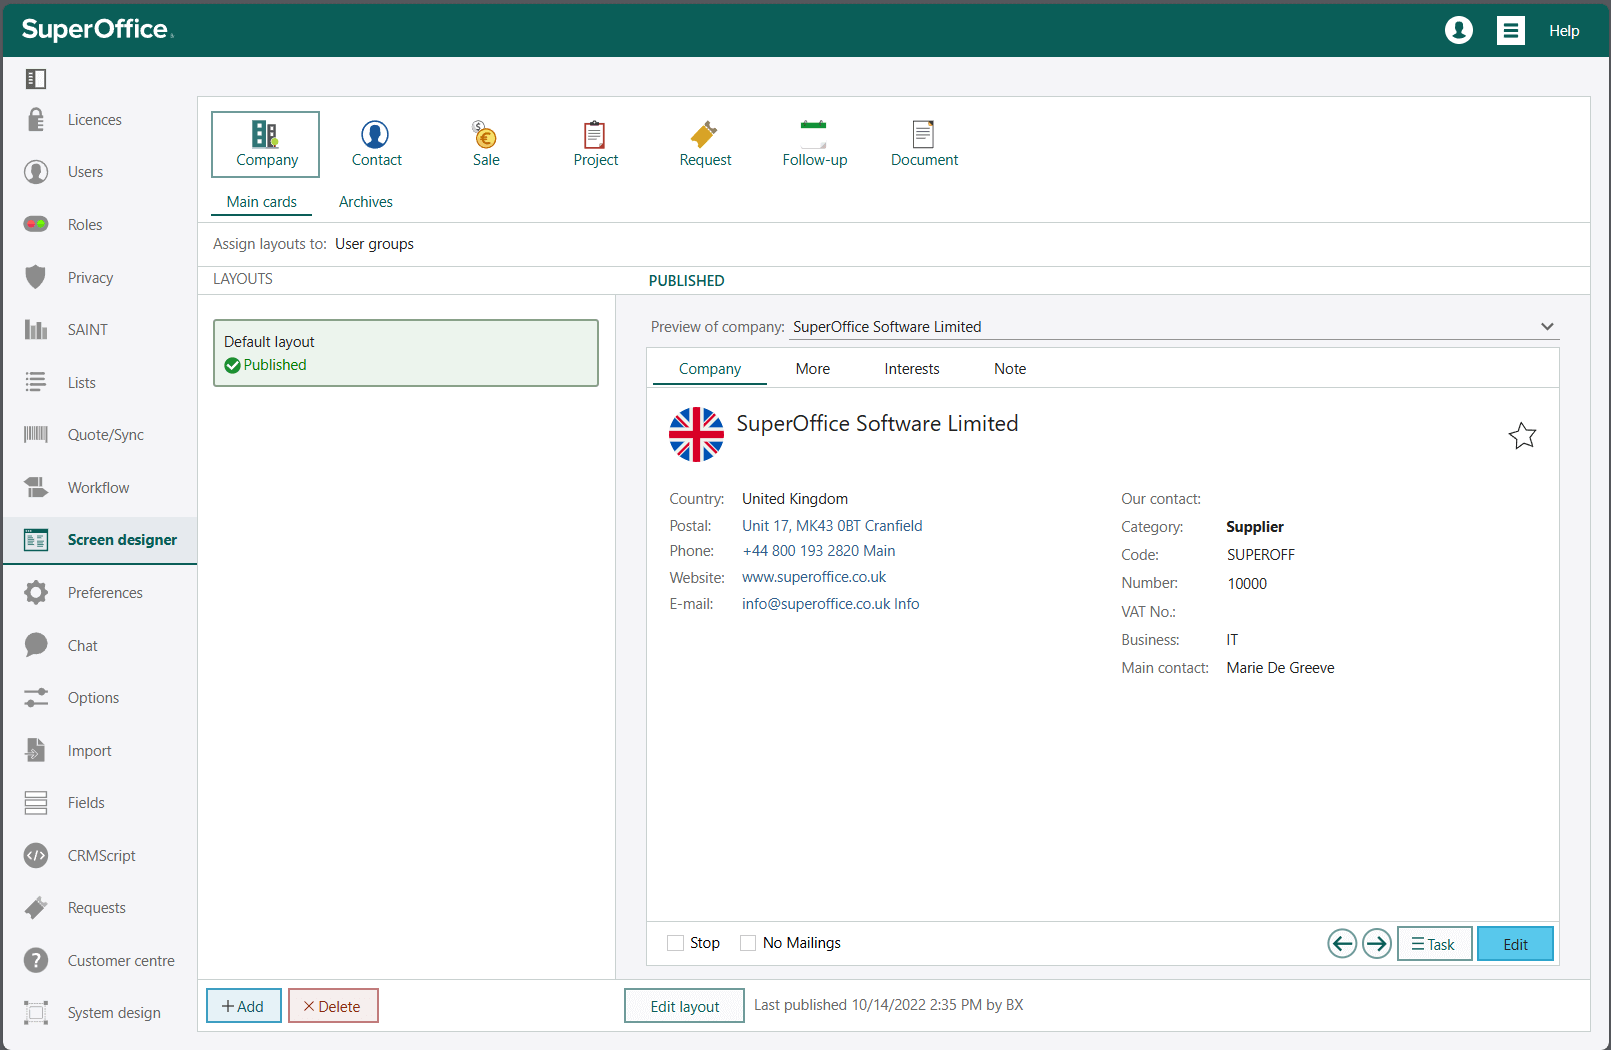
Open the Screen Designer (in Settings and maintenance).
At the top, select a screen or dialog to customize.
Select Main cards.
To create a layout for an archive, see Working with section tabs.
Select assignment method (if not set): click the text next to Assign layouts to, and choose group, type, or template.
Under Layouts, click Add.

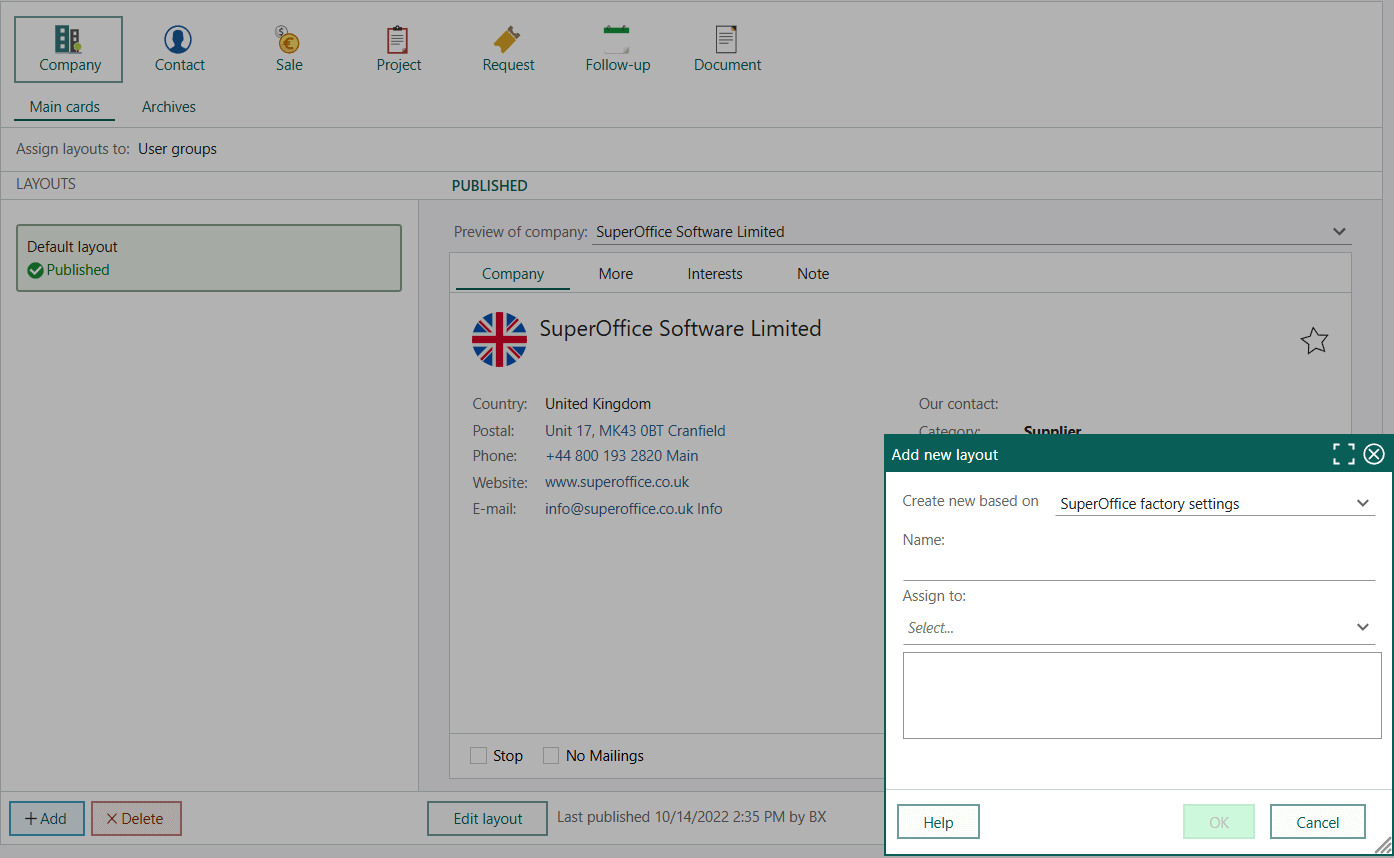
In the Add new layout dialog, select a layout from the Create new based on list.
Enter a name and description for the new layout.

Click the Assign to field and assign the new layout to one or more user groups or sale/project/request/follow-up type or document template.
Note
Only groups/types/templates currently using the default layout are shown.
Click OK.
The new layout is added to the Layouts list with status Draft, meaning it is not yet visible to any users. The preview is displayed on the right side of the screen.
Customize the new screen layout
With the new layout selected in the Layouts list, click the Edit layout button.
Work your way through the tabs in the layout.
When you are done, save or publish the layout.