Create a request
A request can arrive in the system via an email from the customer, or you can register it manually via the New request screen. This would be the case if a customer makes an enquiry by phone.
Steps
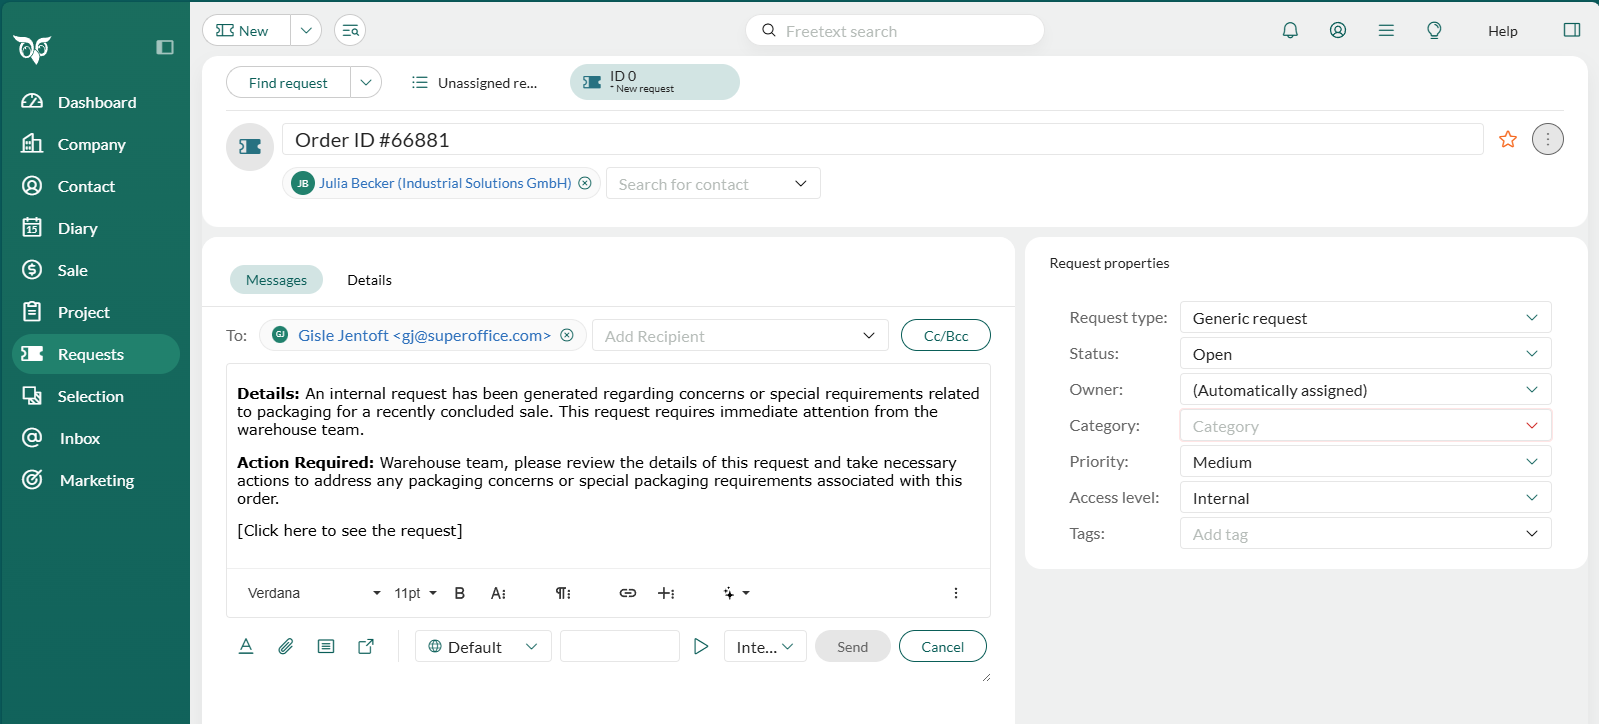
Click New on the top bar and select Request.
Alternatively, if you are in the Requests section tab on a contact, click Add to create a request with the contact prefilled.
In the Title field, give the request a descriptive name.
Add a contact in the Search for contact field (if not prefilled). Start typing the name (or phone number) and choose from the results.
- Optionally, you can skip this step and add the contact later.
Use the Request properties panel on the right to assign and prioritize the request.
- Select Request type, Status, Owner, Category, Priority, and other properties.
Note
The request type affects default values and available statuses and priorities. If a relation rule requires a parent to be set for this type, you must specify a parent request before saving.
Go to the Messages tab to compose the request message:
- In the To field, add the recipient(s). Start typing the contact's name or email and select them from the list.
- Optional: Click Cc/Bcc to add recipients as a copy or blind copy.
- Enter the message text, attach files, or insert reply templates.
Note
The default request signature will be added to the message. You can edit the signature directly in the message or edit your default email signature.
Go to the Details tab to optionally link the request to an existing sale or project.
Click Send to save and send the request.
Key fields explained
The following fields are available in the Request screen. Some fields are filled automatically, while others require input.
Note
Fields and layout may vary based on Screen designer configurations and other UI customizations.
This tab is where you compose and manage the request message.
- Add recipients in the To field.
- Recipients are automatically added as request contacts. The first recipient becomes the main contact.
- Add multiple recipients, and reorder them by clicking and dragging.
- To include a recipient without registering them as a contact, enter their email address. They will receive the message but will not appear as a request contact.
- Leave the field empty if you do not want to send the message.
- Click Cc/Bcc to add additional recipients as a copy or blind copy.
- Include a message body, attachments, reply templates, or FAQ entries.
- Use Internal/External to determine whether the contact can see the message in the Customer Centre.
- Use the timer to track time spent on handling the request.
The message editor functions like a word processor, allowing you to compose, format, and enhance your messages. Below are the key tools and their purposes:
| Icon | Action | Description |
|---|---|---|
| Toolbar | Show or hide text formatting options. | |
| Attachments | Add files or CRM documents to the message. |
Attachments
To attach files or CRM documents:
- Click . An Attachments field appears below the To field.
- Add attachments using one of these methods:
- Click Upload files (or drag here) to select a file from your computer.
- Drag and drop files into the Attachments field.
- Click Choose a CRM document to select a file stored in SuperOffice CRM.
Insert
To enhance your message with additional content:
- In the Properties panel, click .
- Choose what to add:
- Reply template: Insert pre-written text.
- FAQ entry: Add a knowledge base article.
- If reply templates are available in multiple languages, you can select a language.
Time spent
The clock starts automatically when you create the request. You can stop the clock by clicking , and also re-start the clock by clicking . For details on registering time spent, see Record time spent.
Autosave
Whenever you are working on a request and suddenly receive a more urgent request, you will have to leave the request you are working on to solve the prioritized request.
The autosave function will automatically save your changes until you click Send or cancel the changes to your request. Autosaved information is placed in the local storage of your browser, so your data will even survive a browser crash, reboot, logout and login.
The autosave feature is activated by default when you view and edit requests and reply/reply all.
Limitations
- Autosaved data will not be transferred from one computer to another. This means that you cannot start replying to a request at work, and then continue at home.
- Autosaved data will not be shared between two different browsers.
- The autosave function is a useful feature, but should not replace saving your work the proper way.