Respond to requests on your mobile device
Response time is often a key metric for teams handling incoming requests.
Note
A Service user plan is required to take action on a request.
Accept
For a request to be your responsibility, your name must appear in the Owner field.
If the request is unassigned, self-assign it to prevent others from responding at the same time.
Reply / reply all
A reply is an external message sent to the customer.
Tap Reply on the action bar.
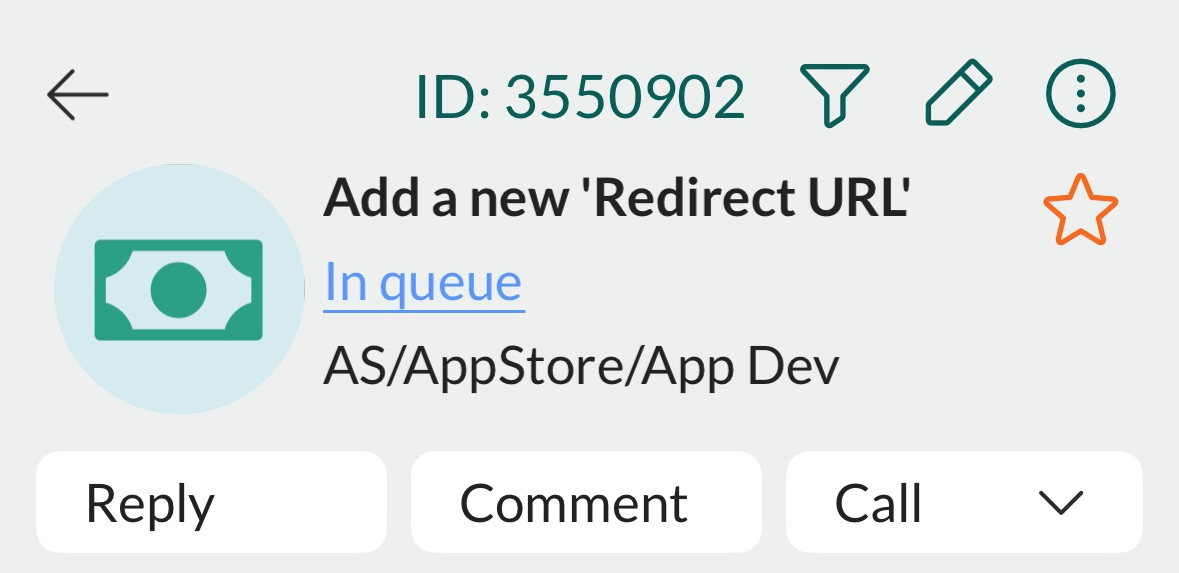
The customer's email address is prefilled in the To field. Optionally, add more recipients.
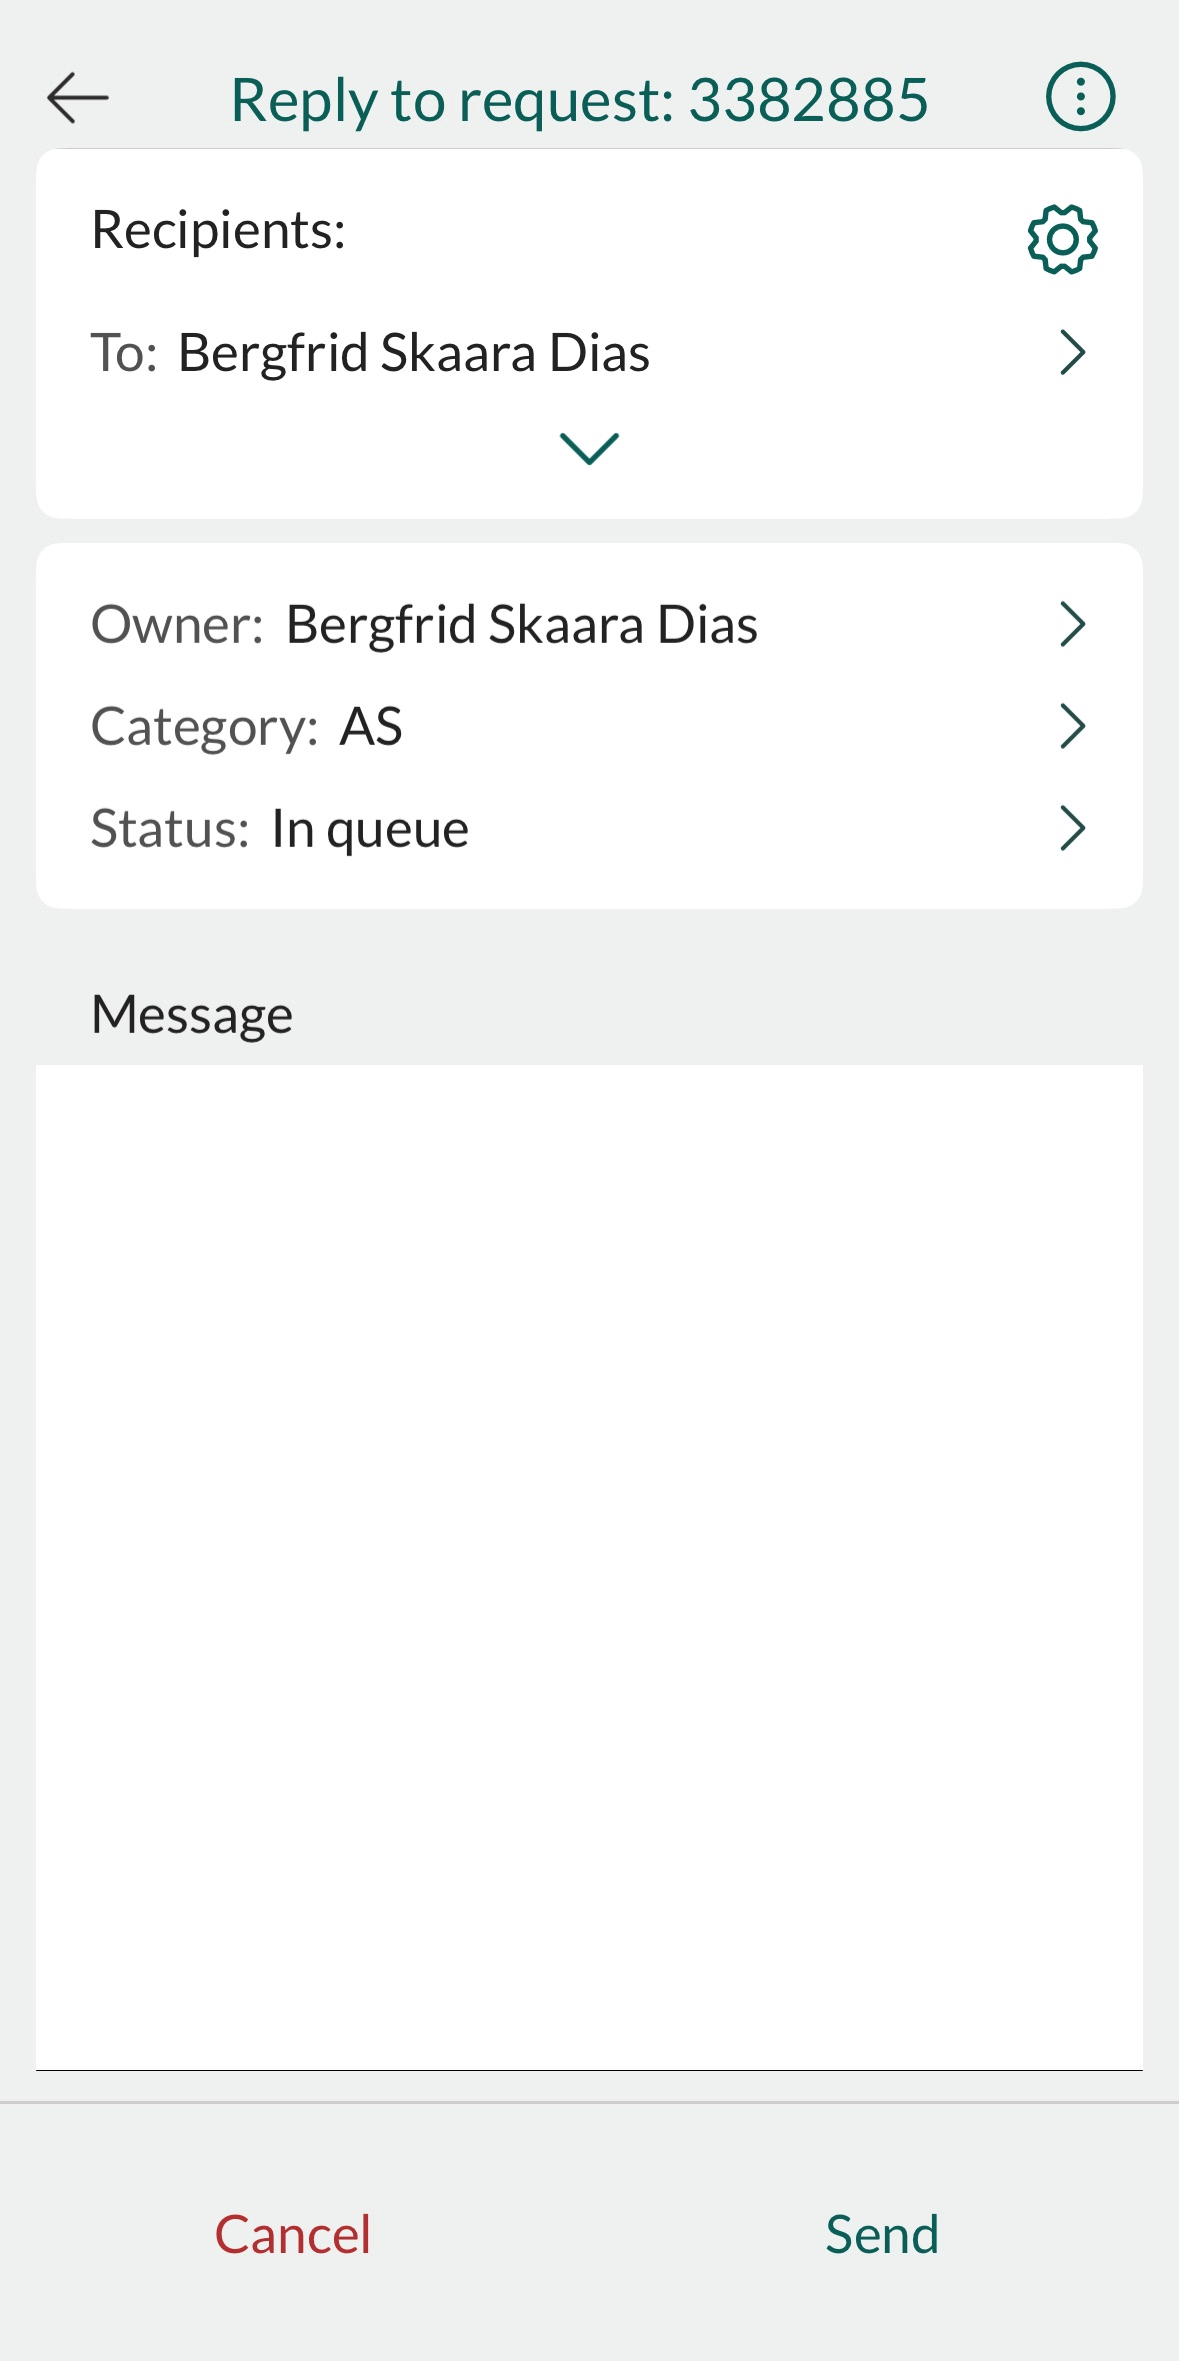
Update request properties as needed (owner, status, category).
-
Note
Your signature is automatically included if available. See how to add a signature.
Tap Send.
Add comment (internal)
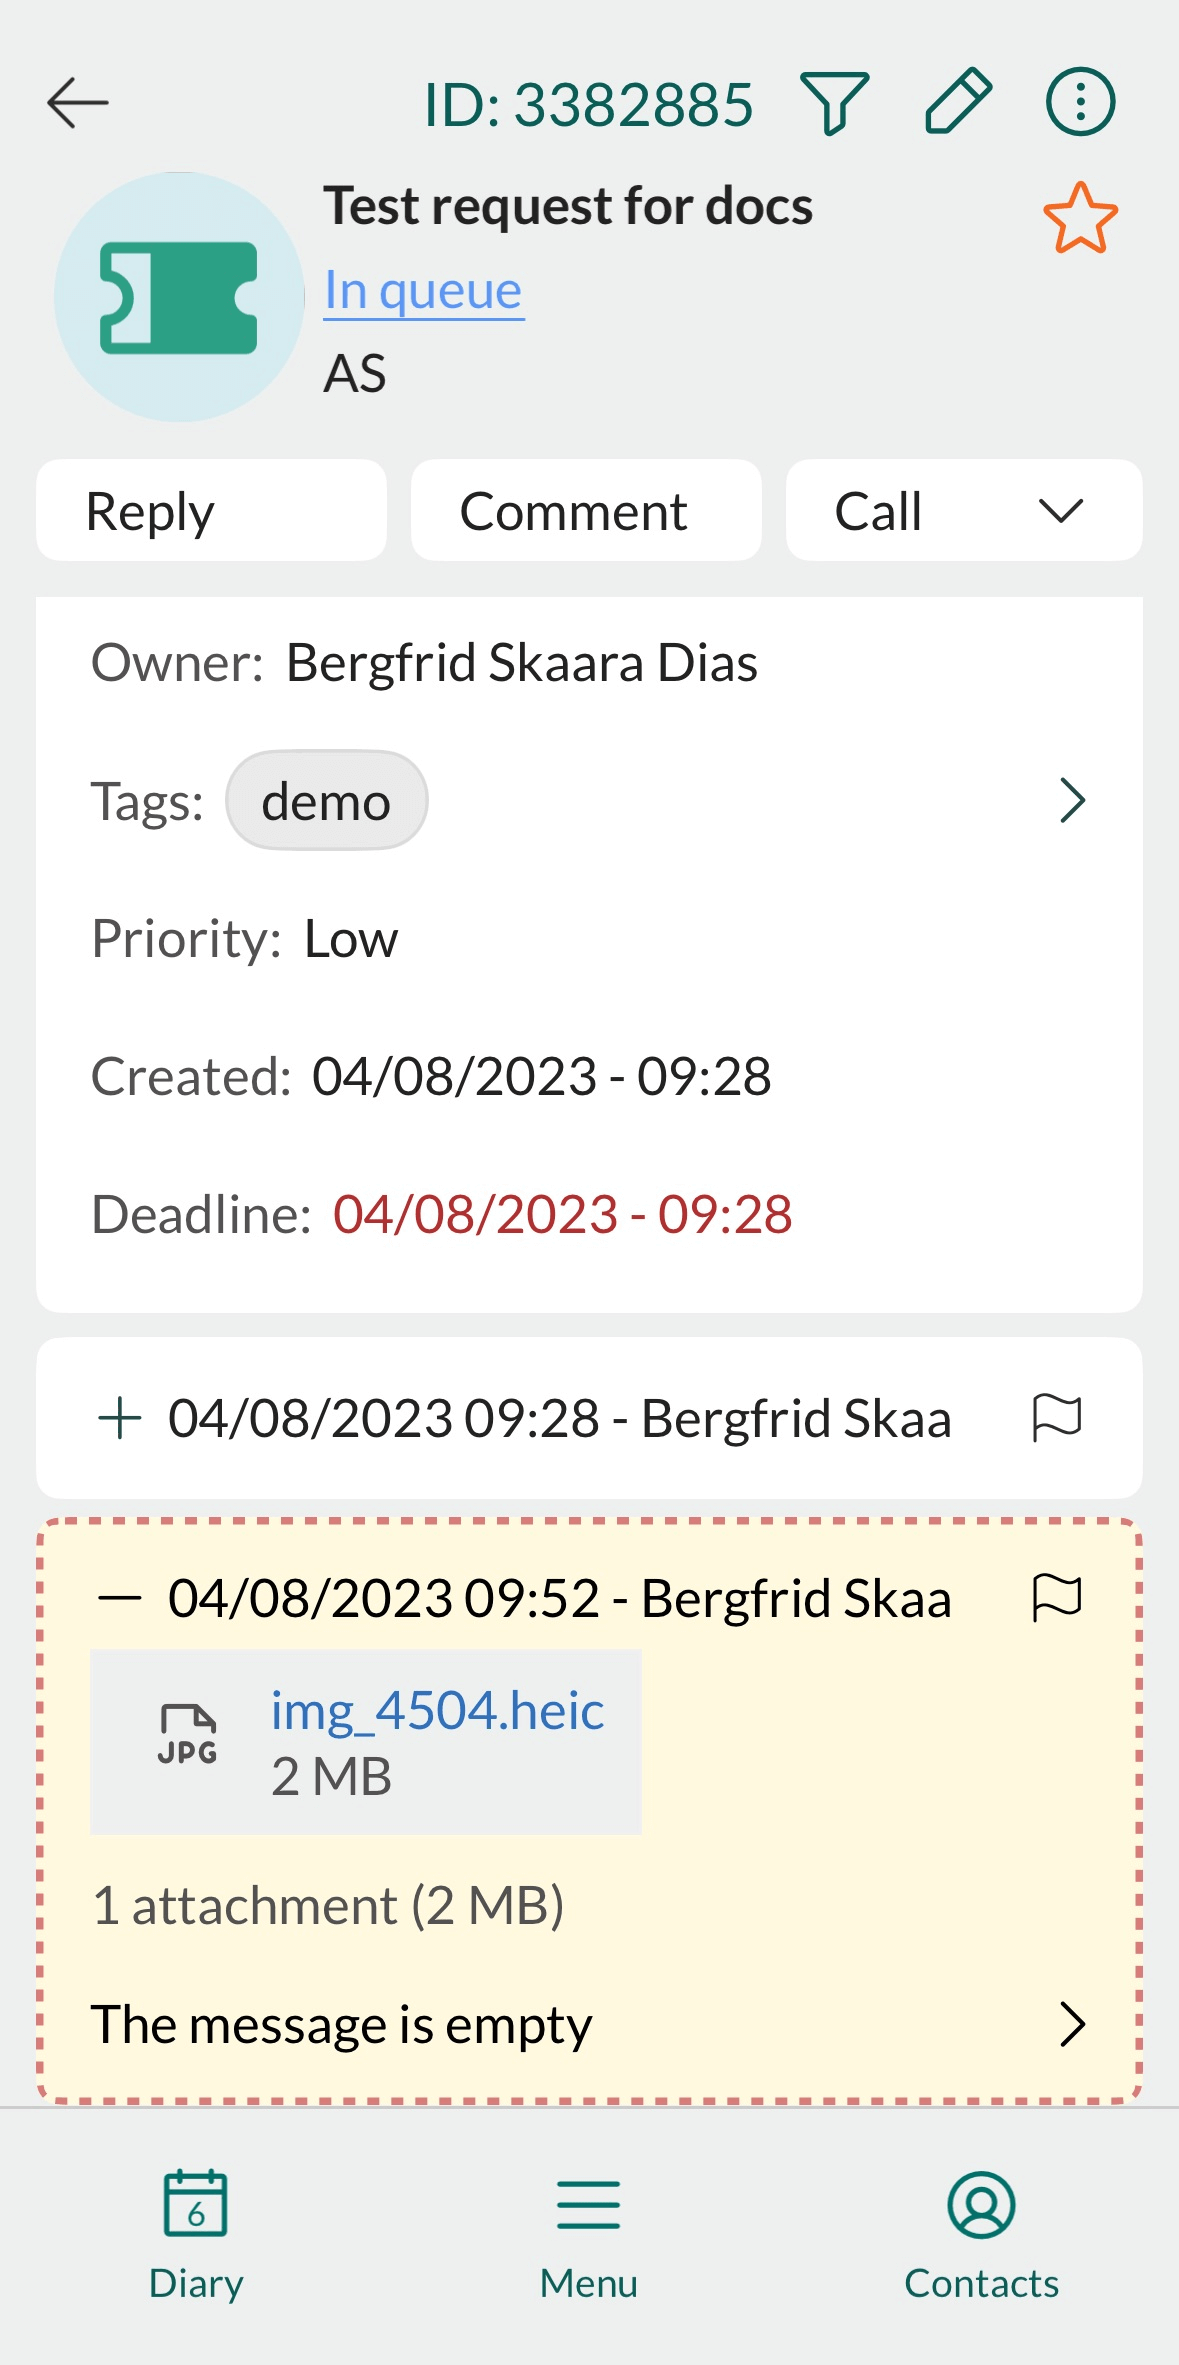
Comments are internal messages used to collaborate before responding to the customer.
They are shown with a red background, are not visible to the customer, and are excluded when forwarding a request.
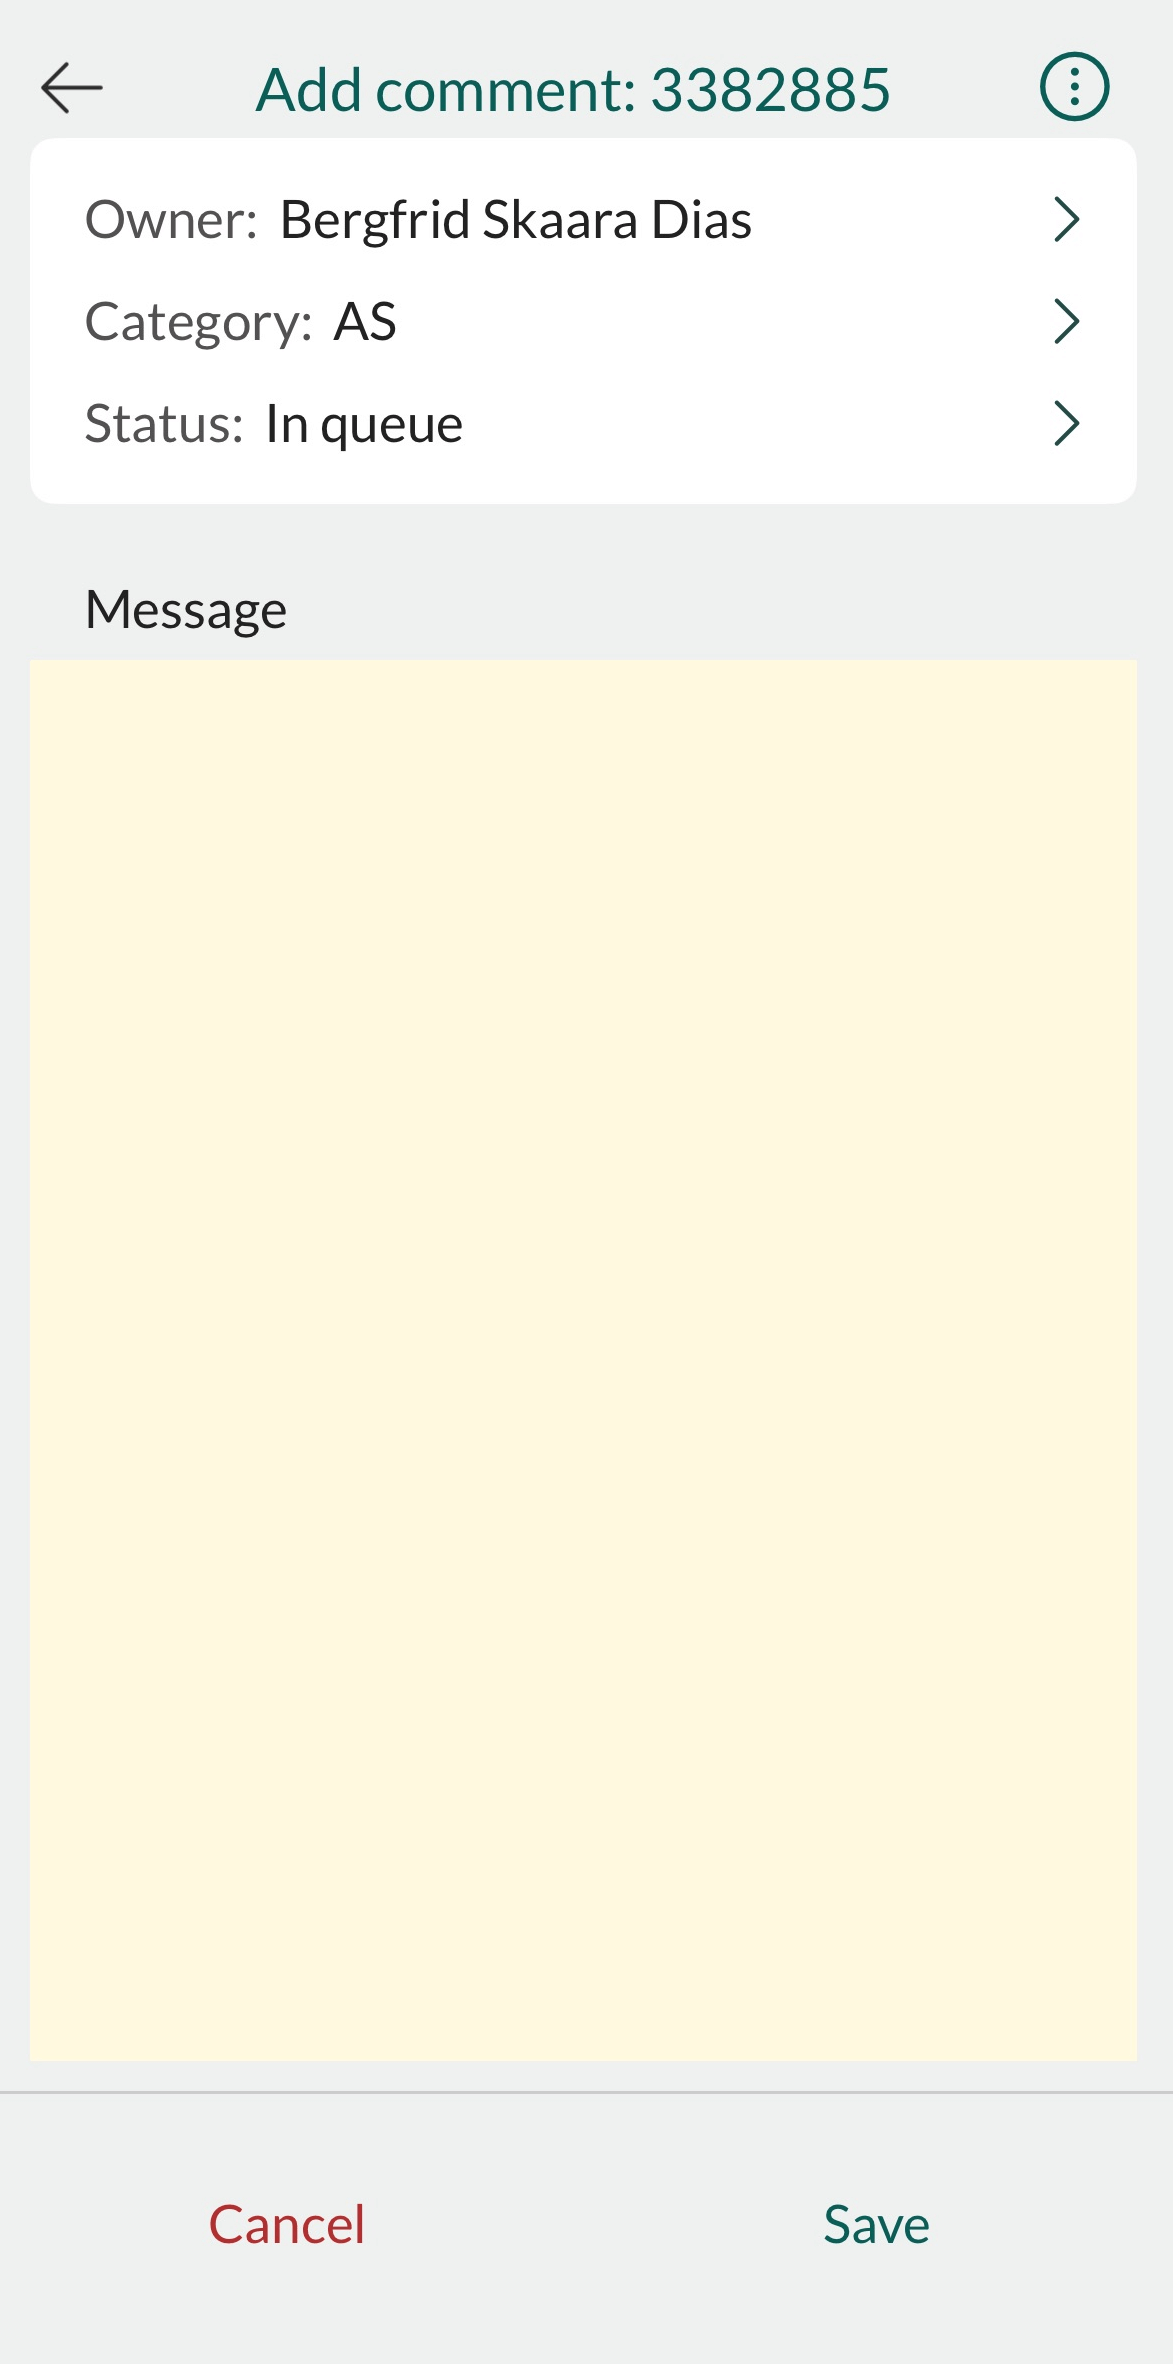
- Tap Comment on the action bar.
- Update request properties as needed.
- Write your comment.
- Tap Save.
Forward
Use Forward when you need to share the request with someone outside the organization.
Forwarding a request compiles all external messages along with your own message into a single email.
- Tap and select Forward.
- Add one or more recipients in the To field.
- Update request properties as needed.
- Compose your message.
- Tap Send.
Call customer
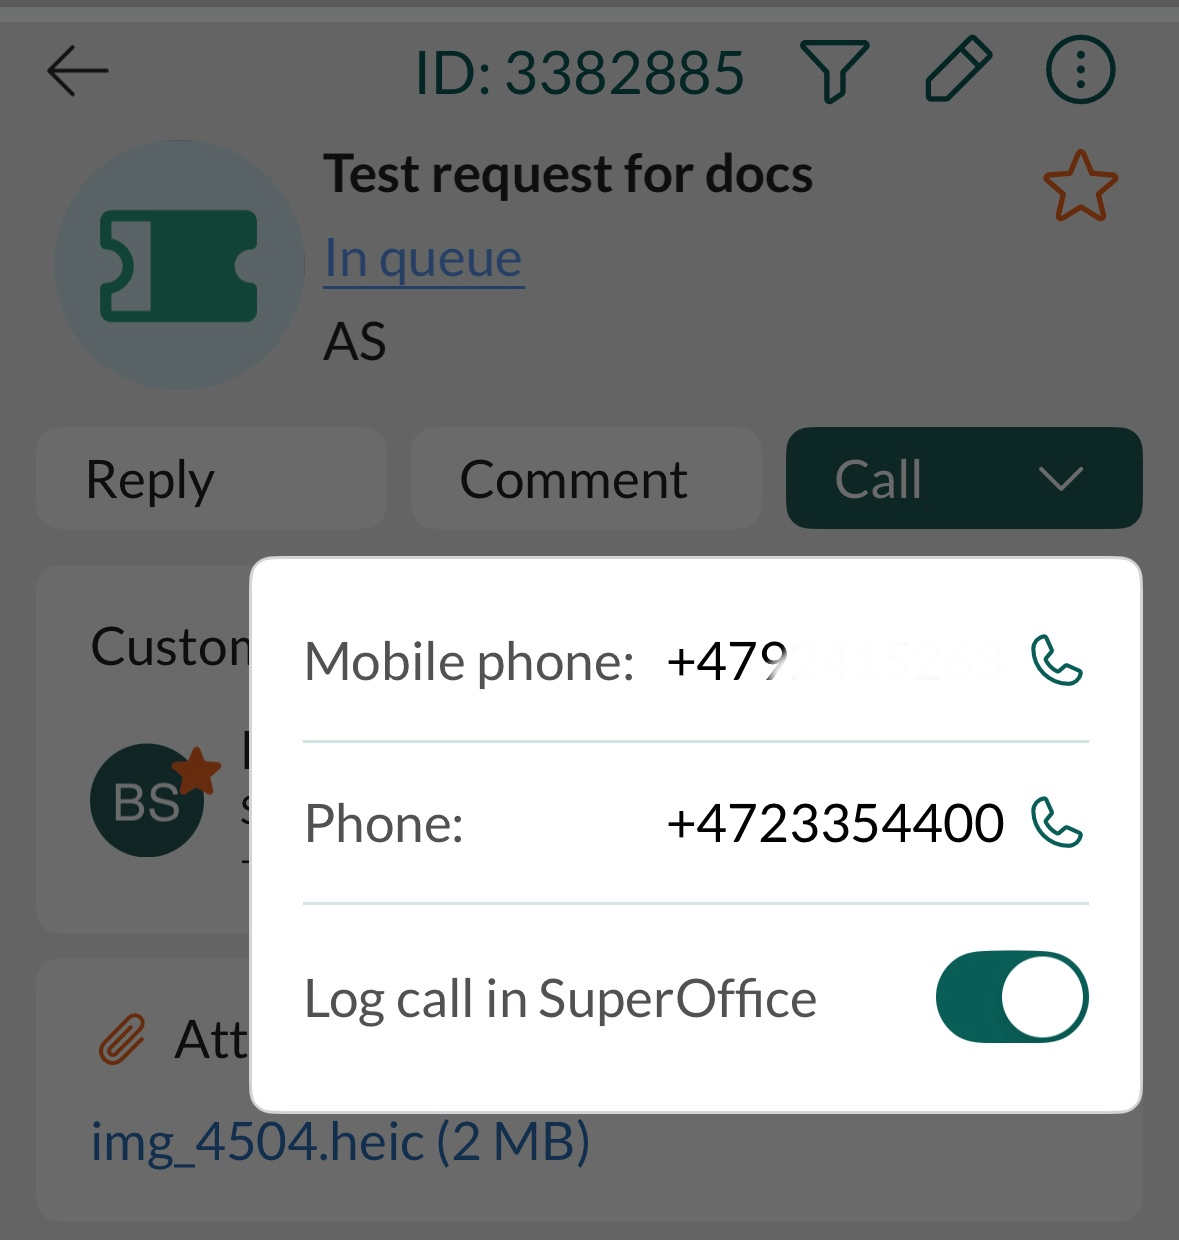
Use the Call button to contact the customer directly from the request screen.
Tap Call in the action bar.
Select the number to dial.
Use the toggle to decide whether to log the call in SuperOffice.
- When enabled, the call is logged as a phone activity under the request.
Working with messages
While composing a reply or comment, you can add images, insert a reply template, or include a link to a FAQ from the Task menu.
Tip
To discard your draft, tap the Task icon and select Remove text.
When your message is finished (you might insert multiple items):
- For replies and forwards, tap Send to deliver the message.
- For internal comments, tap Save to store the comment.
Add image
Tap and select Add image.
Take a photo or select images from your gallery.
- You can select multiple images at once.
- If images do not appear, check the image permissions for SuperOffice on your device.
The images are added as attachments.
- Maximum total size: 25 MB per message.
Insert reply template
A reply template can help you respond faster with predefined content.
- Tap and select Insert reply template.
- Search for a template and tap to select.
- The template is inserted at the cursor. Edit as needed.
Insert link to FAQ
Frequently Asked Questions help reduce response time for recurring issues.
- Tap and select Insert link to FAQ.
- Search for and select a relevant FAQ.
- The link is inserted at the cursor position in your message.
Add signature
- Go to Settings > Email settings > Add signature.
- Tap to edit the signature line.
- Tap Save.
Related content
- Update request
- Create reply template (in SuperOffice CRM)
- Create FAQ entry (in SuperOffice CRM)