SuperOffice CRM running on Microsoft SQL Server database
To be able to install SuperOffice CRM software on MS SQL database, you need to manually create a blank database and an ODBC data source.
Note
If you want to take advantage of the MS SQL Server full-text search you need to set this up before running DBSetup or ServerSetup to create the new SuperOffice CRM database.
Create a new Microsoft SQL Server database
Follow these steps to set up the target MS SQL database:
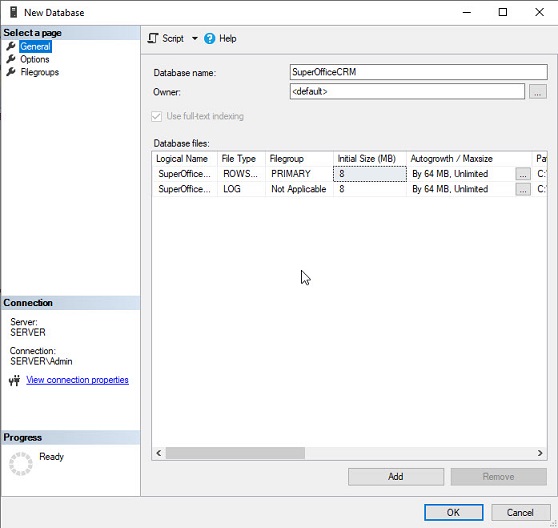
Create a new target database using the MS SQL Server Management studio. Fill in the Database name, leave the Owner field to default.
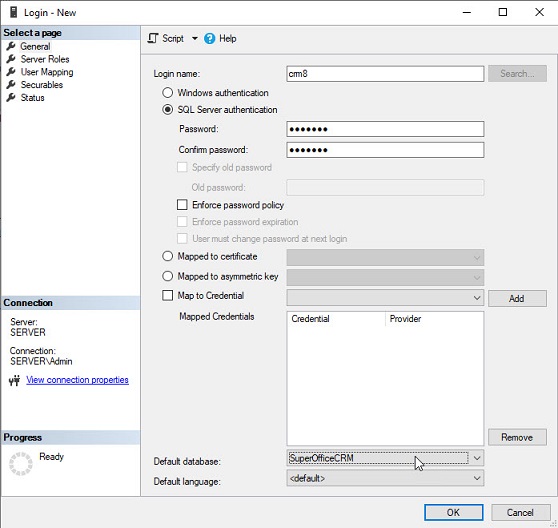
Add a new login in Security - Login. The login name may be called CRM8 but you are free to name the login whatever you like. Switch to SQL Server authentication and fill in password. You can set the Default database to the SuperOffice one.
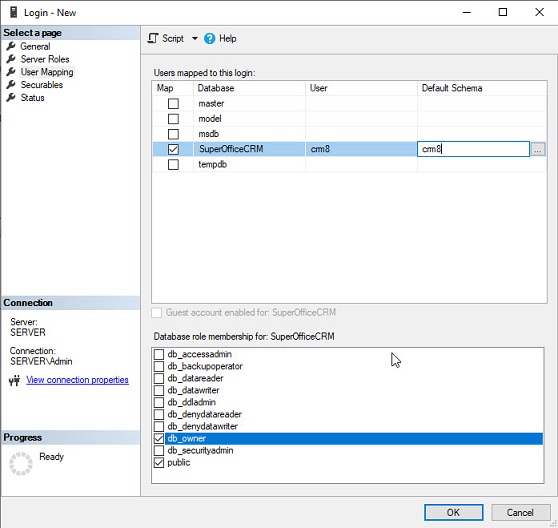
Switch to User Mapping page and give the user db_owner permission on the new database.
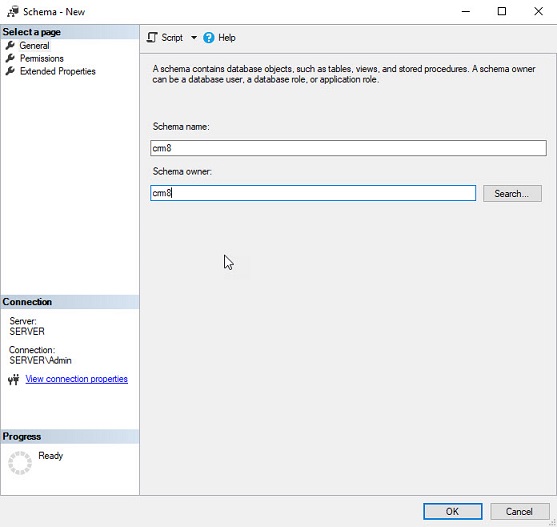
Go to the new database, expand Security and Schemas. Create a new schema, the name of the schema will be the table prefix.
Create a new 32-bit ODBC System Data Source
Go to Windows start menu - Windows Administrative tools and start ODBC Data Sources (32-bit). It is important to select the 32-bit version and not the 64-bit of the ODBC manager.
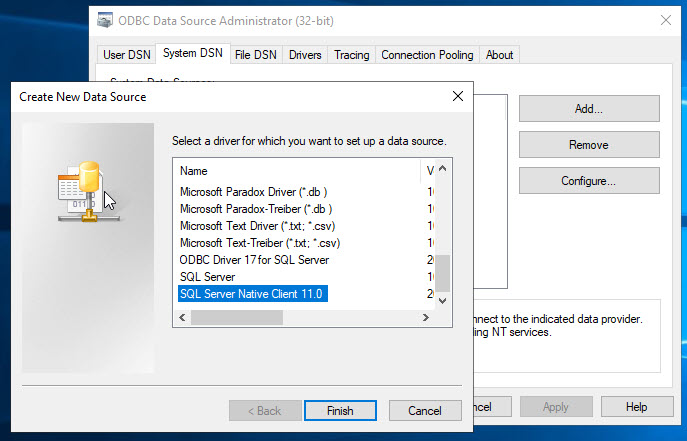
Select System DSN tab, click Add and from the list of available drivers select SQL Server Native client. Click Finish to start the Data source wizard.
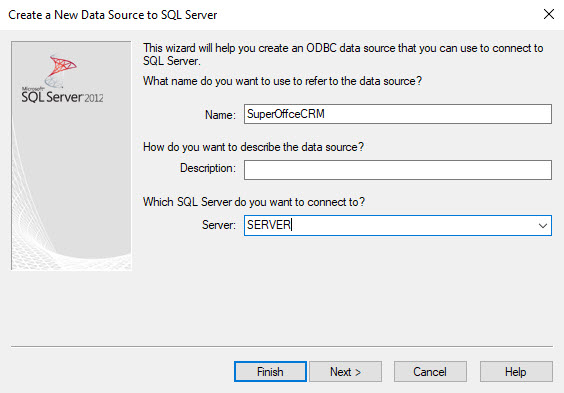
Enter the ODBC source name and from the drop down list select the SQL server where SuperOffice database was created.
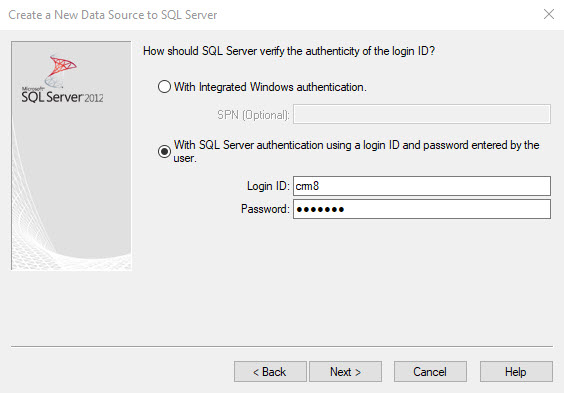
Switch to the SQL Server authentication option and enter the login name and password you created in the Step 2 of the database creation.
Tick the checkbox Change the default database to and from the drop down list select the SuperOffice database.
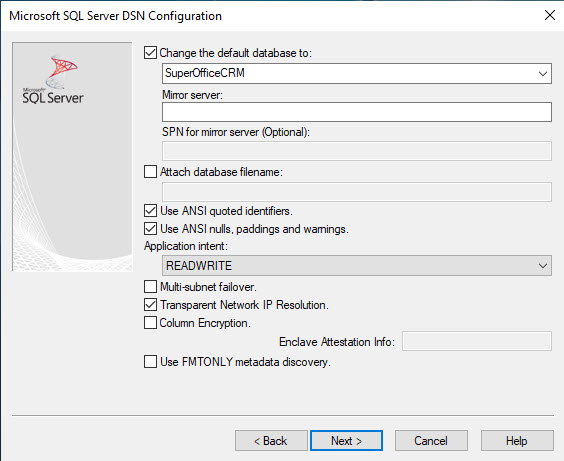
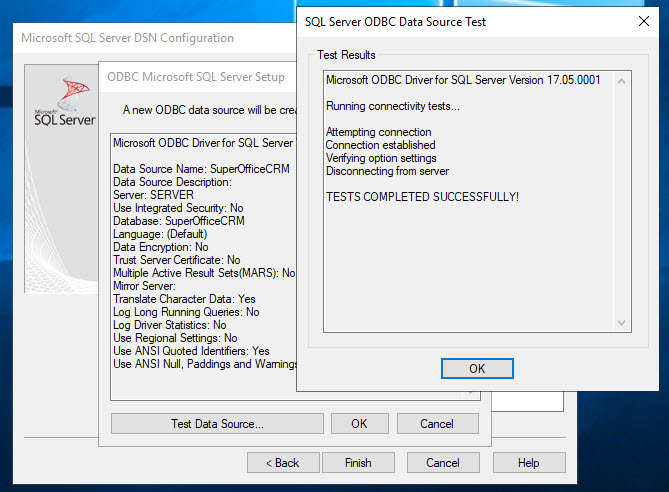
On the next page leave the configuration options as they are and continue to the last screen. Click Test Data Source button to check if all entered values are OK and the data source is working. Click OK to finish the ODBC Data Source wizard.
Please refer to the manufacturer's web pages for more information.