Interface guide
Welcome to the new SuperOffice Mobile CRM experience. This page walks you through the essential elements of the user interface: how to navigate, act on data, and customize what you see.
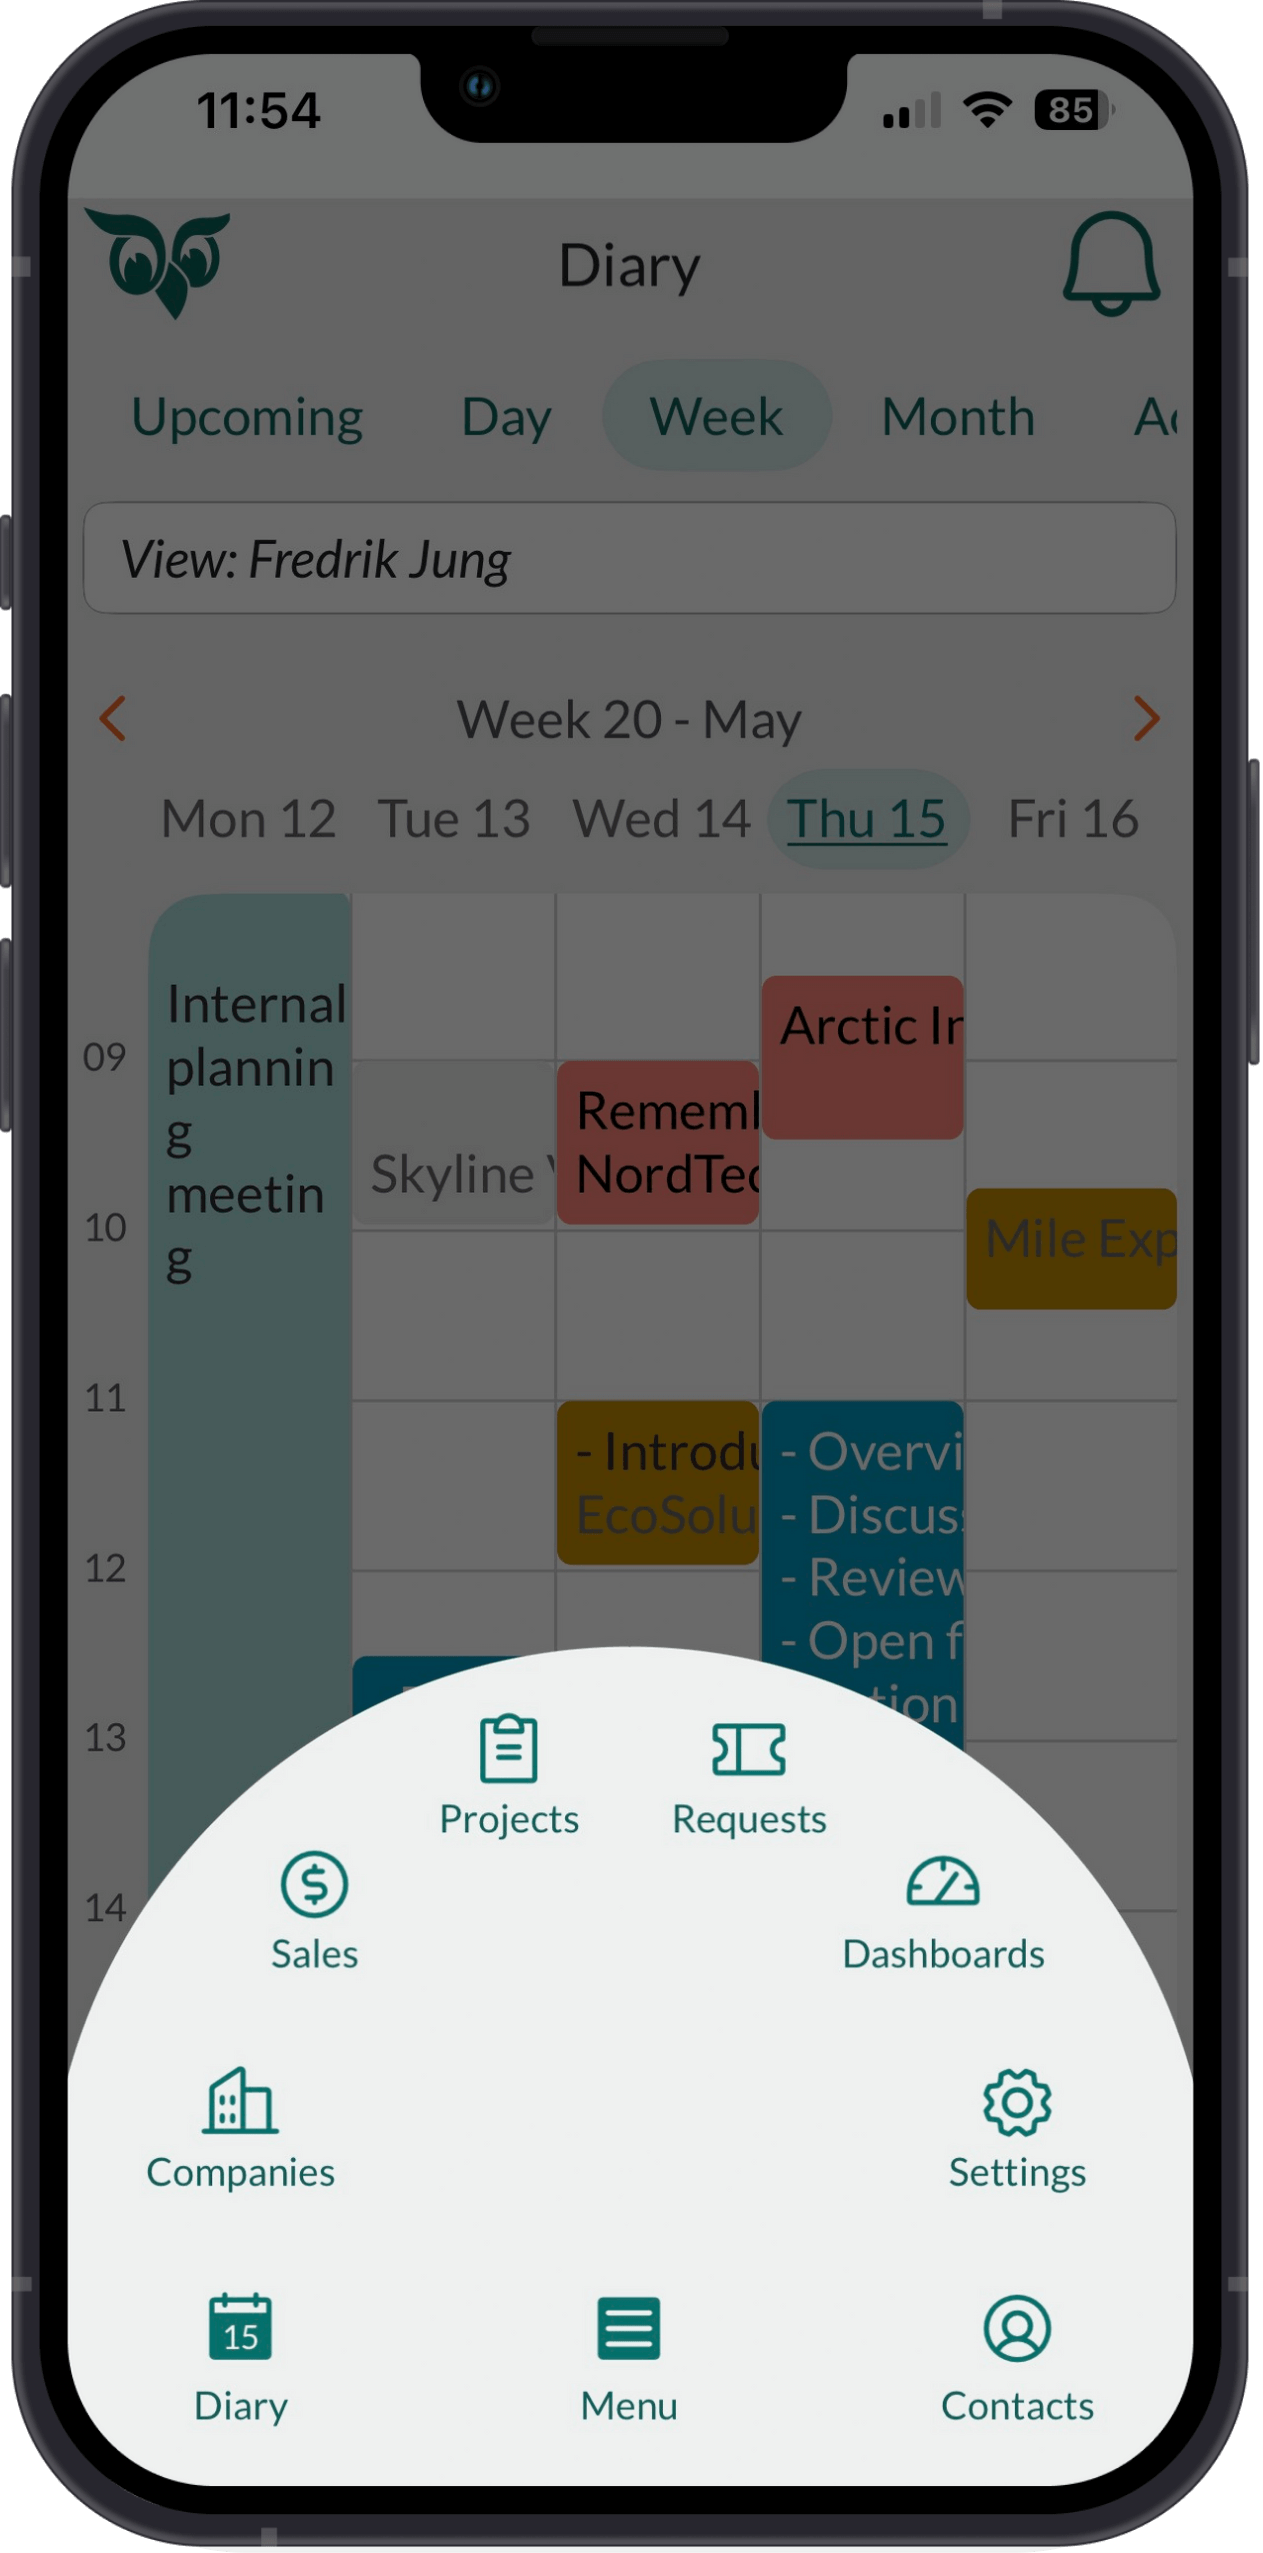
Navigation wheel
Tap the Menu button in the bottom center of the screen to open the navigation wheel (navigator). This gives you access to the main screens in Mobile CRM.
| Icon | Screen | Description |
|---|---|---|
| Diary | View your calendar, create follow-ups, and check availability. | |
| Companies | Browse and manage company cards. | |
| Sales | Track deals, update sales stages, and add new opportunities. | |
| Projects | Manage project information and change status. | |
| Requests | Handle customer service tickets (coming soon). | |
| Dashboards | Access your dashboards and drill down on metrics. | |
| Settings | Access app settings like email, notifications, caller ID, and sync. | |
| Contacts | View and update contact records. |
App header and notifications
The main screens in Mobile CRM share the same header layout:
- Logo (top left)
- Screen name (centered)
- Notifications bell icon (top right)
If the bell icon shows a number in a red circle, you have pending invitations, requests, or quote approval. Tap the bell to open the Notifications screen and view recent alerts.
Tabs
Most screens contain horizontal tabs, such as Upcoming, Week, or Favorites, depending on the context. The selected tab is highlighted.
Action bar
The action bar appears near the top of each item screen, just below the header area with the title and star icon. It gives you quick access to key actions such as calling, emailing, or updating the status.
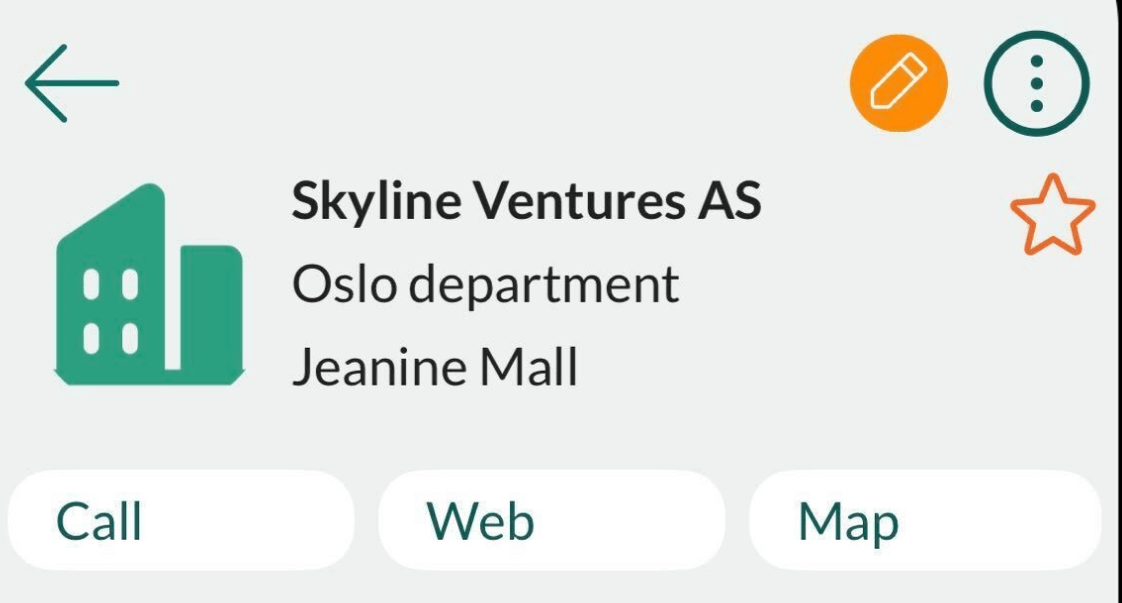
The available buttons depend on the type of item you're viewing (contact, sale, request, and so on).
Common actions include:
| Action | Description |
|---|---|
| Call | Choose a phone number and start a call (can be logged as an activity in SuperOffice). |
| SMS | Send a text message to the person. |
| Open the email client with the selected recipient. | |
| Map | Open the address in your device's map app (uses the visiting address if set; otherwise, postal address). |
| Website | Visit the contact's or company's website. |
| Reply | Reply to the customer or sender. |
| Comment | Add an internal note to a request (opens the Message screen). |
| Update stage/status | Change the sales stage or project status. |
Task menu
When viewing a contact, follow-up, request, or other item, tap the Task icon near the top right (next to the star) to access additional options specific to that item.
Examples include:
- Add or remove image
- Copy to your device's contact list
- Delete appointment
- Forward request
These actions complement the 3 buttons in the action bar.
Swipe actions
You can swipe left on most items in a list to reveal quick actions. The available buttons depend on the item type:
- Edit: open in edit mode
- Menu: open task menu for more options
- Favorite: toggle favorite status
- Call (contacts and companies only)
- Mark as complete (follow-ups only)
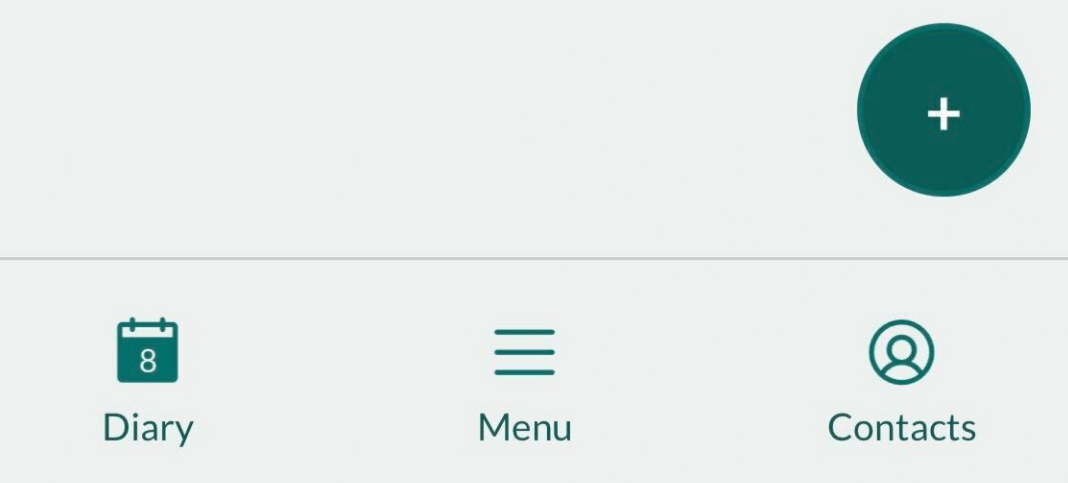
Create new (+)
Tap the green + button in the lower-right corner to create a new item. What you can create depends on which screen you're on:
- Diary: New appointment, phone call, or task
- Companies: New company
- Company card: New contact, appointment, task, document, or sale
- Projects: New project
- Project card: New appointment, task, document, or sale
- Sales: New sale
- Sale card: New appointment, task, or document
- Contacts: New contact
- Contact card: New appointment, task, sale, or request
Edit mode vs. view mode
When viewing an item (such as a contact card), you're in view mode, meant for browsing information and taking action.
To make changes, tap the Edit button () in the upper-right corner. This switches you to edit mode, where you can update details (if you have permission). Changes are saved only when you tap Save.
For documents and emails, edit mode lets you update metadata, such as title or type, not the file content itself.
Search
Each main screen has a Search tab where you can look up names, titles, phone numbers, or IDs—depending on the type of record.
To search:
- Tap the Search tab.
- Enter your search term.
- Tap a result to open the record.
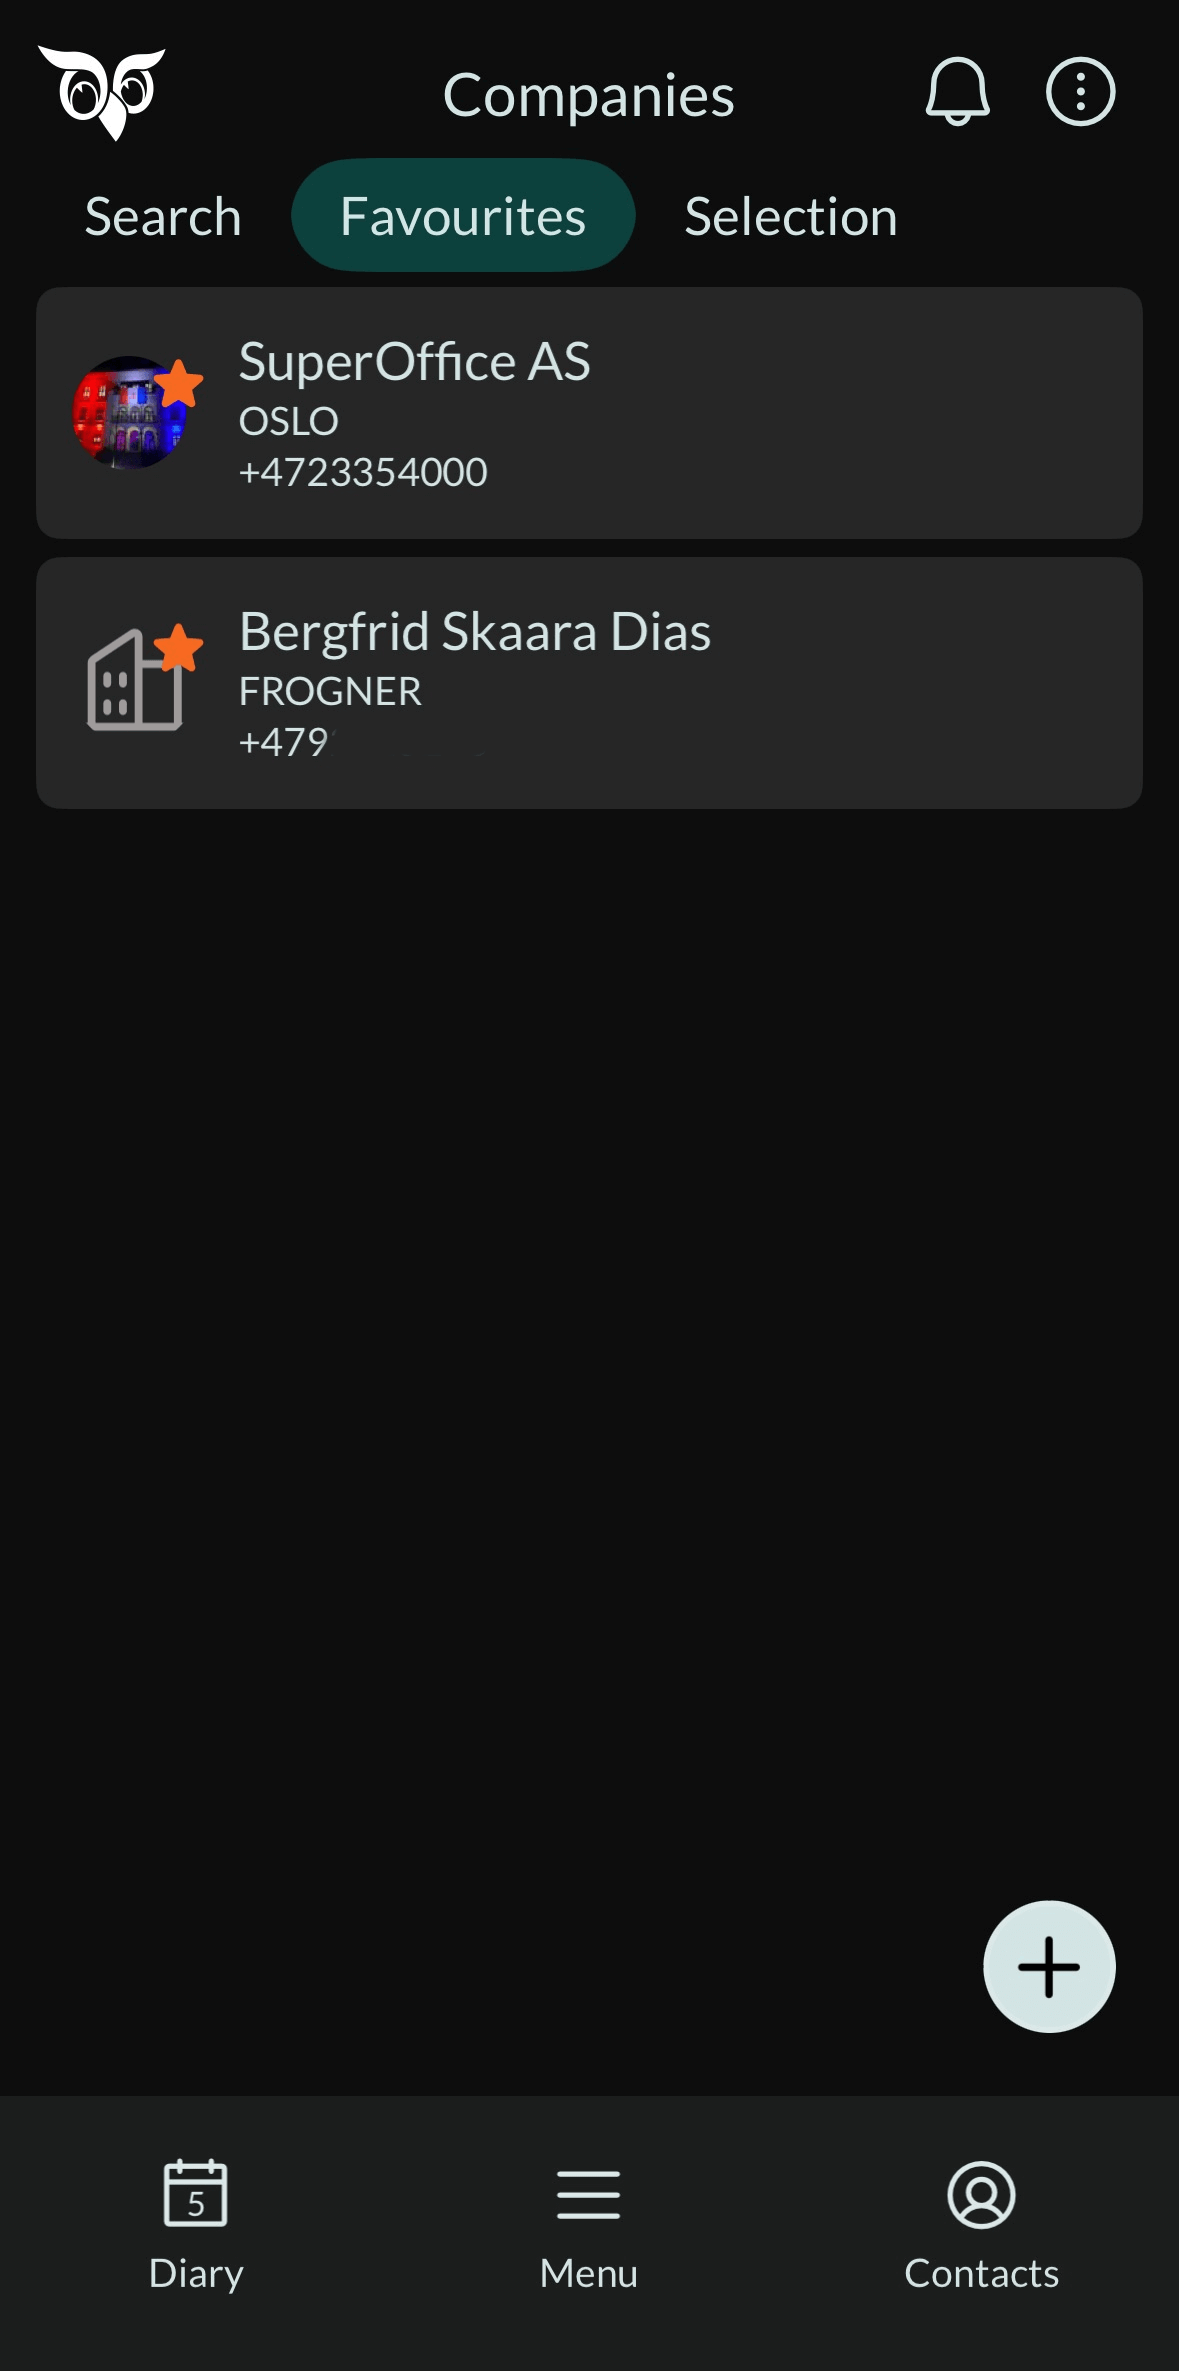
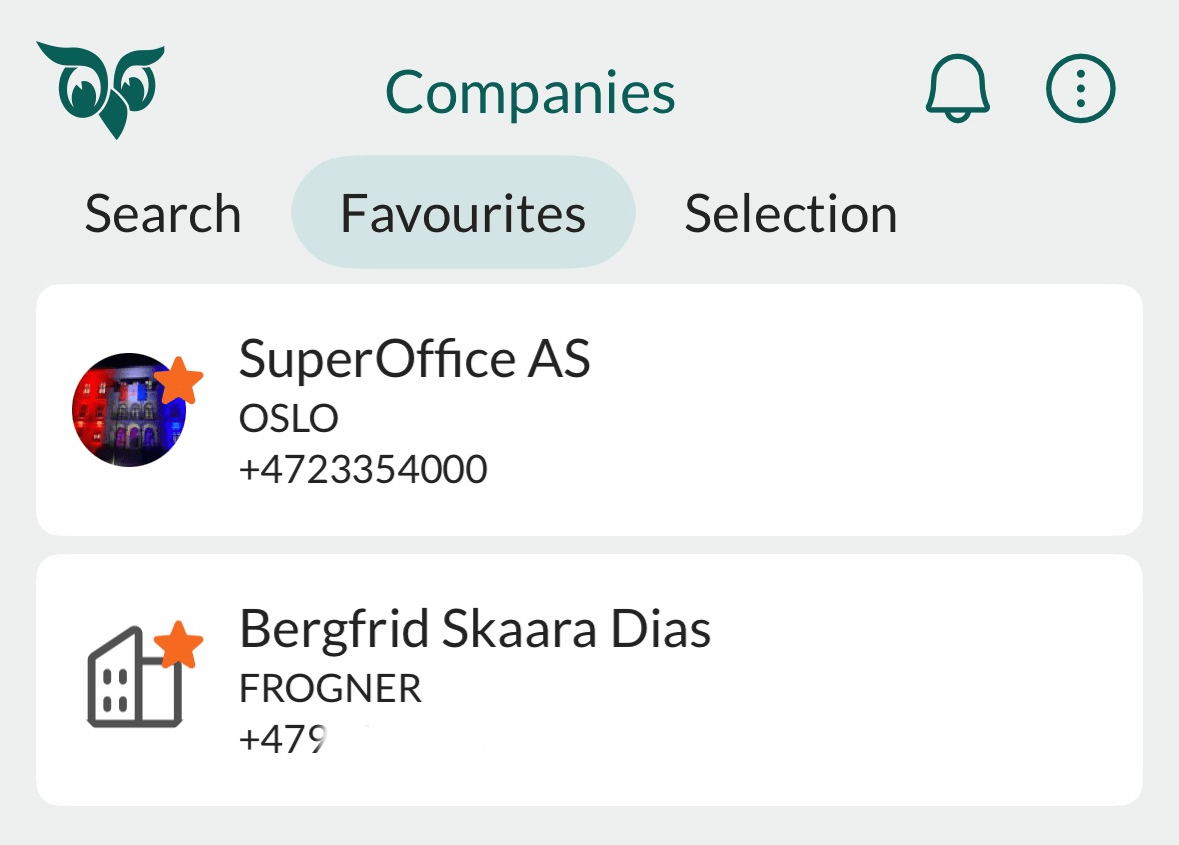
Favorites
Favorites help you quickly access important records—contacts, companies, sales, and projects.
Add or remove a favorite
On any card (such as a contact or sale), tap the star icon in the top-right corner to mark the item as a favorite. A filled star means it's already favorited.
Tap the star again to remove it.
Tip
In a list view, you can also swipe left on a record, tap , and choose Add favorite or Remove favorite, depending on the current status.
View your favorites
- Go to the relevant screen (Contacts, Companies, Projects, Sales).
- Tap the Favorites tab to see all your favorited items of that type.
Pull to refresh
Mobile CRM auto-syncs in the background. If you want to refresh manually:
- Pull down from the top of a list or screen.
- A spinner appears, and your content refreshes.
To refresh everything, go to Settings > Refresh all data.
Configure visible fields
In sections like Details, you can customize which fields are shown and in what order.
- Tap the arrow () in the Details section to expand it.
- Tap the cogwheel () that appears in the upper-right corner of the section.
- Use toggles to show or hide fields.
- Drag fields to reorder them.
- Tap Save.
Dark mode
Mobile CRM supports dark mode, but does not currently switch automatically when your device changes appearance. Close and relaunch the app to apply the new theme.