Widgets
The new dashboard offers an intuitive, centralized location for at-a-glance information from the Developer Portal. It also provides personalized navigation to pertinent pages.
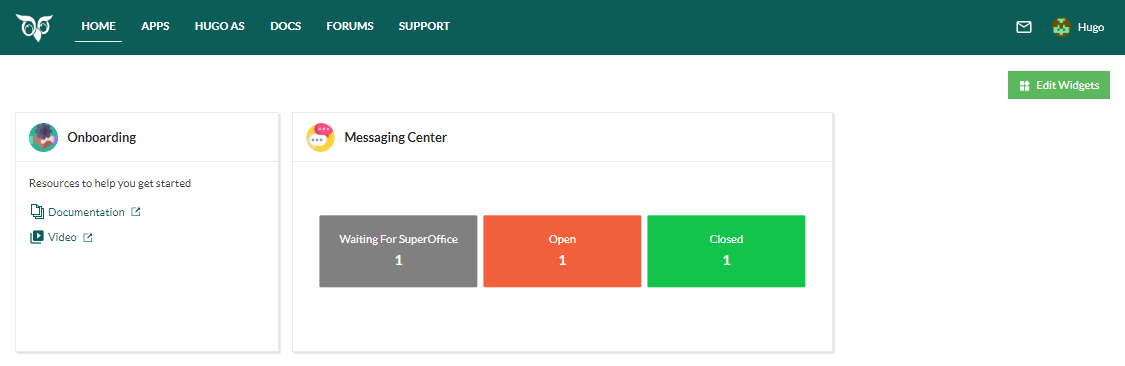
The contents and card-style layout of the dashboard are customizable - each user chooses which widgets to show and how they appear.
Each widget represents distinctive features.
| Widget | Purpose |
|---|---|
| Application Failures | Monitors problems with API calls. |
| Messages | Provides quick information on communication related to requests, including tickets awaiting your response. |
| New Customers | Provides quick information on new customers signed up to use your standard applications. |
| Onboarding | Aids users getting started. |
| Publish Status | Explore pending requests to publish app configuration, App Store information, and partner profile. |
Go to dashboard
To access the dashboard, click Home in the Top bar.
Customize dashboard with widgets
Organize your dashboard based on your specific needs and preferences.
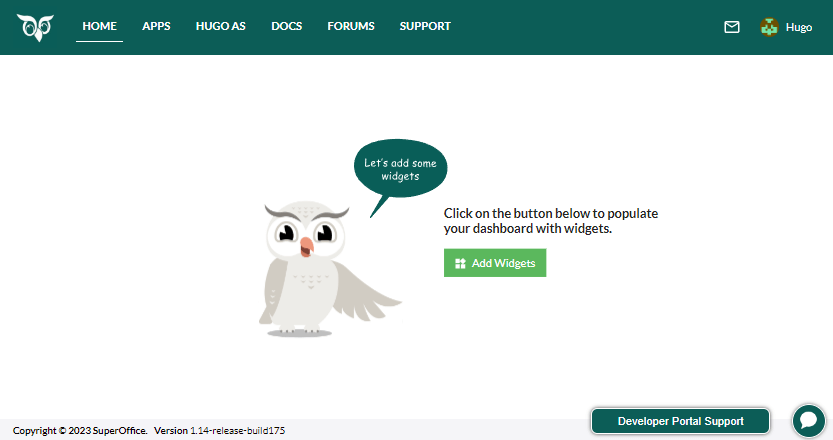
Add widget
Go to Home. If the dashboard is empty (as in the previous screenshot), click Add Widgets. Otherwise, click Edit Widgets.
In the Widgets dialog, select one or more widgets by clicking Add Widget.
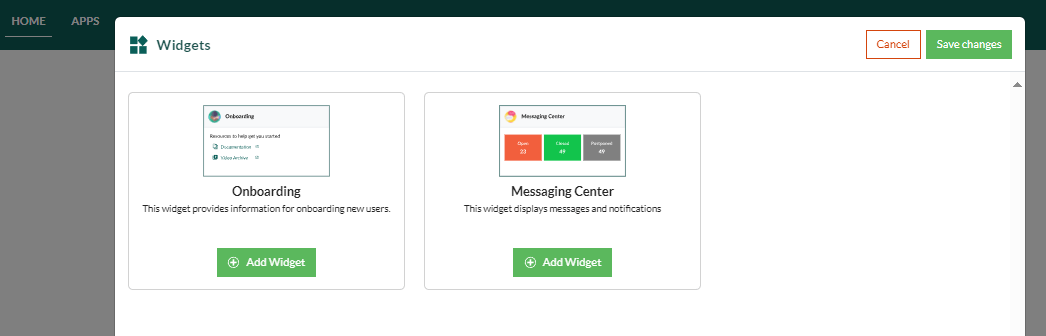
Click Save changes.
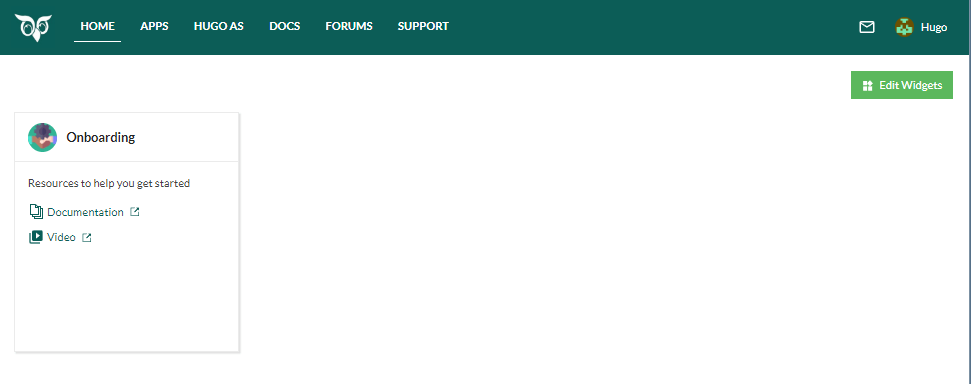
Resize or move widget
To move a widget, click the widget's header and drag it to a new position. It will snap to the grid. Other widgets re-position to accommodate the move.
To resize a widget, hover over the right or bottom edge. When the pointer becomes a double-pointed arrow, drag the pointer to adjust the width or height of the widget.
Remove widget
On the dashboard, click Edit Widgets.
Select which widget to remove and then save the changes.
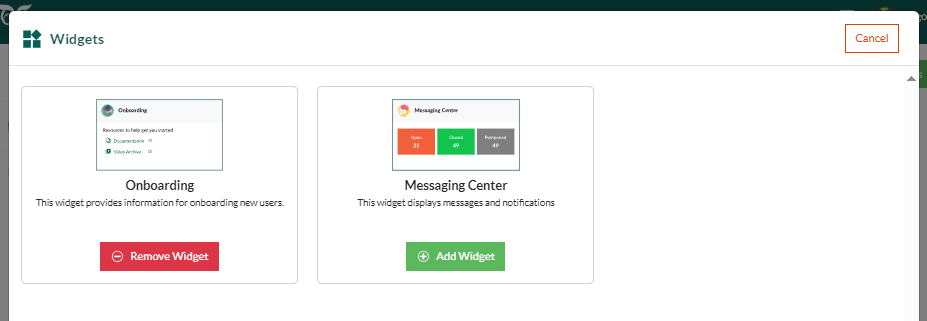
Available widgets
Below are the details for each widget.
Application failures
Displays the cumulative errors per application, showcasing the top 10 applications with the highest count of exceptions.
Filter failures by:
- Exceptions originate in the SuperOffice file set.
- Failed inbound requests are requests from your app to a SuperOffice API endpoint.
- Failed outbound requests are requests from SuperOffice to an ERP sync or a mirroring endpoint.
Onboarding
The Onboarding widget is a hub of useful links when starting out, such as to the Developer Portal documentation and the YouTube video archive.
Messages
This widget shows real-time statistics from Messages. Click a tile to open Messages filtered to that category.
The widget mirrors the categories you see in the Messages sidebar, so the Open tile makes it obvious when something needs your attention — without having to open Messages first.
| Stat | Description |
|---|---|
| Waiting for SuperOffice | The number of tickets you have replied to and routed back to SuperOffice. |
| Open | The number of tickets where the next action is yours. |
| Closed | The number of tickets that have been resolved. |
New Customers
All customers within a specified time range, those who have signed in and given consent to allow your application, will appear in the New Customers widget.
The available timeframes are:
- Last 7 days (default)
- Last month
- Last quarter
- Last six months
- Last year
Publish status
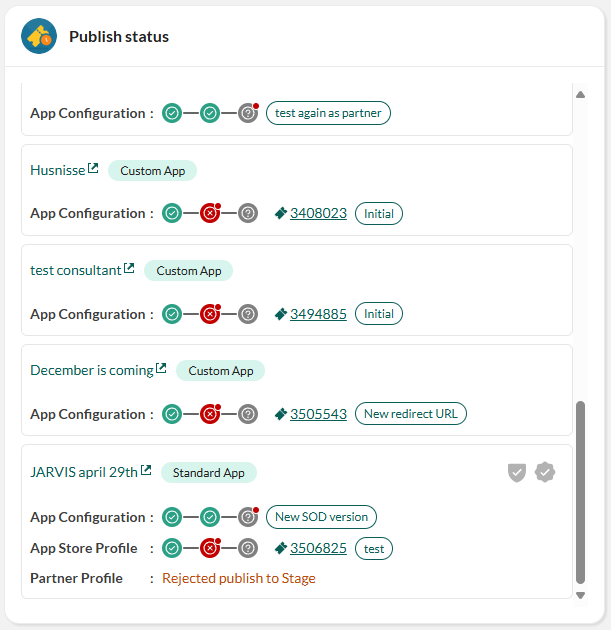
The Publish status widget displays open requests related to application publishing. These include app configuration, App Store information, and partner profile submissions.
Each card represents an application or partner profile, along with its current publishing status. Use this widget to track what is pending, where it is in the workflow, and whether any action is required from you.
Key interactions and indicators:
- / Security audit pending or approved.
- / Certification pending or approved.
- Hover over workflow steps to see their current status.
- Click any step with a red dot to view error details or required actions.
- Click the partner name/app name link to open the partner or app page.
- Click the oval label (for example, v3 or New redirect URL) to view the version submitted for publishing.
- Click the request ID to open the request in Messages.