Images and videos
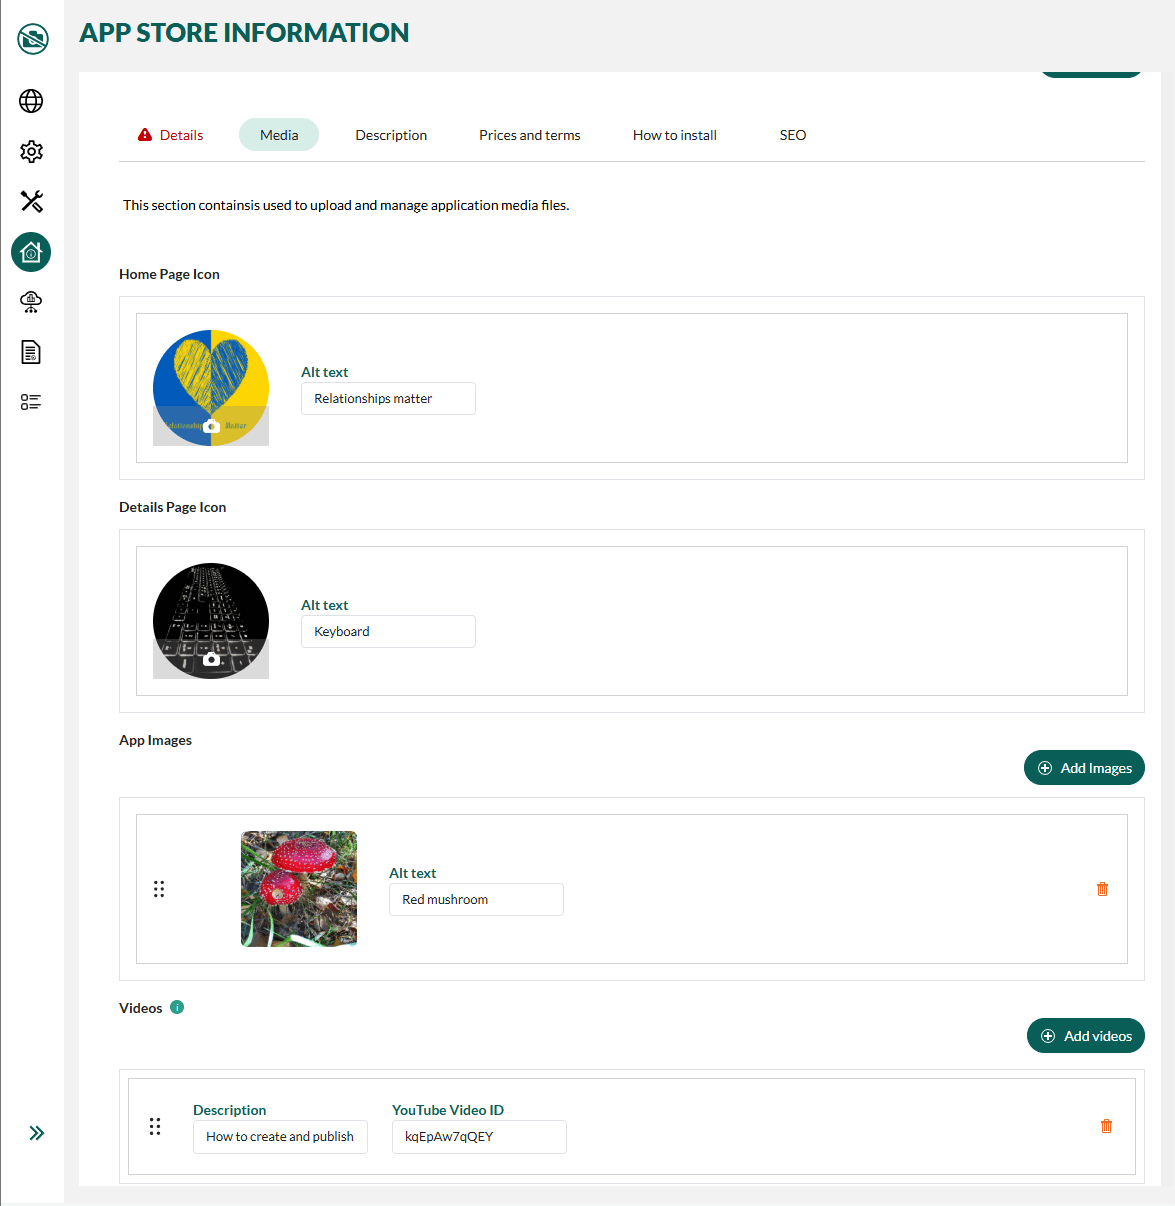
App Store image requirements:
| Image | Usage | Size (width by height in pixels) |
|---|---|---|
| Home page icon | Preview in the main page | 488 x 488 |
| Detail page icon | Application detail page | 488 x 488 |
| Your company logo | Vendor page | 488 x 488 |
Note
Remember to request to publish to make your changes visible in the App Store.
How to add or change vendor logo
- In the Developer Portal, go to your partner page.
- Select App Store information from the left menu.
- Click and select a picture for the logo.
- In the Crop Image dialog, reposition or zoom the selected area, then click Save.
- Click Save Settings.
How to add or change app icon
In the Developer Portal, go to your application page.
Select App Store information from the left menu, then select the Media tab.
Drag and drop a file into the Home Page Icon or the Detail Page Icon circle. Alternatively, click the circle to select an image from your computer.
In the Crop Image dialog, reposition or zoom the selected area, then click Save.
Enter alt text.
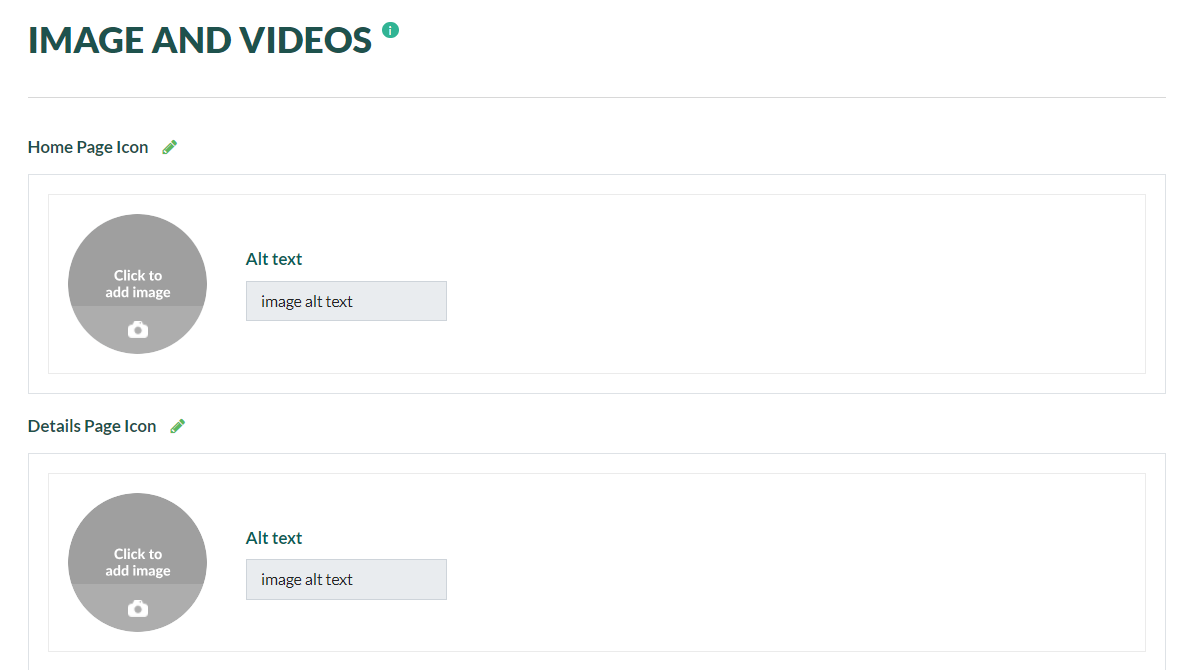
Click Save Settings.
Screenshots
We encourage you to include beautiful and meaningful screenshots from the application interface. They should have descriptive file names because they are displayed as captions.
Tip
If you want screenshots shown in a specific order, use the list item handle to reorder as desired.
In the Developer Portal, go to your application page.
Select App Store information from the left menu, then select the Media tab.
Click Add Images.
Drag and drop a file into the box or click to upload one from your computer.
- If the resolution is too low, remove the image and choose another one.
- If the resolution is bigger than the recommended size, click Crop on the thumbnail, reposition or zoom the selected area, and then click Save.
Click Upload and enter alt text.
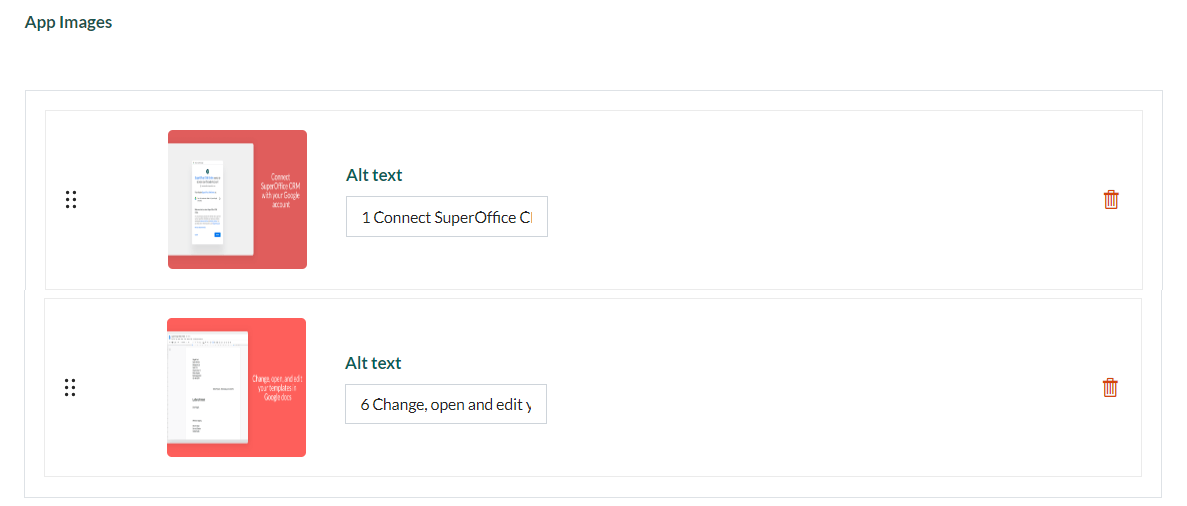
Repeat steps 3-5 to add more screenshots.
Click Save Settings.
We will take the submitted information and create beautiful screenshots of the application. To realize this, the basis of the screenshot must be correct, so make sure the requirements are met.
The screenshots of your app are used to showcase it. The images must be as crisp as possible.
Example
Your input:
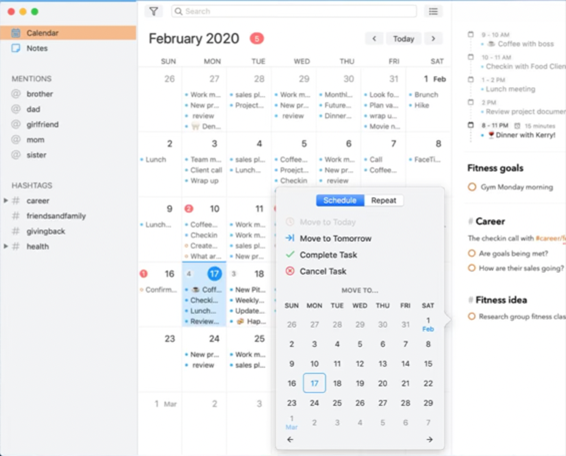
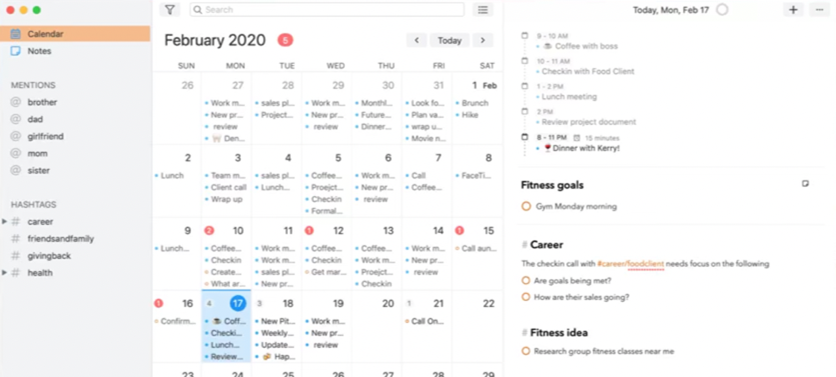
What the final result could be:
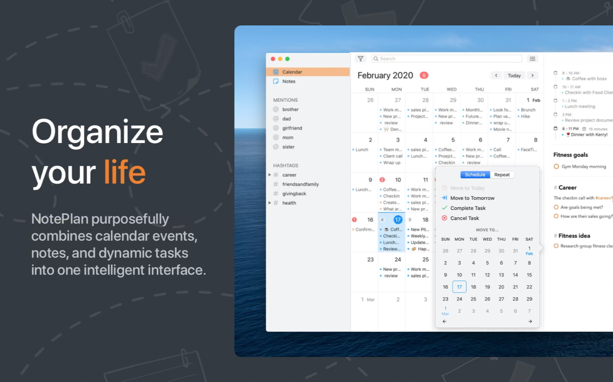
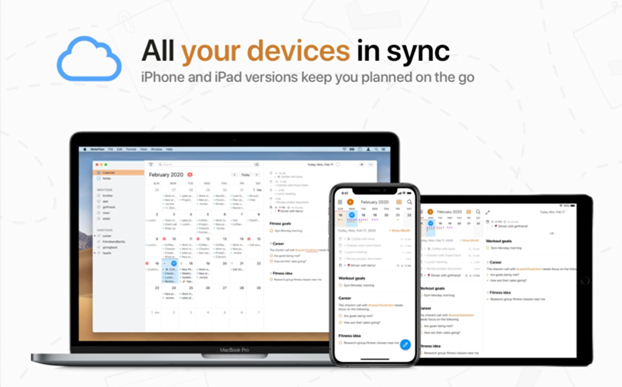
How to create compelling screenshots
Having the best screenshots for your application is essential. Did you know people are visually-oriented: 90 percent of information transmitted to our brain is visual, presentations with visuals are 43 percent more persuasive, and 65 percent of us are visual learners. In fact, 93 percent of all communication is nonverbal. Visuals attract our attention, enhance our emotions, and affect our attitude.
- Our brain processes visuals 60000 times faster than text.
- 4 out of 10 respond better to images than text.
- Half of our brain is active in visual processing.
Below are some samples for comparison.
Good looking:


Not so good looking:


Resolution
Clear screenshots and movies help to promote the application in the App Store. To get the best result for screenshots and making sure that videos are looking great on all kinds of monitors without getting blurry, the resolution should be 1920 x 1080 pixels.
Before you begin:
Set your browser window to exactly 1920 x 1080. Once this is done, you can take a screenshot or record your browser.
- Windows: Set the Chrome browser window to exact 1920x1080 pixels.
- Apple: Download this zip file from InfoBridge containing two Apple scripts to resize the window to exactly 1920 x 1080 pixels.
Note
Your screenshots are viewed on different screen resolutions. While 1920 x 1080 is the minimum resolution, we prefer the double sizes of 3840 x 2160, to make the screenshot crystal clear on Apple retina screens.
If you need help creating the screenshots, contact us.
GDPR
You should use good test data that looks real. However, due to GDPR you must use fake data.
For fake images, you can use www.thispersondoesnotexist.com. These life-like photos are non-existing people.
Creating screenshots
Recommended tool: Screen capture tool SnagIt will help you to create screenshots of the exact dimensions required. (30 day free trial available)
- Use a modern browser such as Chrome to create screenshots.
- Disable your bookmark bar (View, Always Show Bookmarks bar).
- Close any unused tabs.
- Use the same language in SuperOffice and the application you are showing.
High resolution screenshots on a Mac
On a Mac with a retina display, it is possible to create high-resolution screenshots. The dimensions of the images are still the same, but the image will have a double number of pixels, making the screenshot even sharper on retina displays.
See this video on how to create high resolution screenshots.
Don't worry if you don't have a Mac available. Your screenshots will still look good.
Videos
- In the Developer Portal, go to your application page.
- Select App Store information from the left menu, then select the Media tab.
- Click the Add Videos button.
- Enter alt text in the Description field, and YouTube video ID.
- Repeat steps 3 and 4 to add more videos.
- Click Save Settings.
Recording movies
Recommended tool: Screen recording tool Camtasia will help you in creating product videos, including uploading them to YouTube. Record your movies also in the 1920x1080 format. (30 day free trial available)
Note
The App Store doesn't host direct movies. They must available on a movie platform like YouTube or Vimeo.
Before you hit Record:
- Write down what you're going to say during the movie (or use in captions within the movie).
- Close any programs that generate notifications, such as Outlook.
- Make sure SuperOffice and all list items, fields and so on are in the same language.
- Check the resolution.
While recording:
- If you are recording your voice, use a good (USB) microphone, like the yeti microphone.
- Don't record your whole screen since the time and date would be visible, and this looks strange when you cut movies.
- After a click action in your program, move the screen pointer out of the screen. View this video on YouTube for an example.
After:
- When sharing your movie, do this in 30fps in the highest quality possible. For example, MOV format.
Note
Keep in mind: One minute of a professional demo movie takes 1 hour to make! But it pays off: a good movie you can use for many other things as well, for example, in customer presentations.