Create webhook
You can create and manage webhook subscriptions directly in Settings and maintenance, without writing code or calling the API.
Note
To edit an existing webhook, right-click the webhook row in the Webhooks list and select Edit. The form opens with all current values pre-populated.
Steps
Go to Settings and maintenance > System design and select the Webhooks tab.
Click Add.
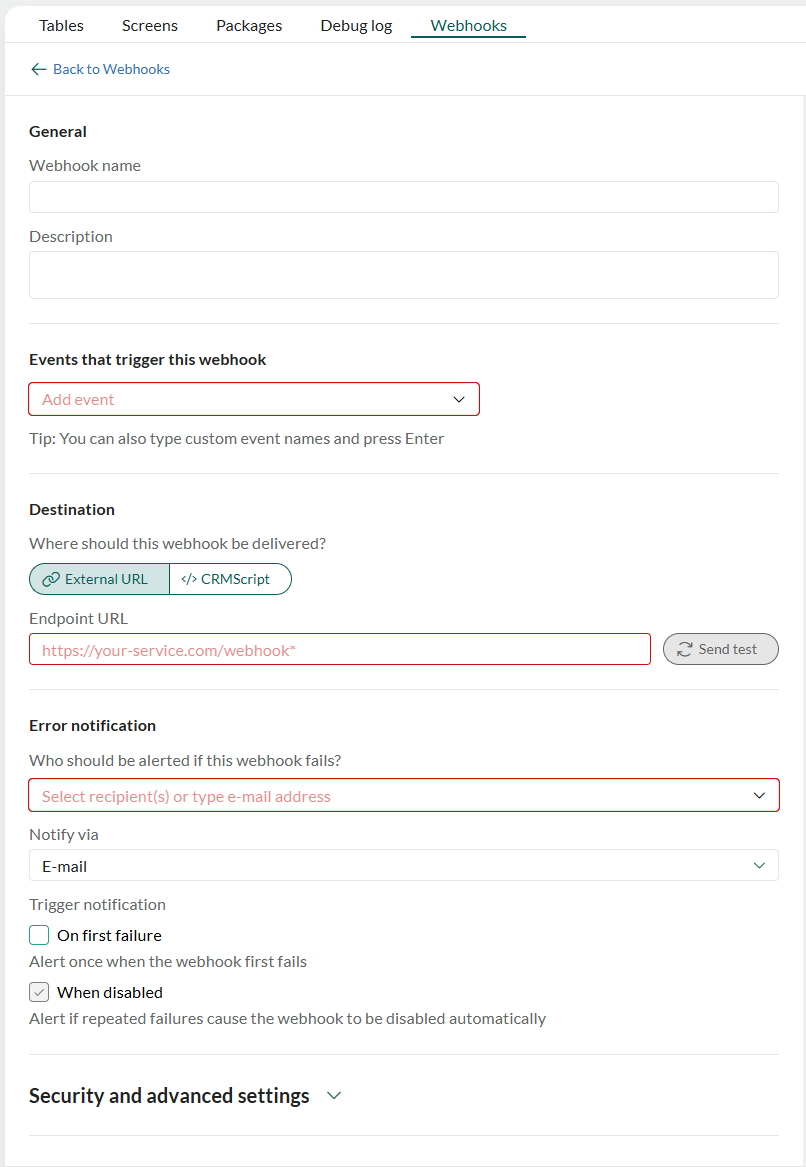
Enter a Webhook name to identify the webhook (required). Maximum 100 characters.
Optionally, add a Description. This is shown in the Webhooks panel.
Add events that trigger this webhook (required).
Select one or more events from the Add event list. Each selected event appears as a tag. To remove an event, select x on its tag.
Tip
You can also type a custom event name directly in the field and press Enter.
Set the destination (required).
Choose where to deliver the webhook:
- External URL: Enter the endpoint URL. The URL must use HTTPS and have a valid TLS certificate. The endpoint is validated when you save — an unreachable or error-returning URL will prevent saving. Select Send test to verify the connection before saving.
- CRMScript: Select a script from the list.
Configure error notification (required).
Specify who to alert, how to reach them, and when to send the notification.
- Recipients: Add CRM users or type external email addresses. Recipients appear as tags.
- Notify via: Select the notification channel.
- Trigger notification: Select one or both options:
- On first failure: Sends an alert the first time the webhook fails to deliver.
- When disabled: Sends an alert if the webhook is automatically deactivated after repeated failures.
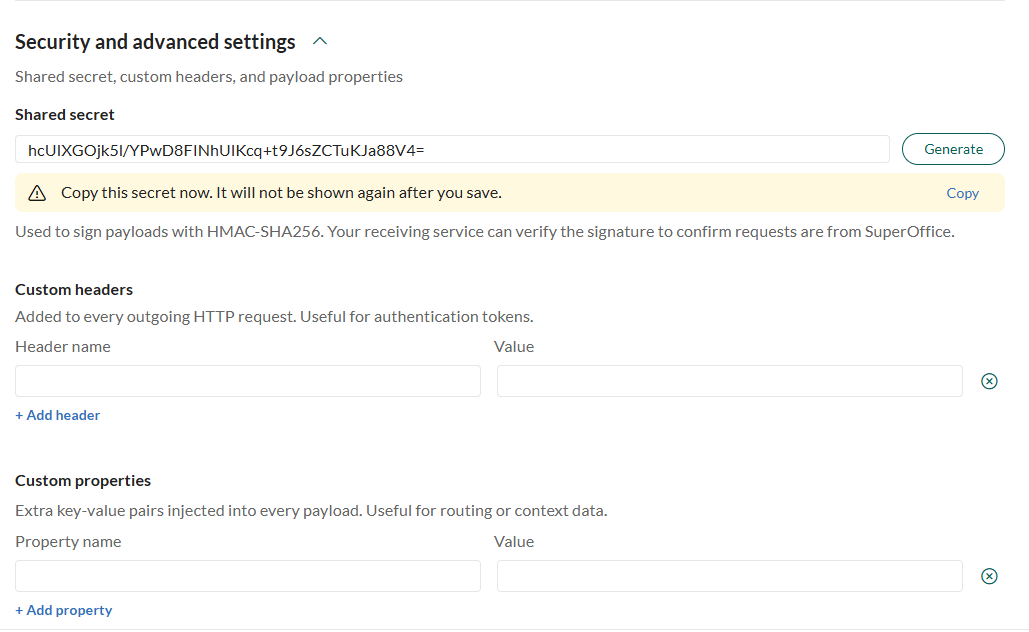
(Optional) Expand Security and advanced settings.
- Shared secret: Select Generate to create a cryptographically random value for signing each payload. The secret is shown only at creation — copy it immediately. To replace it later, select Regenerate.
- Custom headers: Key-value pairs appended to every HTTP POST. Available for external URL webhooks only.
- Custom properties: Additional data injected into every payload.
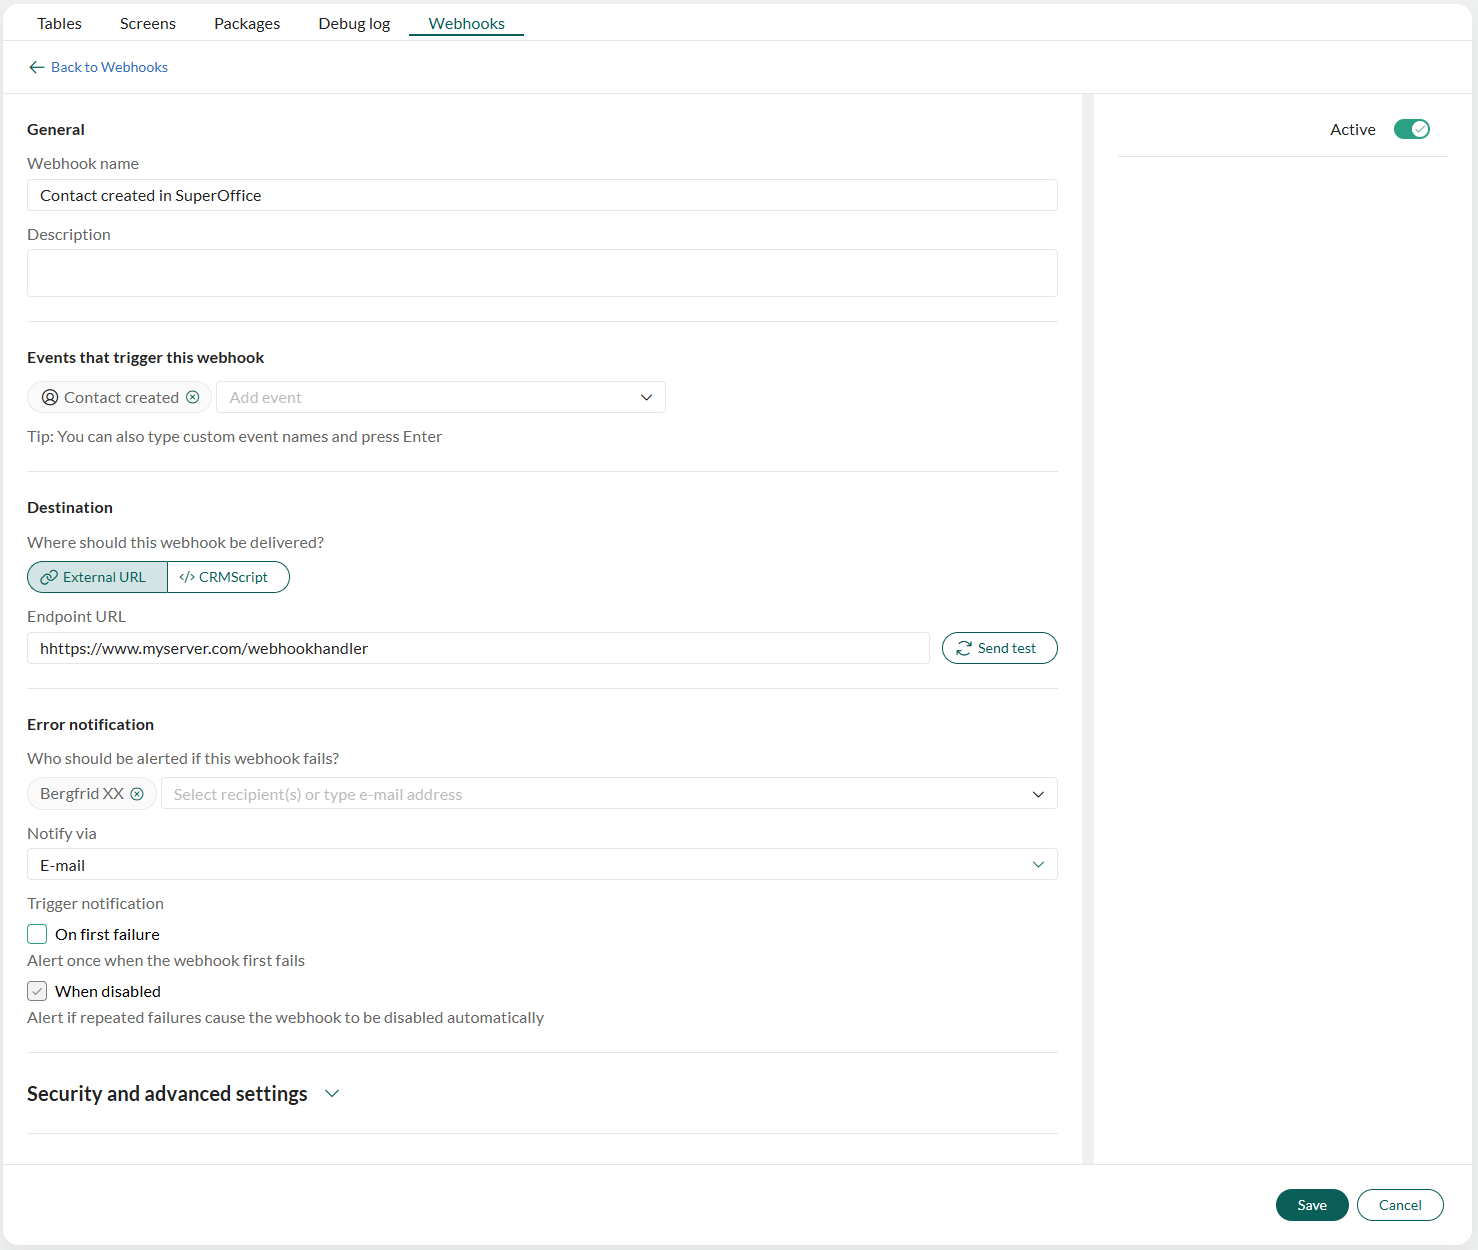
(Optional) Turn off the Active toggle (upper-right corner) to save the webhook in the Stopped state.
Click Save.
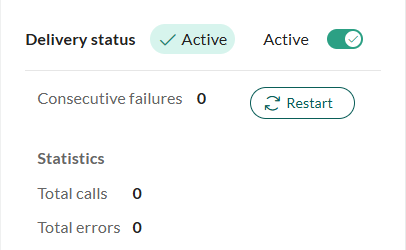
After saving, delivery status information appears beneath the Active toggle. Click Back to Webhooks at the top to return to the list.