Tutorial - simple Google Analytics email tracking
Blog post by Alex Pelan
Email marketing has become an important part of companies' marketing strategies, but there are countless ways to carry out digital marketing these days. Email marketing is only one part of the big picture. When one should analyze the results of for example a campaign, it is useful to gather data from all marketing channels into one system in order to get the overall picture.
This tutorial will explain how you can track results from a Mailing using SuperOffice and look it up in Google Analytics together with all your other data.
What we will be doing
We will be setting up a Google Analytics account. Creating Links and Tracked Links in SuperOffice that will post results to Google Analytics. Then finally display these results in Google Analytics.
To follow this guide you will need a existing website with a domain name.
Set up a Google Analytics account
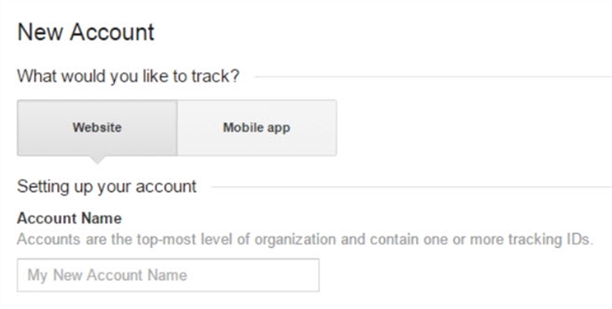
Go to analytics.google.com and sign up to access Google Analytics. When creating a new account give it an appropriate account name.
Next you will need to set up the property (website), like this:
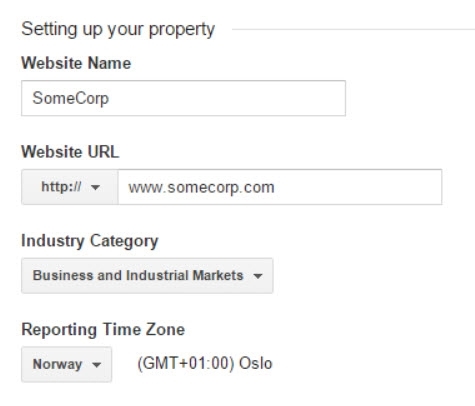
Now you can go grab your tracking code. Copy and paste this into the code of every page you want to track. Place it right before the ending </head > tag.
![]()
When you have implemented the code, enter the URL of your website in your browser. Now go back to Google Analytics > Reporting > Real-Time > Overview. If you did everything correct, the widget Right now should display 1 active user.

Create trackable links in SuperOffice
First, you need to setup a new mailing. In this example, I have created a newsletter where I would like to track how many users have clicked the Read More link. Of course, we would like to view these data in Google Analytics. We will only be going through the part of creating the link.
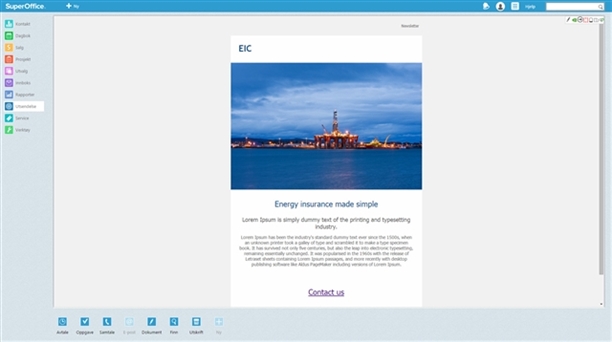
When creating the link in SuperOffice we it asks for an URL. To be able to see that the user is coming from the newsletter you need to add some relevant parameters to the URL. These are:
| Setting | UTM parameter | Required | Description |
|---|---|---|---|
| Campaign Source | utm_source | X | Identifies a search engine, newsletter name, or other source. Example: utm_source=newsletter June 2015 |
| Campaign Medium | utm_medium | X | Identifies a medium such as email or cost-per-click. Example: utm_medium=email |
| Campaign Content | utm_content | Used for A/B testing and content-targeted ads. Use utm_content to differentiate ads or links that point to the same URL. Examples: utm_content=logolink, utm_content=textlink |
|
| Campaign Name | utm_campaign | Used for keyword analysis. Identifies a specific product promotion or strategic campaign. Example: utm_campaign=newsletters |
The final URL should be something like this:
http://www.somecorp.com/index.html?utm_source=newsletter%20june%202015&utm_medium=email&utm_content=textlink&utm__campaign=newsletters
Remember that URLs do not handle spaces, so you need to replace spaces with %20 in the URL. Try Google's URL builder to help you generate these URLs.
The URL you created or generated with URL builder you paste in the URL field for a link, like shown below:
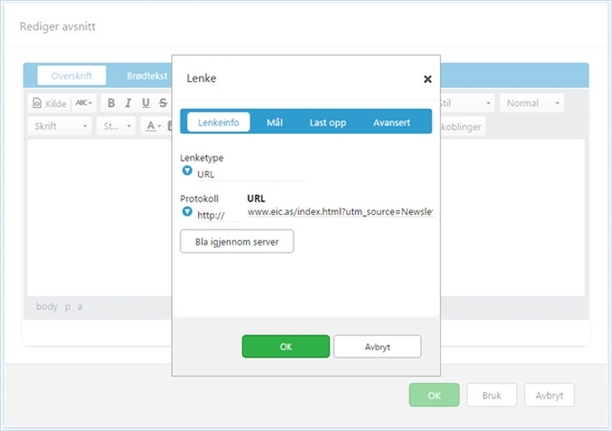
Or you can insert the same URL in a tracked link, like this:
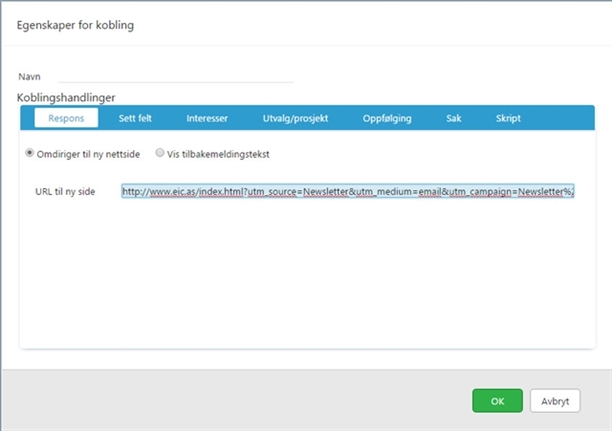
Now we are ready to send the newsletter. When you have sent the newsletter, head on over back to Google Analytics.

You will now see the traffic generated by your email newsletter. As you see in the image, you can see statistics for the campaign Newsletter June 2015. You will also see which medium these users are coming from and the number of clicks for each medium. This will enable us to compare which medium is generating most clicks.
Start exploring the possibilities!