Notifications
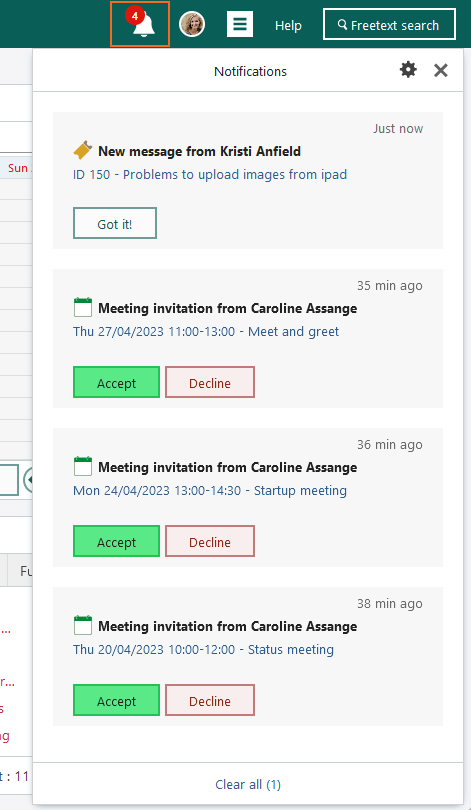
When you click on the bell icon in the upper-right corner of SuperOffice, the notifications panel appears as an overlay, showing the latest occurrences at the top. Here you can do the following:
- Click a list item to open it.
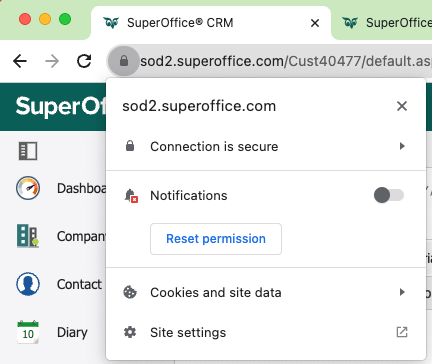
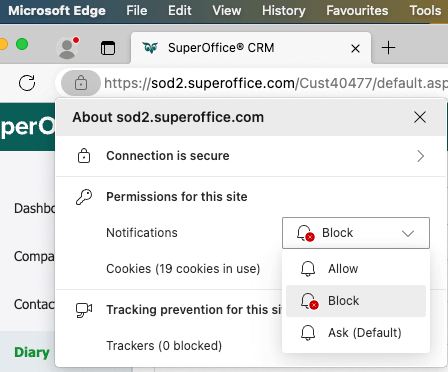
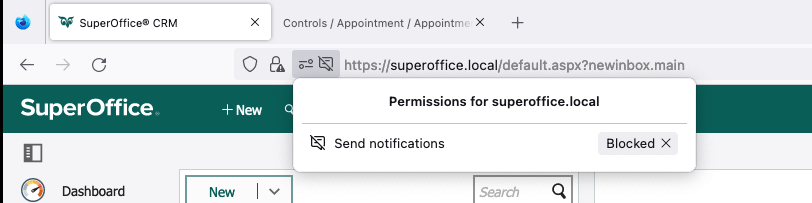
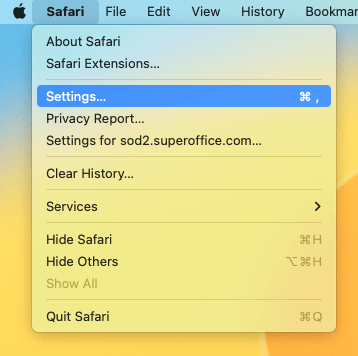
- Click to set your notification preferences.
- Click Clear all in the footer of the notification pane to clear the list of notifications. You can also click Got it below a notification to remove it.
- Click or anywhere outside the notifications panel to close it.
Activity notifications
When you receive an activity notification, it will appear in your notifications panel. Click the link in the notification to open the activity.
These are the different activity notifications:
New meeting: Respond by clicking Accept or Decline. Once you have responded, the invitation will disappear from notifications panel.
New recurring meeting: If the invitation is for a recurring event, is shown below the link.
Meeting has changed: If the time or date of a meeting you have already accepted changes, you will receive a new notification letting you know what has changed and requiring you accept or decline it.
Meeting cancelled: The meeting is cancelled. Click the link to open the calendar item, or click Got it to remove it from your notifications.
Invitation declined: A meeting attendee has declined the invitation. Click the link to open the calendar item, or click Got it to remove it from your notifications.
Note
Invitations and changed activities will not be removed from the notifications panel but will remain until you either Accept or Decline the invitation.
Request notifications
When something changes on a request that you are associated with, a notification will appear in the notifications panel. Click the link in the notification to open the request.
These are the different request notifications:
- New request: A new request has been received.
- New message in request: There is a new message in a request.
- Request escalated: A request has been escalated to the next escalation level.
- Request activated: A request has been activated.
- Request taken over: Someone has taken over one of your requests.
- Favourited request updated: One of your favourite requests has been updated.
- Custom message: A custom message has been added to a request.
Note
The list of request notifications is cleared every night, meaning that any request notifications you have in your list at the end of the day will not be there tomorrow.
Notification settings
When you click , the notification settings panel appears. Here you can select which notifications you would like to see in the notifications panel.
These are the notification options:
Follow-up notification preferences
- Show notifications for meeting invitations
- Show notifications for changed meetings
- Show notifications for cancelled meetings
- Show notifications for declined invitations
Request notification preferences
- Show notifications for customer messages
- Show notifications for requests in your favourite list
- Show notifications when someone takes over your request
- Show notifications for requests activated
- Show notifications for escalated requests
- Show notifications for new message in request
- Show notifications for new requests
System notification preferences
- System notifications for follow-ups
- System notifications for emails
- System notifications for chats
Ownership notification preferences
- Show notifications for assigned companies and contacts