Native console application quick-start
A quick-start guide for getting you up and running with a native console application.
Before you begin
you have a tenant with a user for testing sign-on
you have registered your application with the following options:
OpenID Connect native app flow
redirect URI of
^http://127.0.0.1\:\d{4,10}$
you have set a unique application client ID and secret
you have Visual Studio (community, professional, or enterprise edition)
Quick-start
Clone or download the SuperOffice.DevNet.OpenIDConnectNativeApp from GitHub.
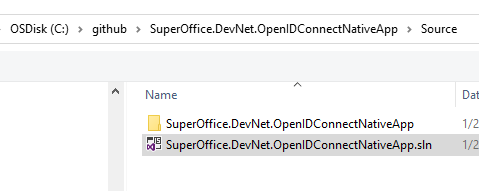
git clone https://github.com/SuperOffice/SuperOffice.DevNet.OpenIDConnectNativeApp.gitIn Visual Studio, go to the Source directory and open the SuperOffice.DevNet.OpenIDConnectNativeApp.sln file.
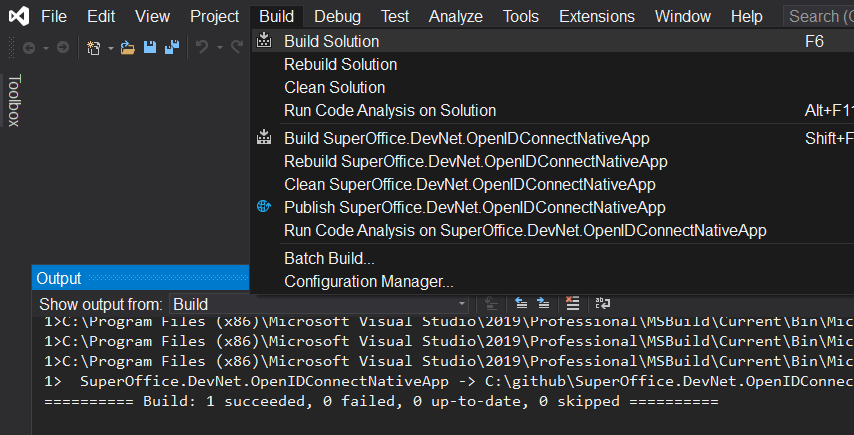
Under the Build menu, click Build Solution, or press the F6 key on the keyboard, to restore NuGet packages and build the solution file.
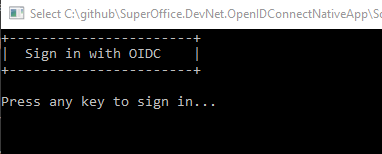
From the Debug menu, click Start Debugging, or press the F5 key. Observe that the application runs and opens a console window.
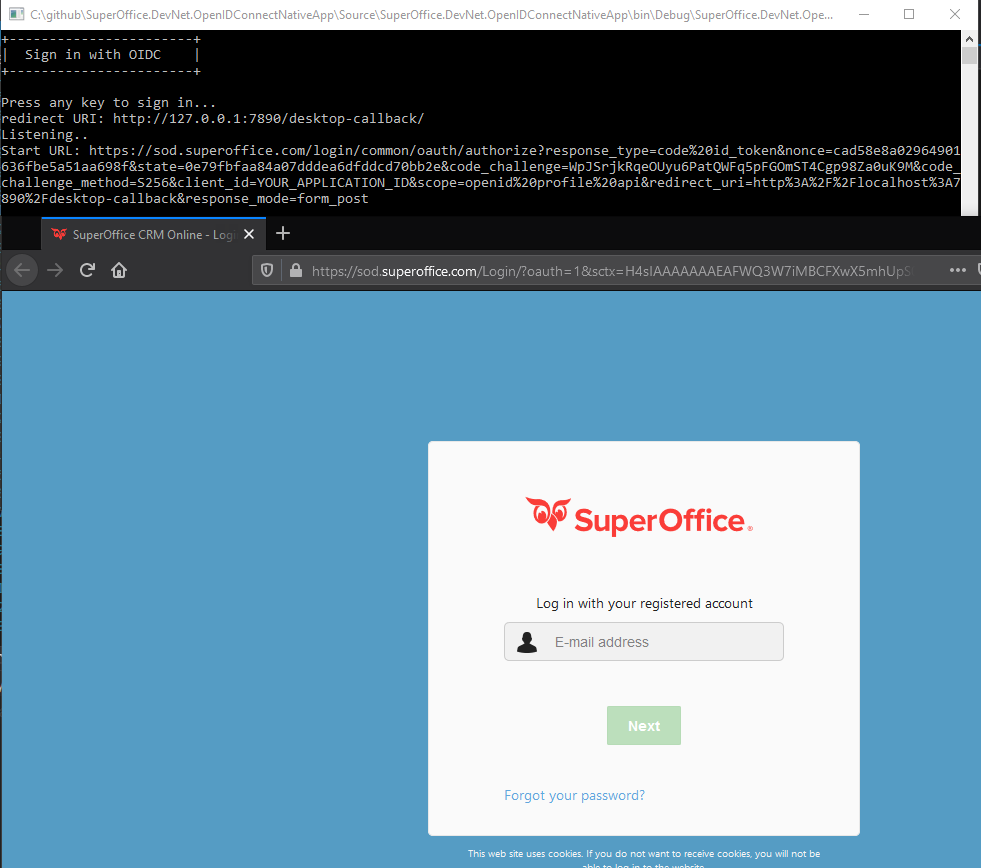
Press any key. The default browser window opens to the SuperOffice sign-in page.
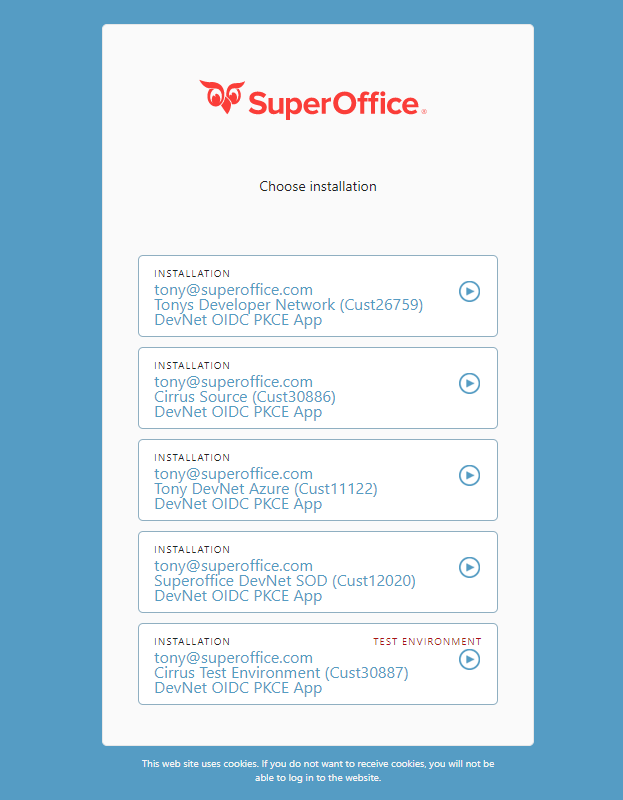
At this point, if you have multiple tenants, a list of available tenants appear. Choose a tenant to grant access to your application.
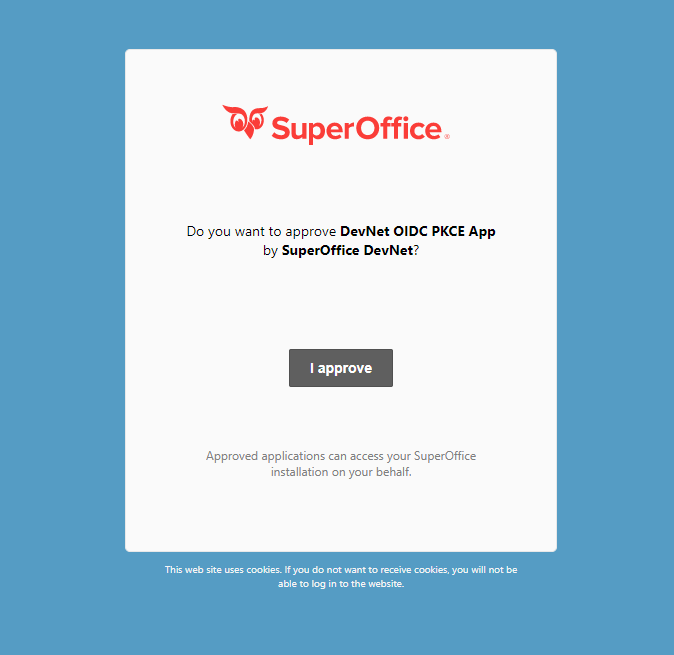
If this is the 1st time accessing this tenant via this application, a consent dialog appears asking for application approval to gain access to your web service resources. Click I approve.
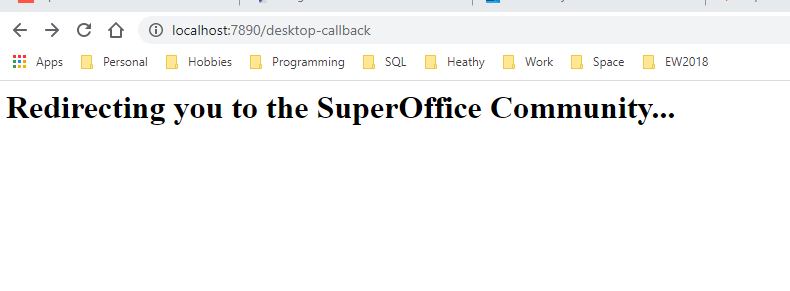
The browser callback is shown and eventually navigates to the SuperOffice community website. This default behavior is defined in the console application code.
The console application continues and dumps the contents of the response, including the
id_token,claims, andaccess_token.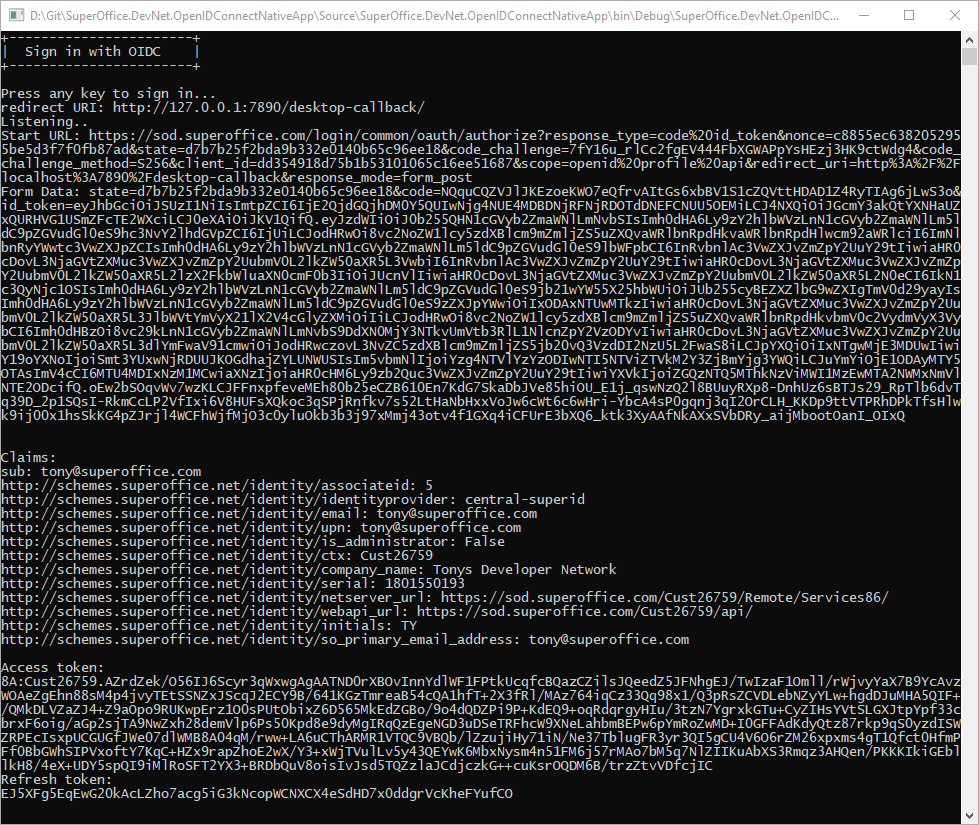
Next steps
At this point, you probably want to use access_token to send a request to the tenant's web services. The sample application uses the full .Net framework and you would, therefore, use the WebRequest class to send a request to the server to obtain data from the tenant.
The following code represents a basic method to issue a GET request that is later used to call the tenant web services.
private static string GetData(string uri, string tokenType, string accessToken)
{
  HttpWebRequest httpWebRequest = WebRequest.CreateHttp(uri);
  httpWebRequest.Method = "GET";
  httpWebRequest.Accept = "application/json";
  httpWebRequest.Headers.Add(HttpRequestHeader.Authorization, string.Concat(tokenType, " ", accessToken));
  var httpResponse = (HttpWebResponse)httpWebRequest.GetResponse();
  using (var streamReader = new StreamReader(httpResponse.GetResponseStream()))
  {
    var responseText = streamReader.ReadToEnd();
    Console.WriteLine(responseText);
    return responseText;
  }
}
The 1st thing needed is the web service URL. In this case, I extract the base webapi_url (REST) and the current user's associateId from the claims.
// result is the LoginResult provided by the OidcClient library used earlier in this sample

var webApiUrl = result.User.Claims.Where(c => c.Type.Contains("webapi_url")).Select(n => n.Value).FirstOrDefault();
var associateid = result.User.Claims.Where(c => c.Type.Contains("associateid")).Select(n => n.Value).FirstOrDefault();
Build up the search URL using a combination of the webApiUrl and the web service version URI to invoke an OData query against an archive provider search.
// search the tenant for the companyId and personId of the logged-in associate
// build up the OData query to perform a search using the InternalUsers archive provider

var uri = $"v1/Archive/InternalUsers?$entities=all&$select=contactId,personId&$filter=associateDbId eq {associateid}";

var queryResult = GetData(string.Concat(webApiUrl, uri), "Bearer", result.AccessToken);
Search results
{
  "odata.metadata": "https://sod.superoffice.com:443/Cust12345/api/v1/Archive//$metadata",
  "odata.nextLink": null,
  "value": [
    {
      "PrimaryKey": "5",
      "EntityName": "all",
      "personId": 5,
      "contactId": 2
    }
  ]
}